
Building the Glen-L Tuffy Part 1
Posted by Paul Vankeppel on Oct 2nd 2019
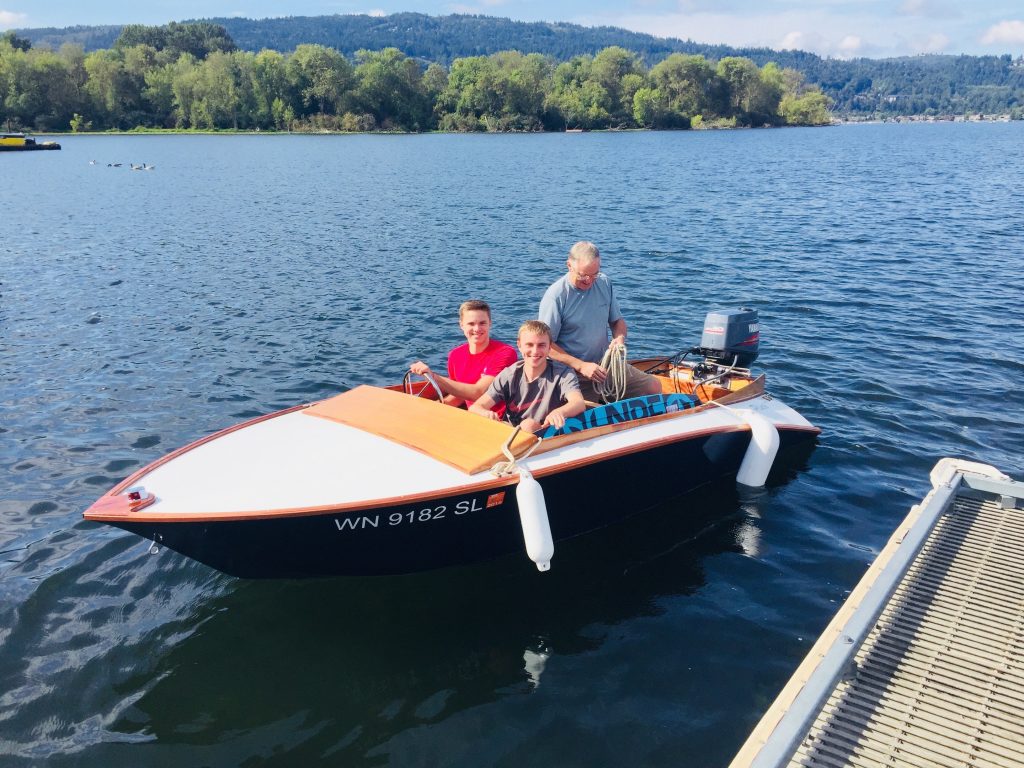
I am creating this blog post as a sort of record of the build process of my Glen-L Tuffy, named Pluto. I'll go through some of the major details and show some pictures as well.
I bought the Tuffy plans in July 2015, at the end of my freshman year of college. I had wanted to build a boat for many years, and this was the point when I finally thought I had the know-how and money to do it. Although the Tuffy is quite a small boat at around 13 feet long, it was the perfect design for my limited amount of garage space and experience. The build took a very long time because I was working on it while also working on a degree in Aerospace Engineering in California. I could not make regular progress so I was limited to putting in hours whenever I was back home in Washington for breaks. Pluto first hit the water in September of 2017, but wasn't really finished until around March of 2019. And there are some last things I am still working on.
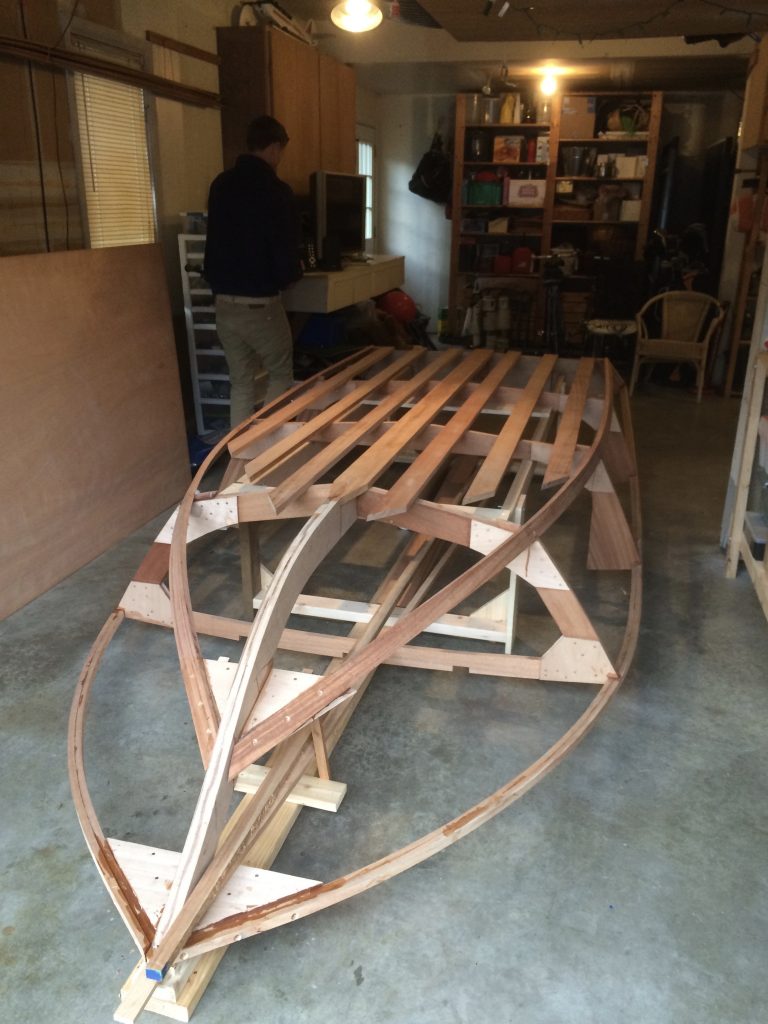
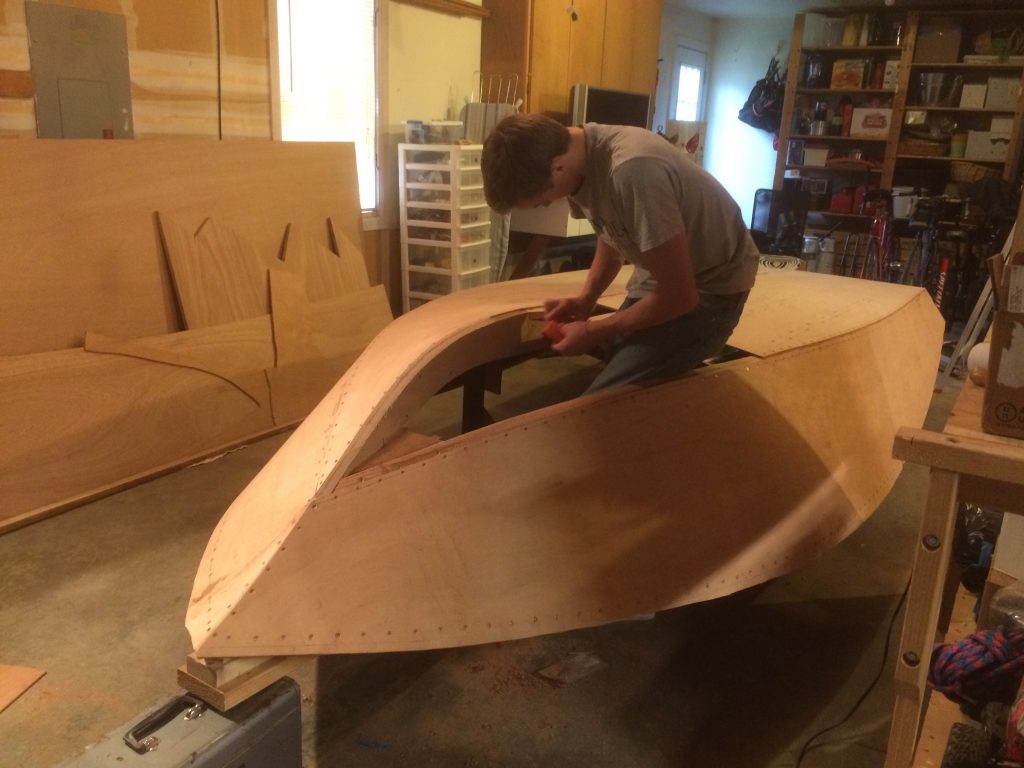
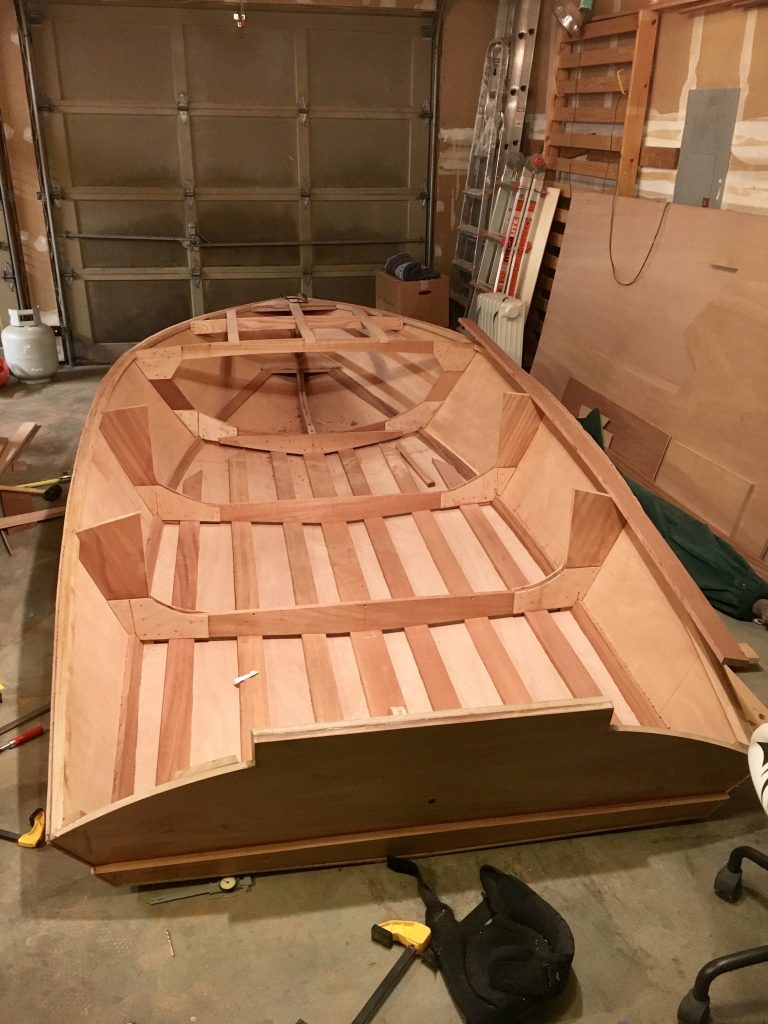
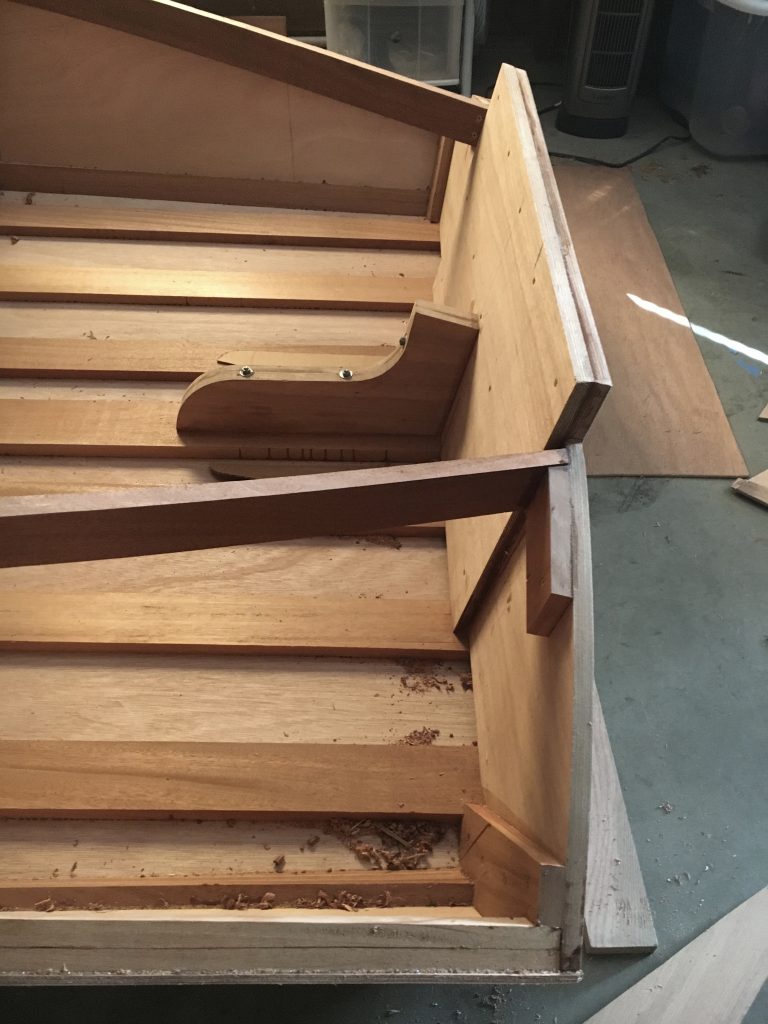
Framing and Planking
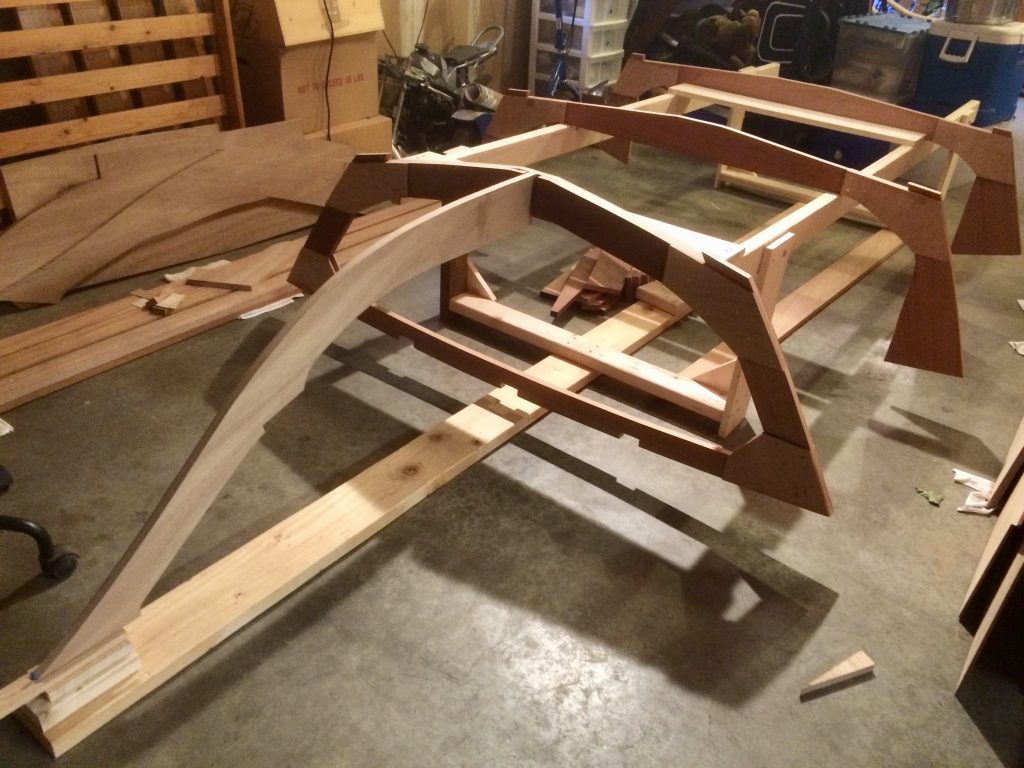
It was during the early stages of the build that I learned to use many of the tools that I was not yet familiar with. The structure of the boat is made of African Mahogany and White Oak with Okoume plywood planking. Although none of this early work was especially difficult, I found it time consuming because I had never done woodworking on this level before. There were many tricks I still had to learn.
Fiberglassing and Painting the Hull
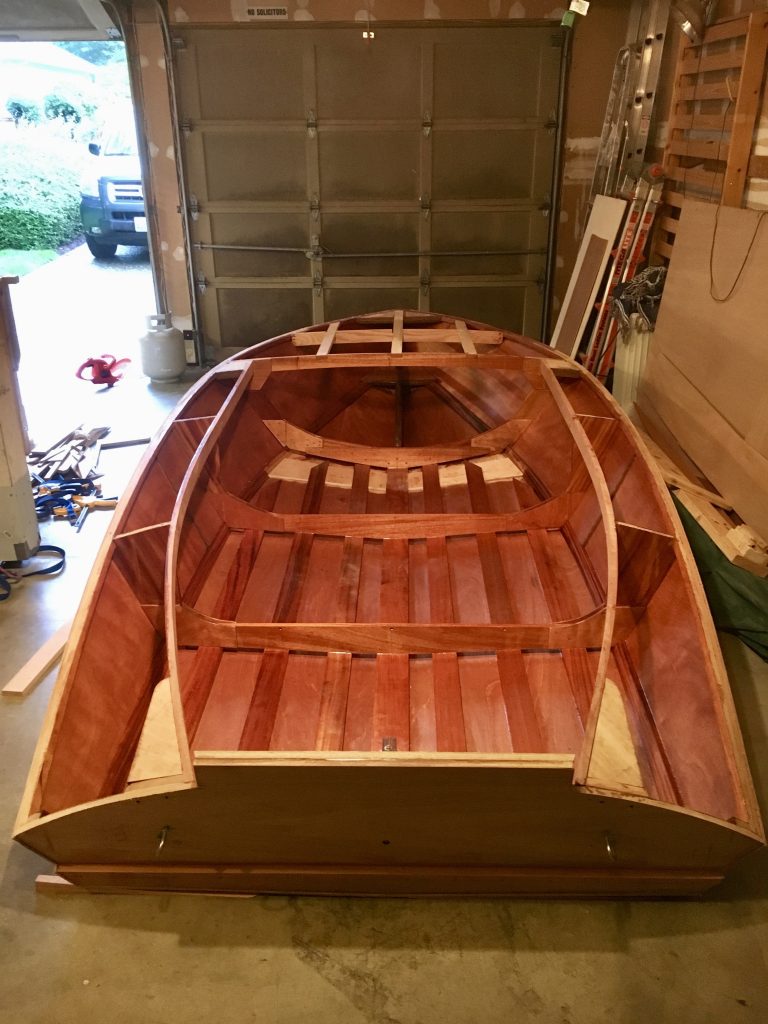
With the boat upright and the deck not yet installed, it was easy to get access to the interior of the boat in order to seal the wood. Two part penetrating epoxy was used for this job and after a few layers it looked great and will hopefully provide protection against water, dirt, and scuff marks for years.
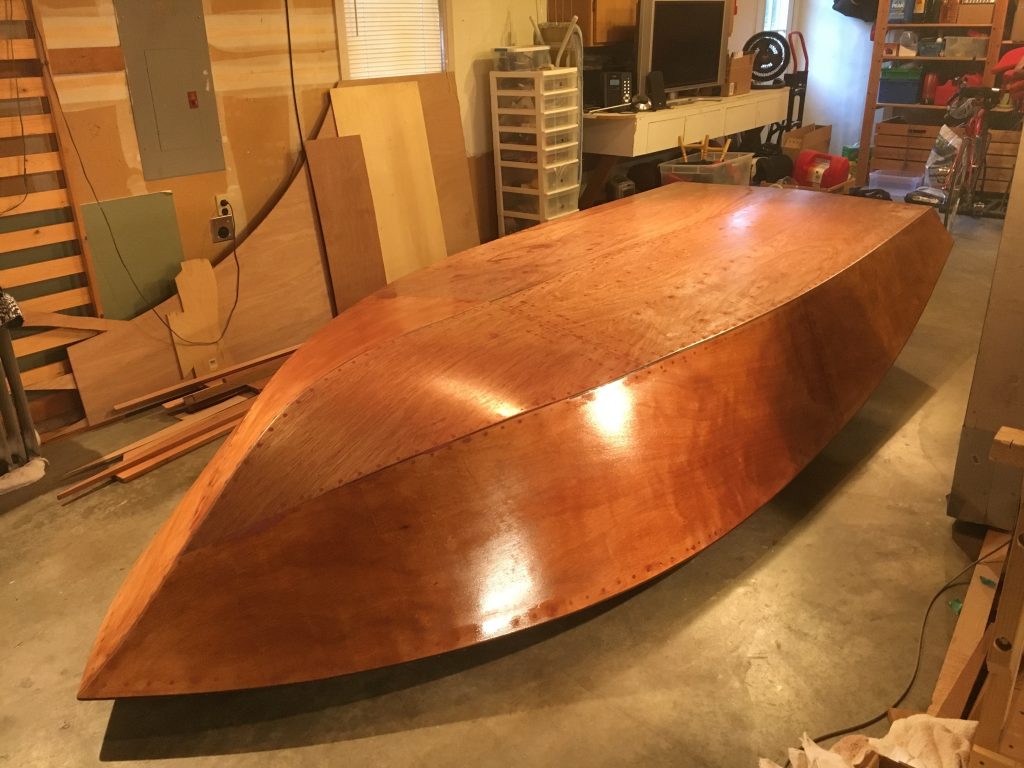
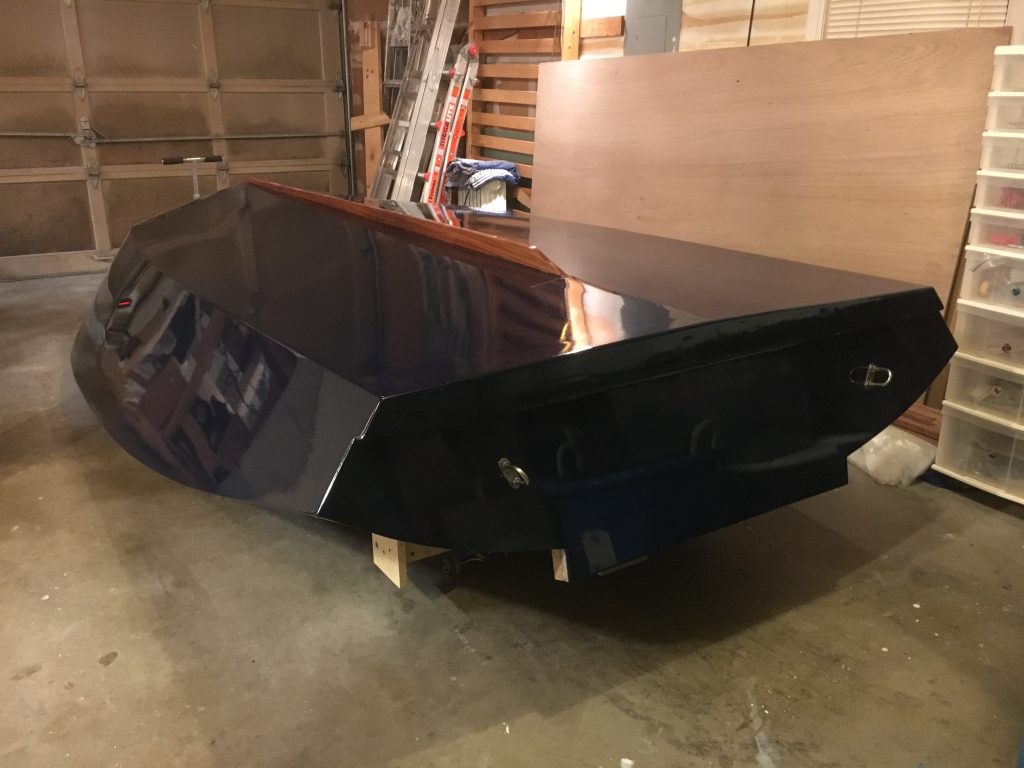
The 1/4 inch plywood hull is strengthened and protected with a single ply of 7 oz fiberglass cloth. After curing, multiple coats of resin were used as a build layer so that the surface could be sanded to a smooth finish without cutting into and damaging the fibers in the cloth. I made sure to remove amine blush contamination before sanding the resin.
The next step was to prime and paint the hull. First I tried using Interlux Brightside, a one-part, air-cure paint. For one reason or another, I could not get the paint to cure properly, it remained tacky even after being left for a week. I must have made a mistake with the temperature, humidity or thinning of the paint. After two failed attempts I switched to Interlux Perfection, a two-part, chemical cure polyurethane. This worked flawlessly and looked great after three coats. The skeg was mounted after the paint had cured, and was sealed with penetrating epoxy.
That's all for this post, the next one will discuss finishing the deck and electrical system. Thank you for reading! Click here to read Part 2.