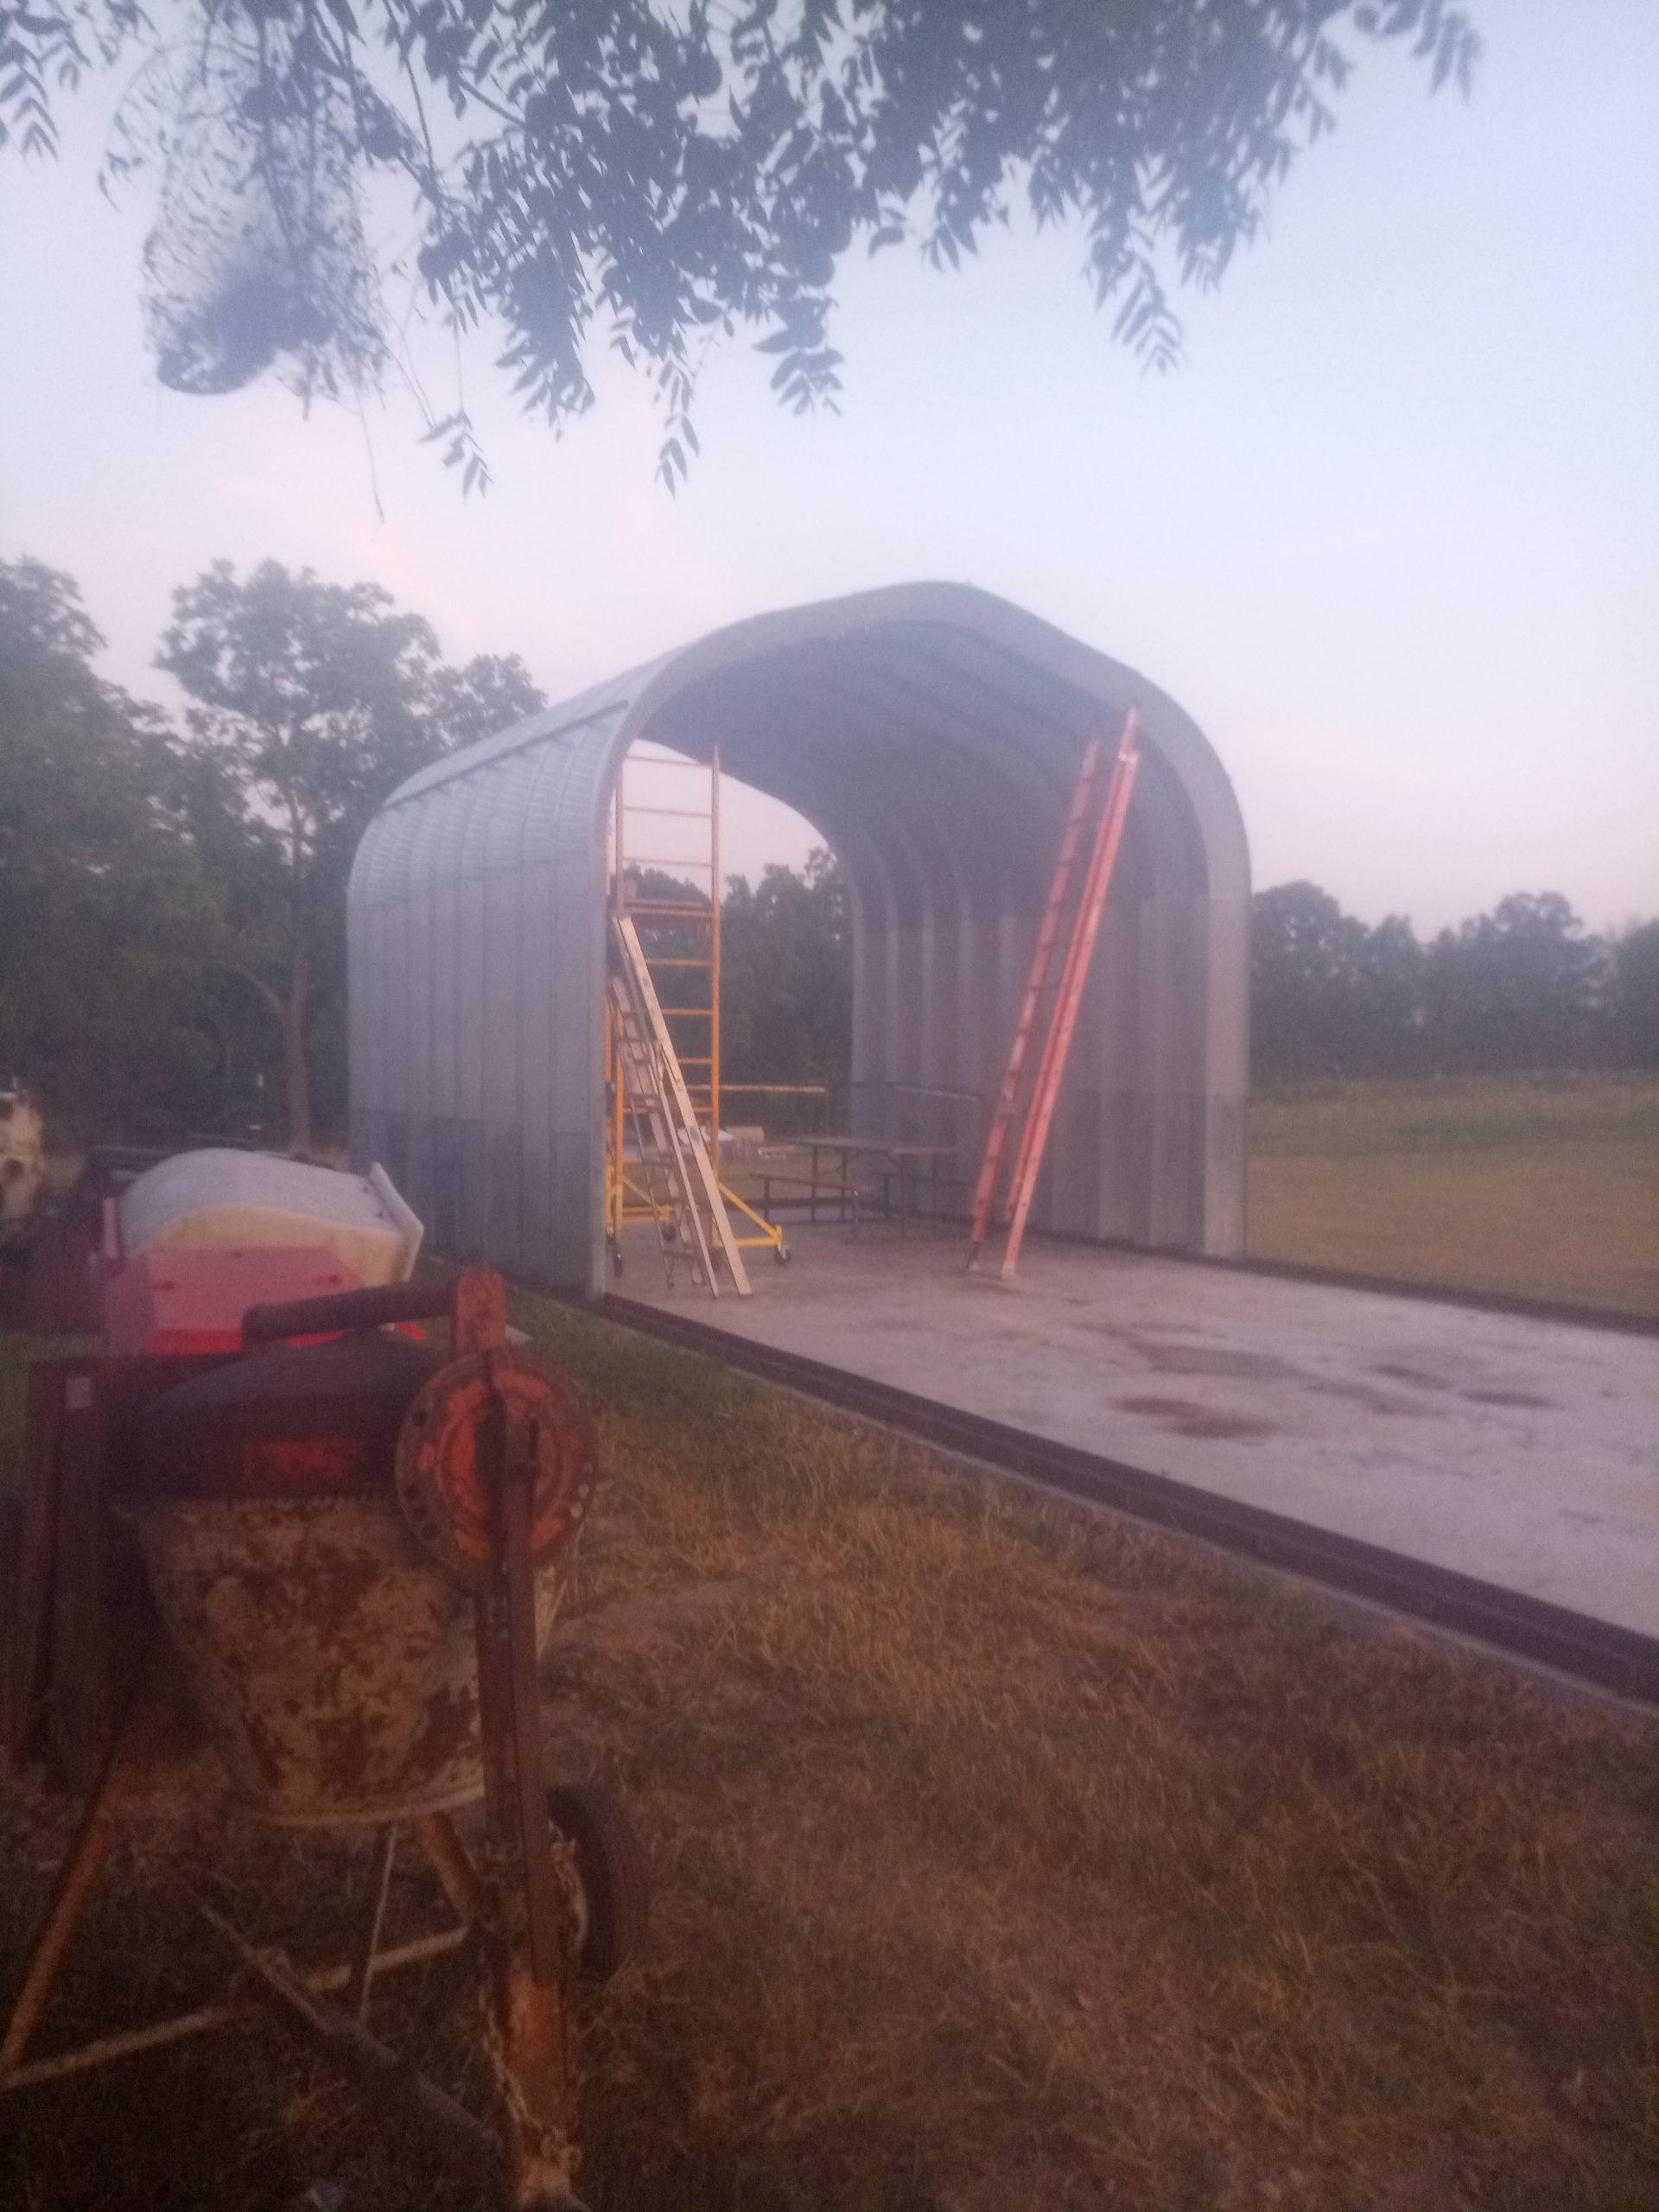
OK all, it has been some time since the last update, but there have been extenuating circumstances. Most of them centered around the need for a bigger building space. To be more exact, a taller, wider, and longer building to finish some of the needed work. The new housing for this build is 42' long, 16' wide, and most importantly, 14'-2" tall at the peak. This does not include the needed height for the pylon. It would have needed a space 14'-6" and several hundred dollars of additional side extensions to make happen.
There was also my farm duties and the ongoing construction of our home.
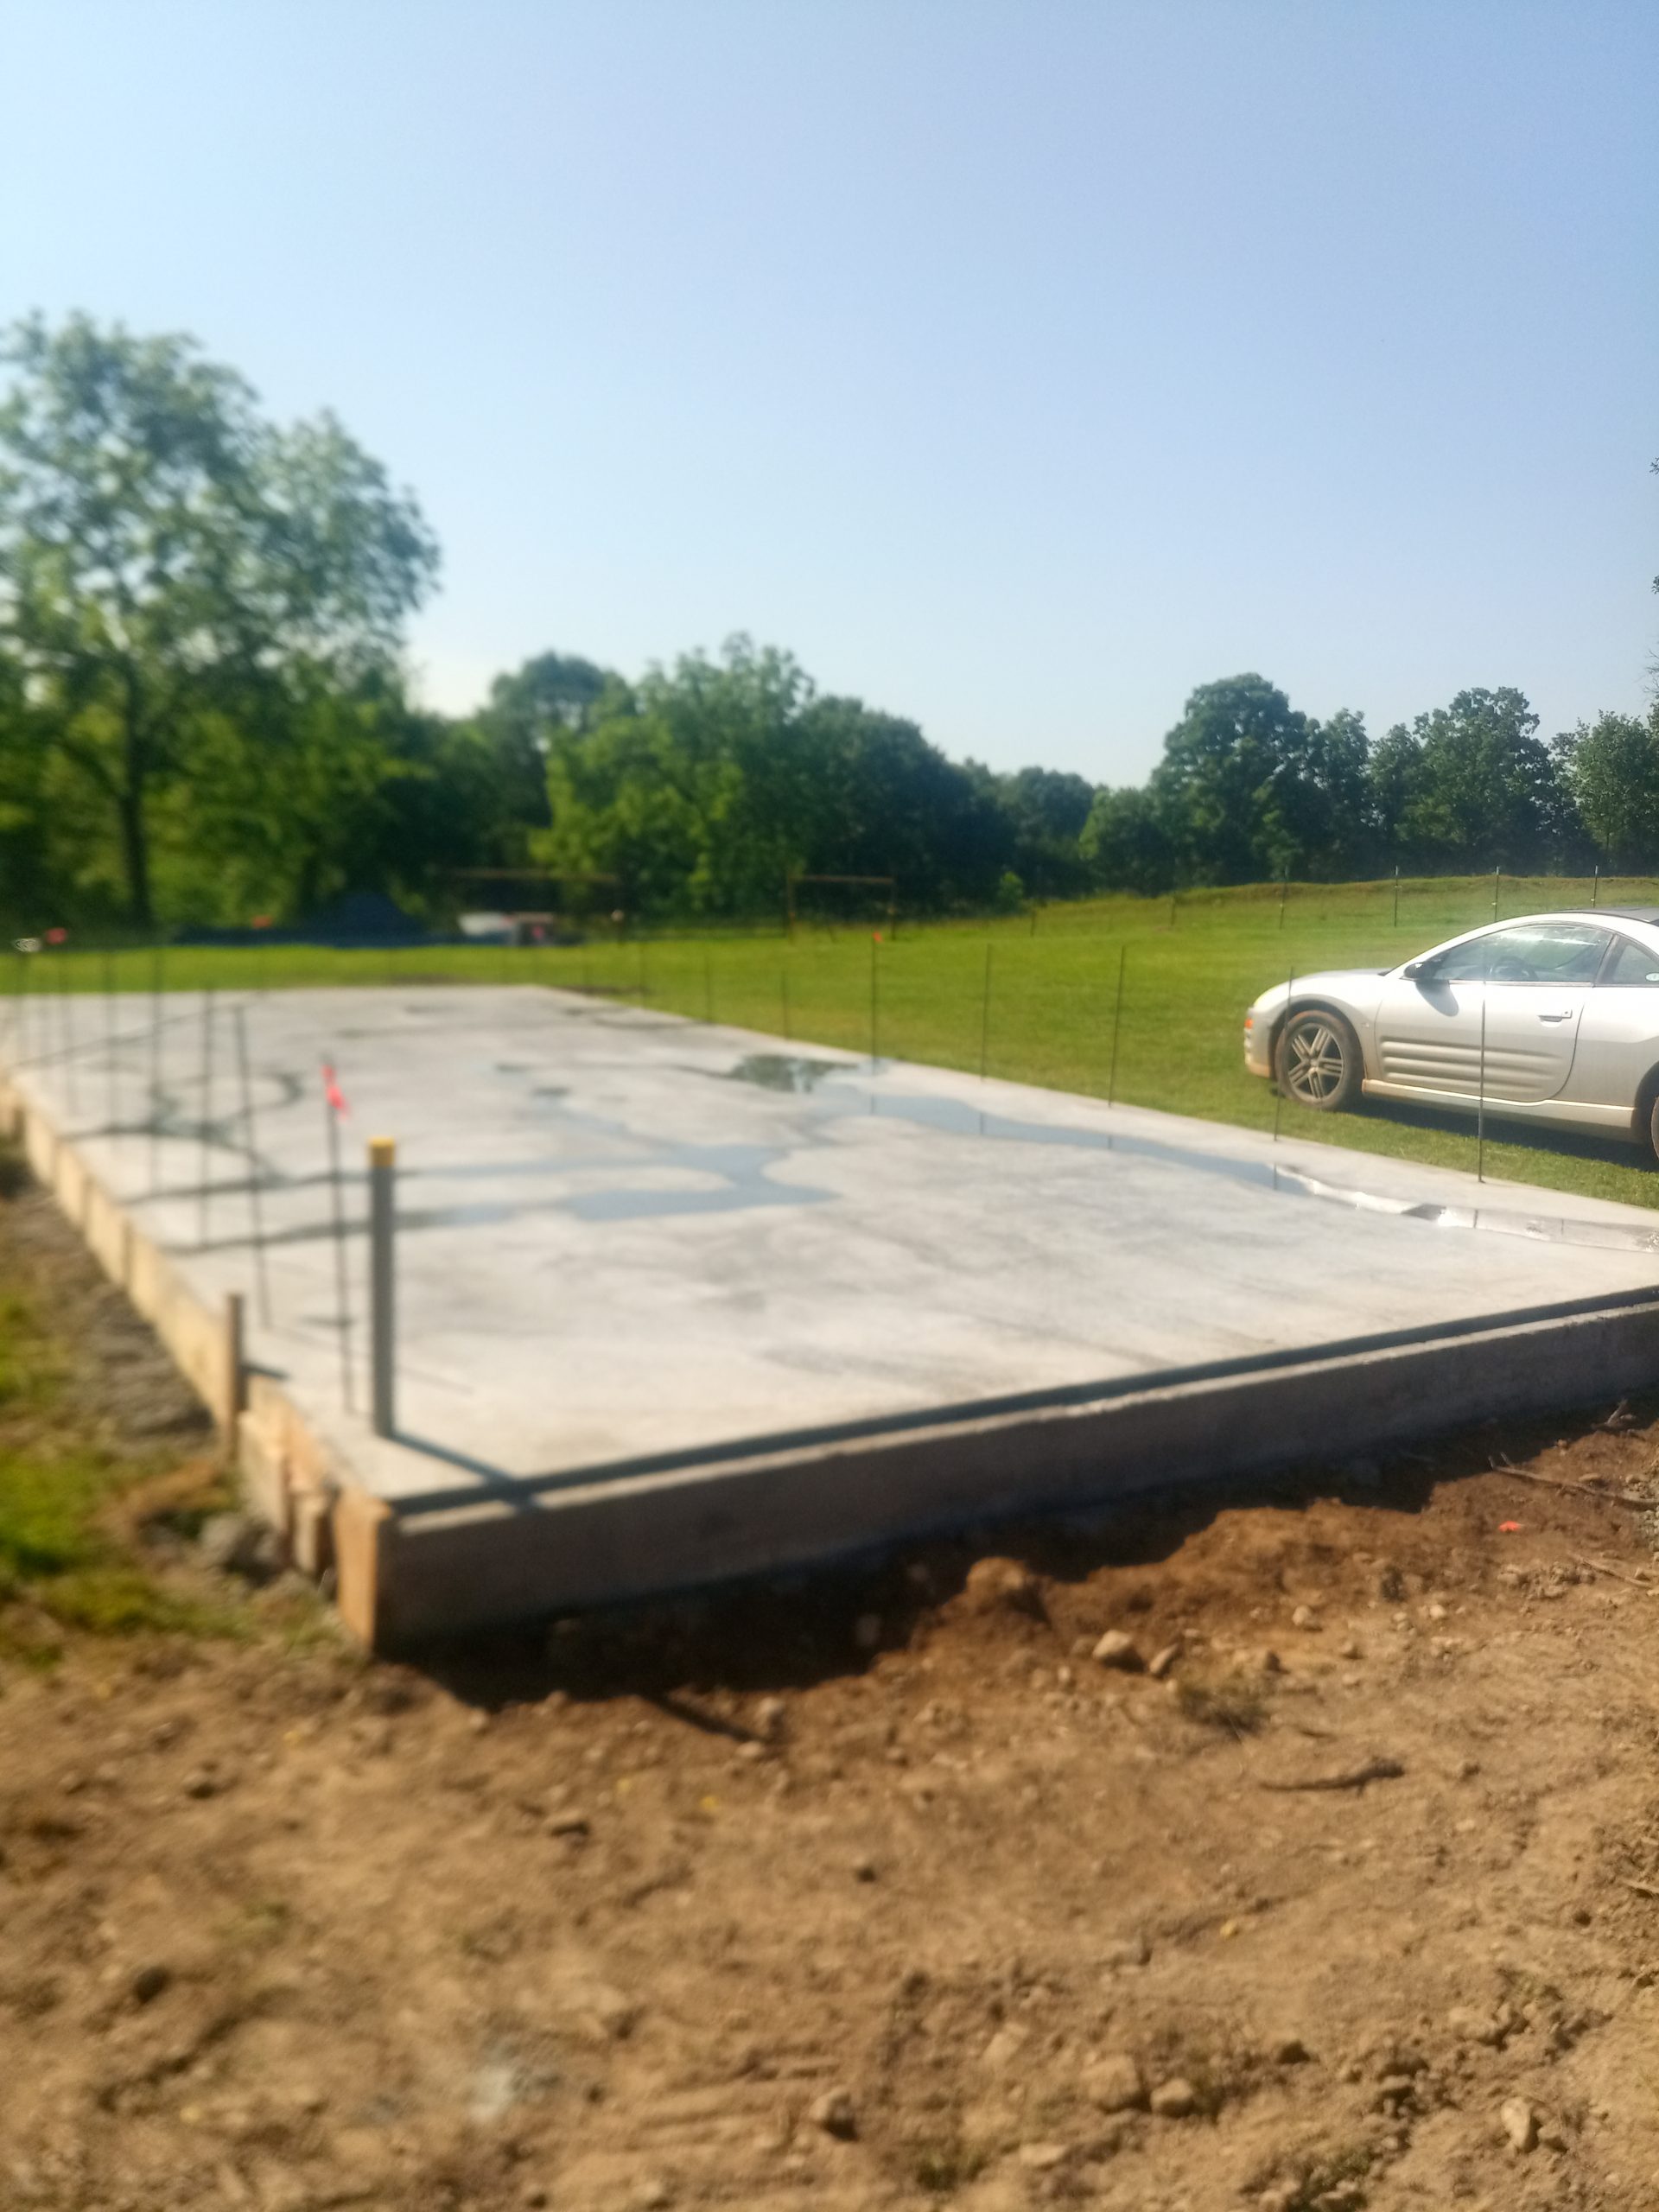
The building kit was purchased last April or so, and the pad was poured in June. (Dang this flu-19 crap, it sure does cramp a builder's style.)
Building Pad in JulyStarting final assembly on the pad in August.Building #5 "The Cathedral" prepping to install the back wall in September.
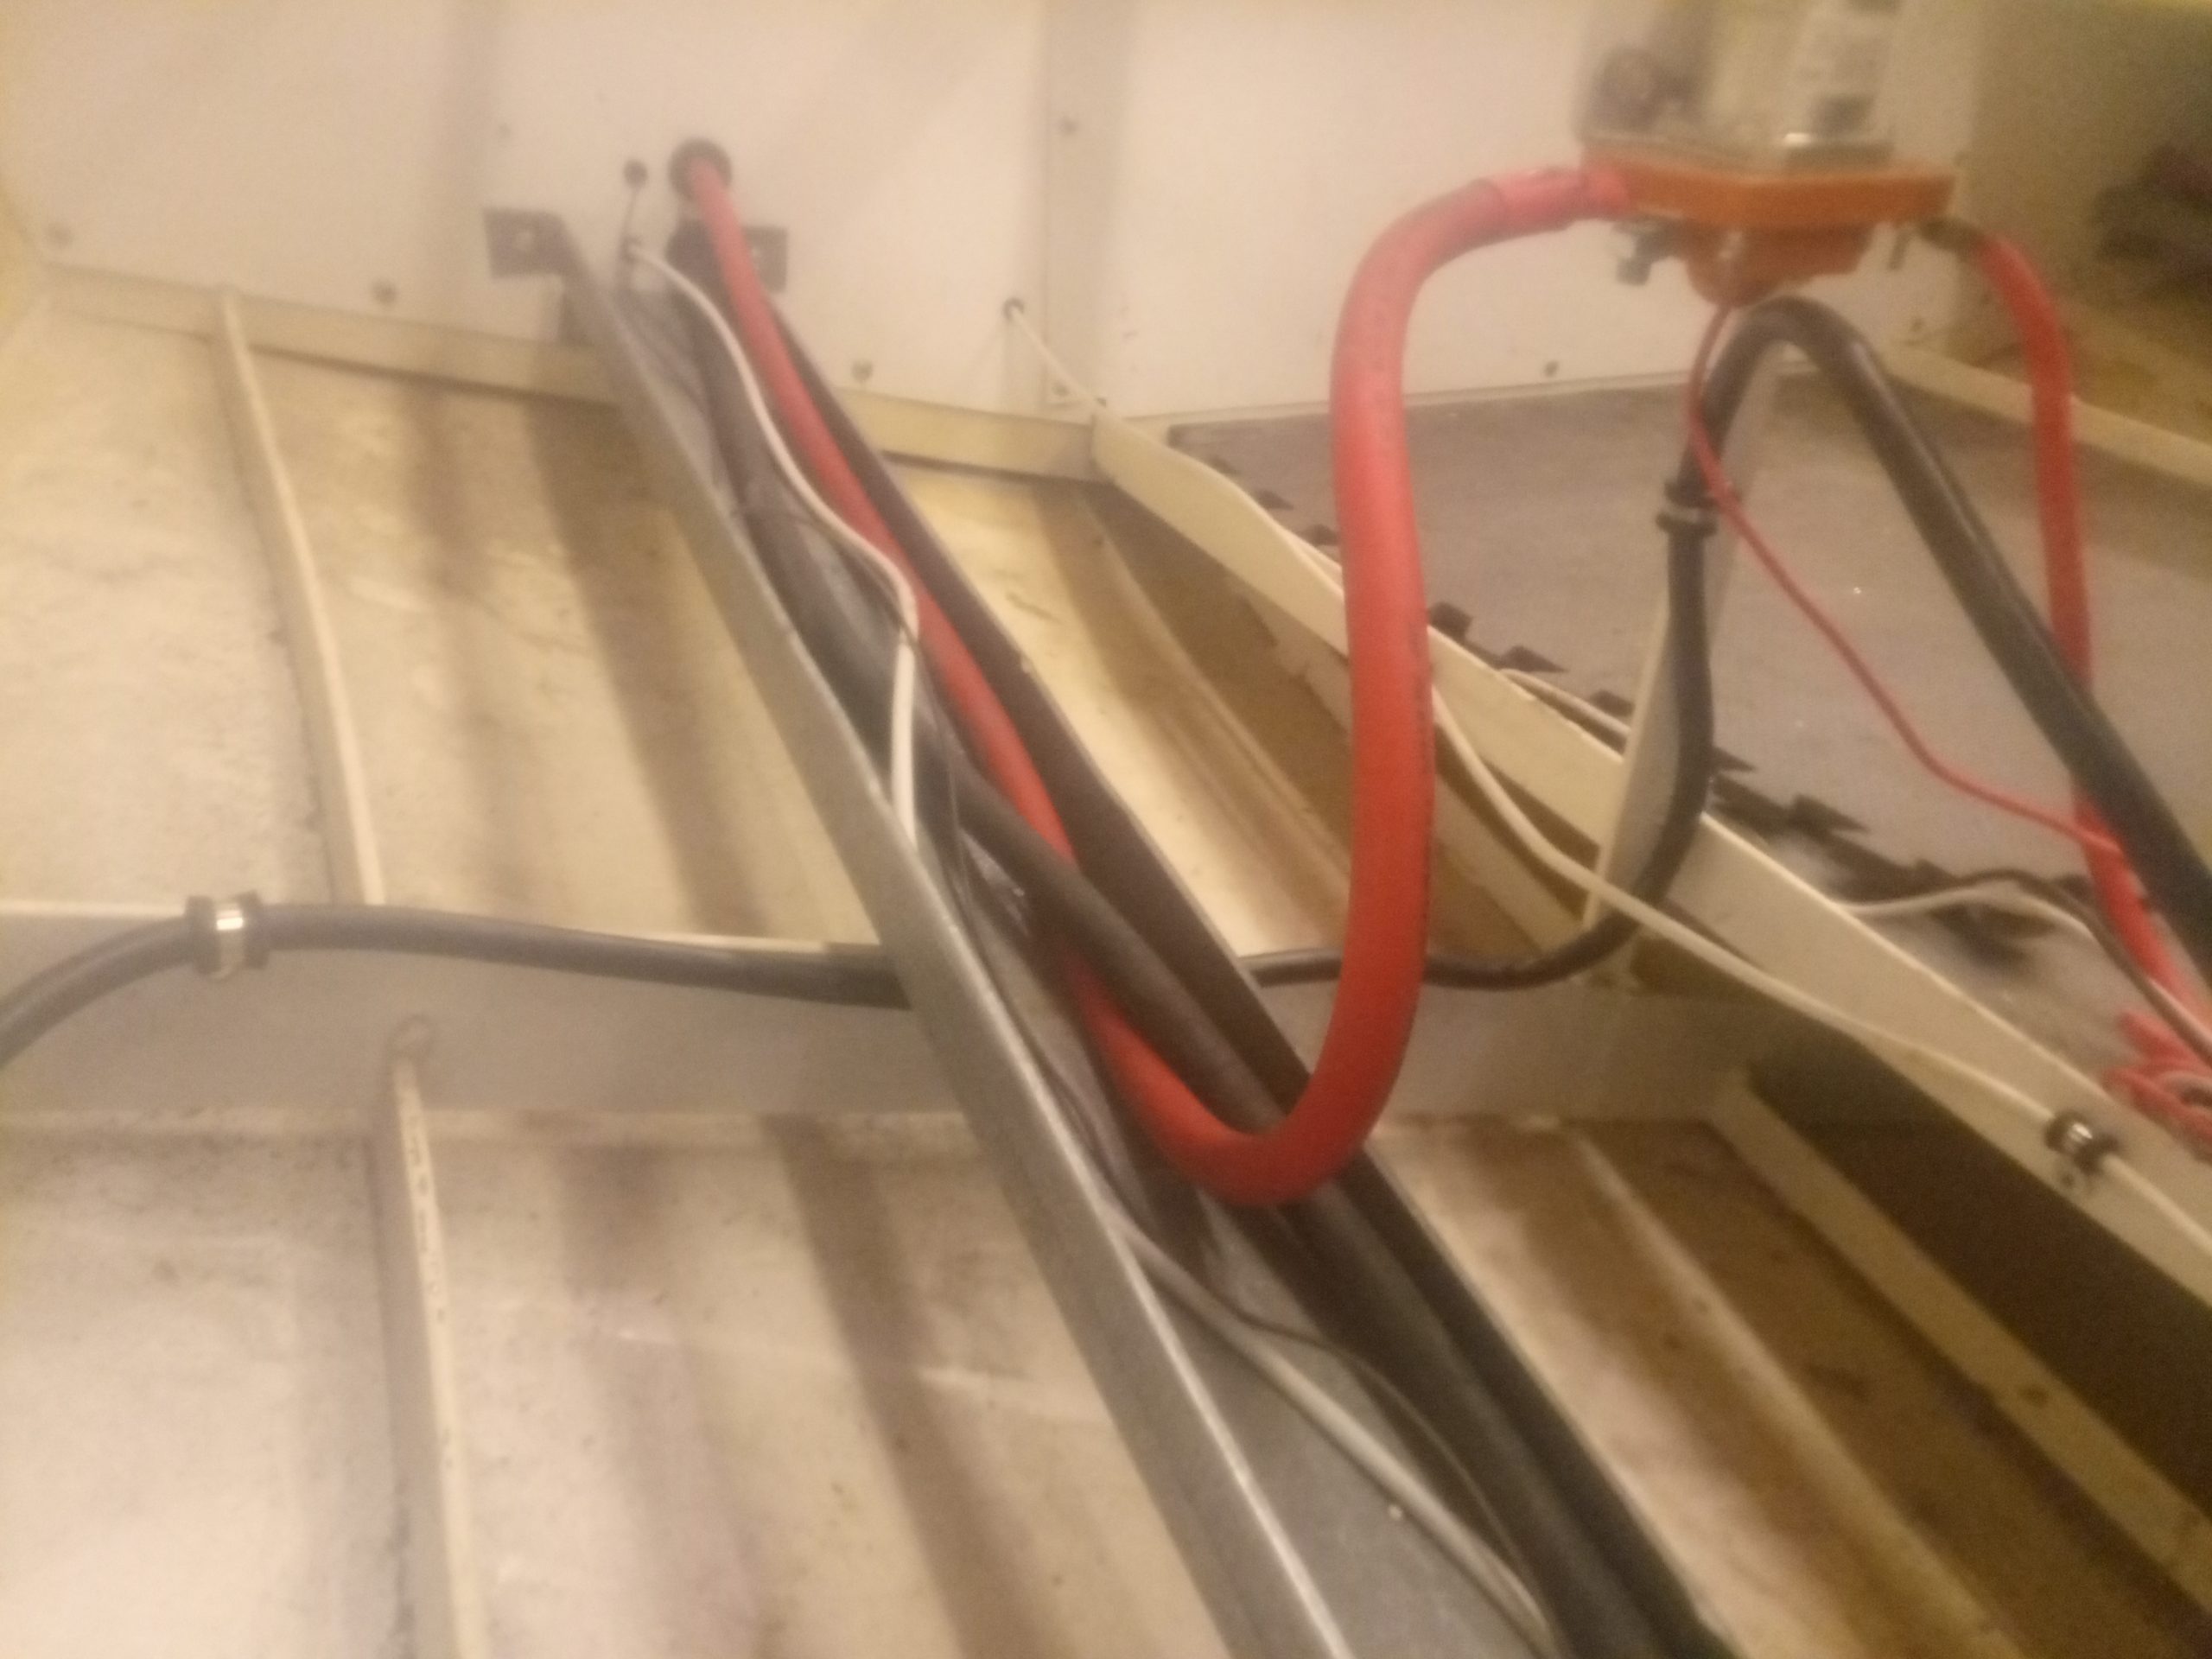
I still have a lot of wiring to do, as well as the interior and the man-door to enclose the wheelhouse.
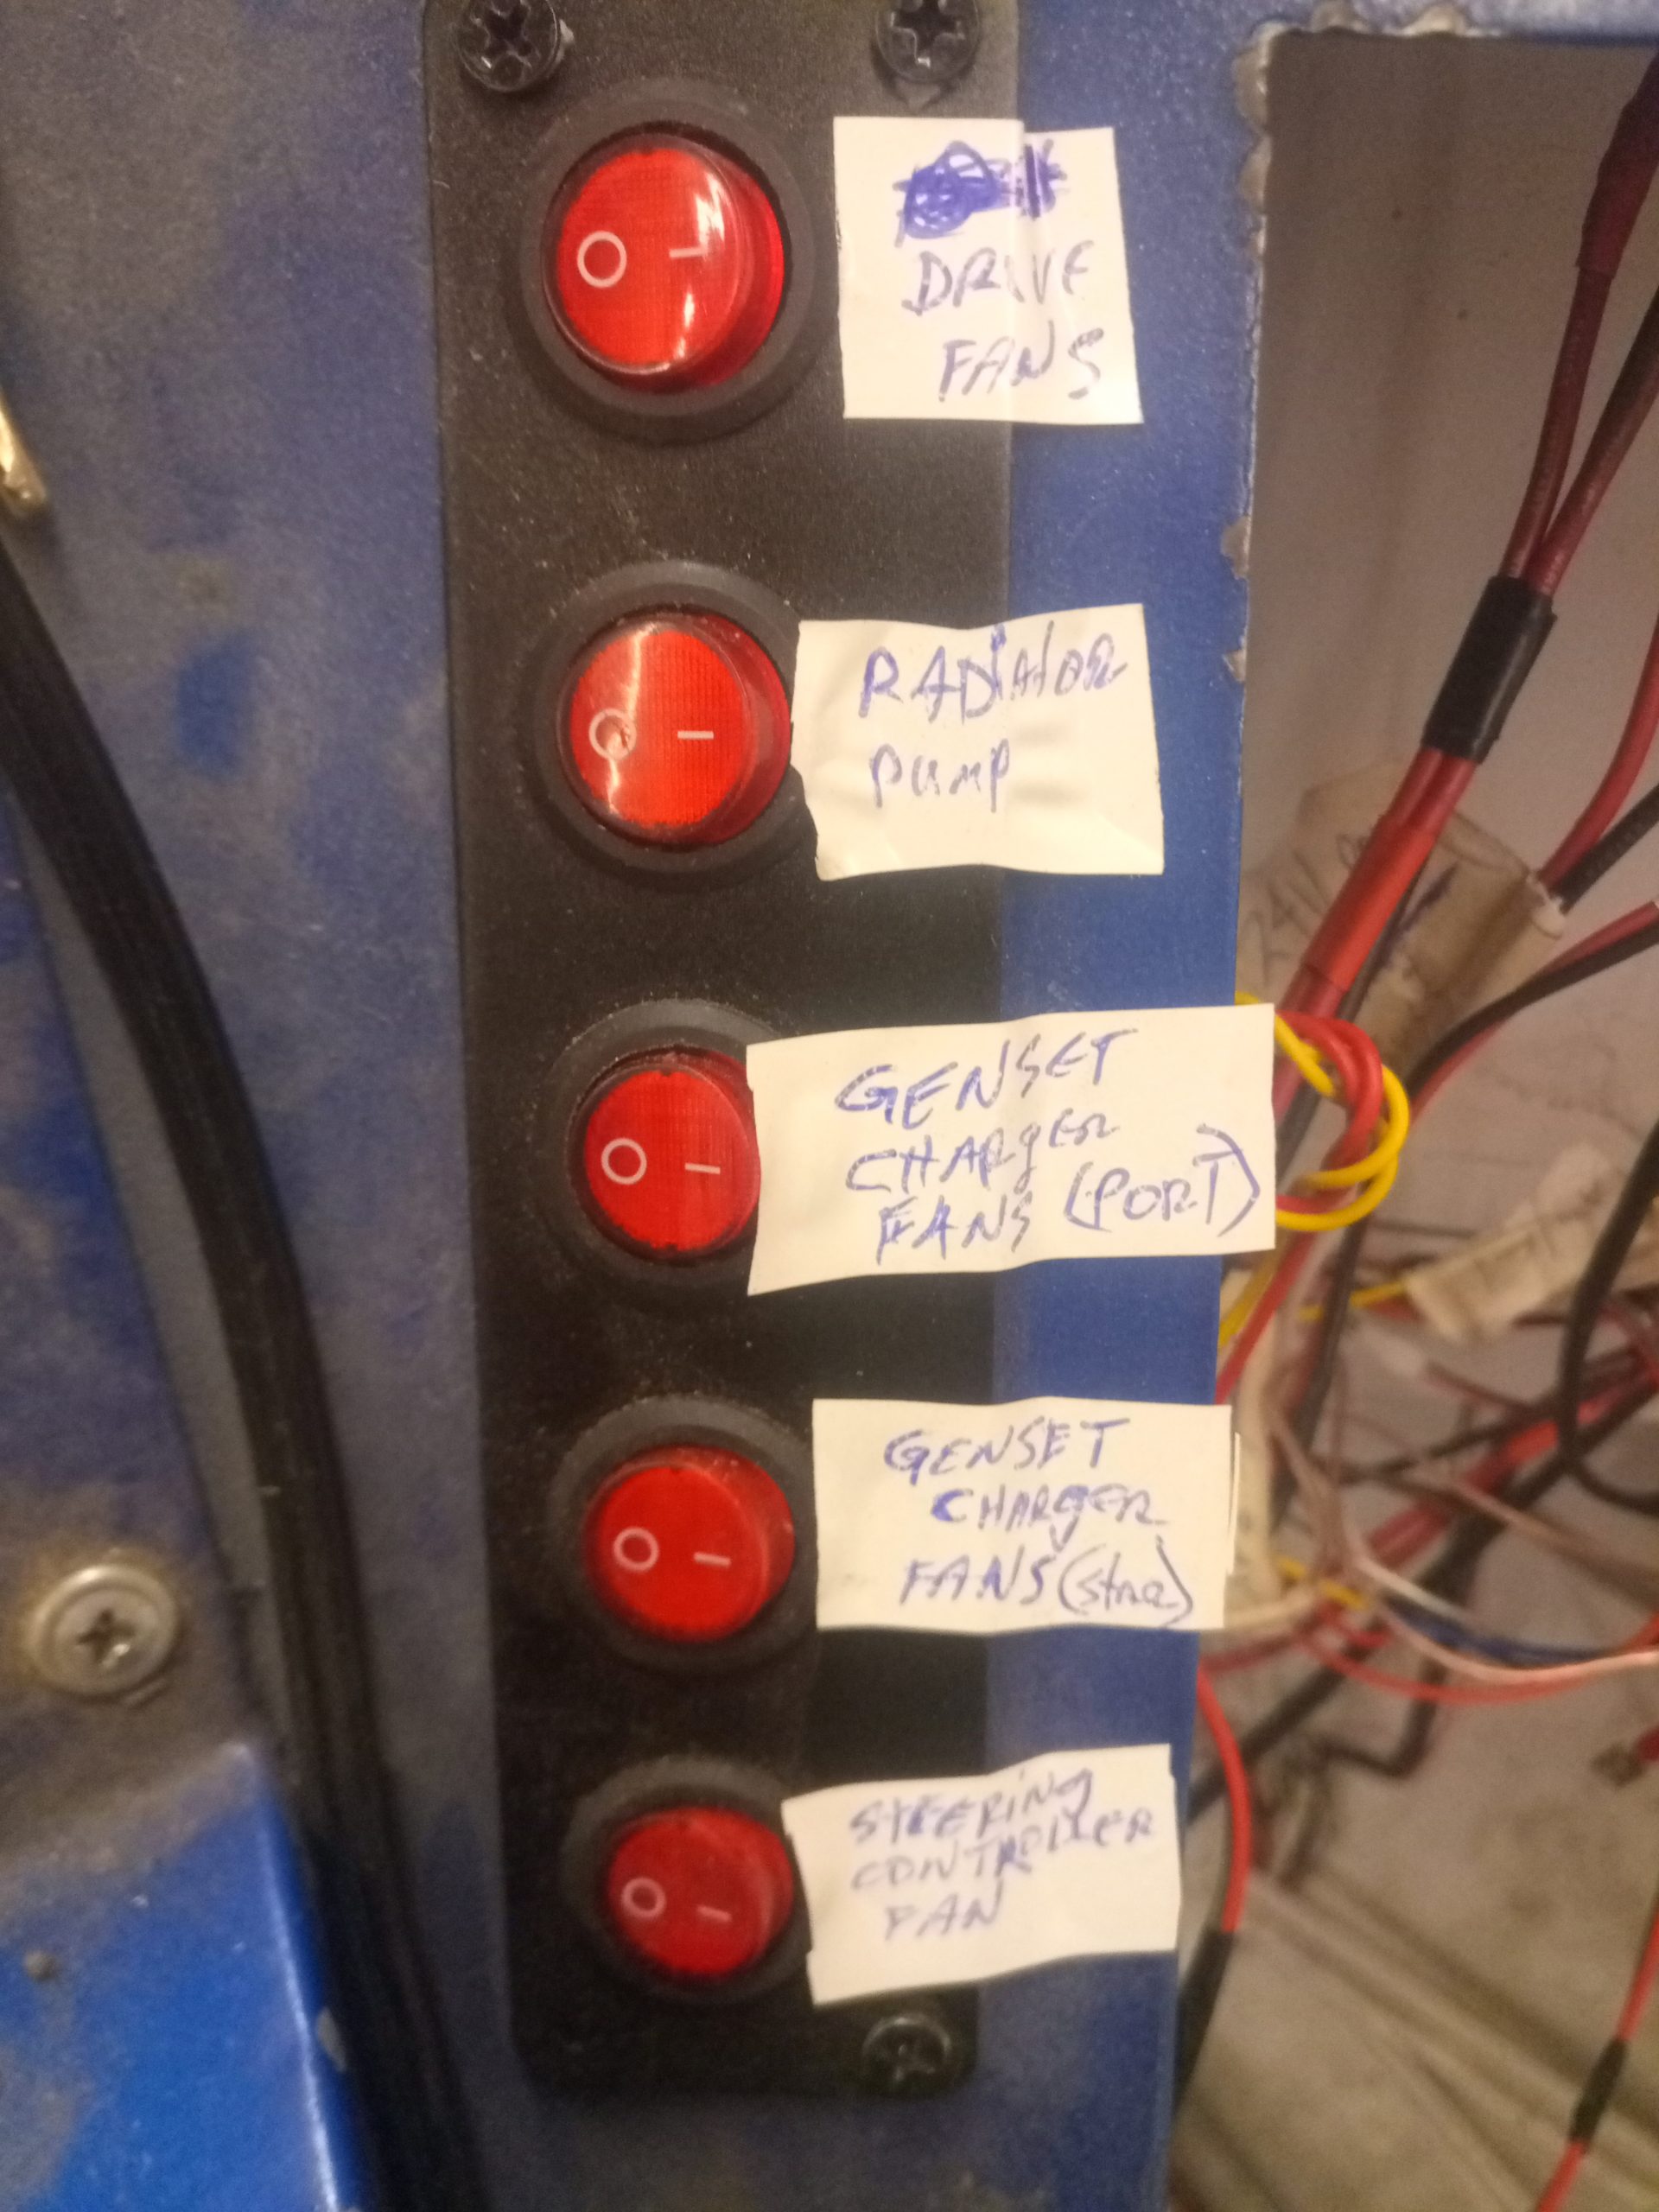
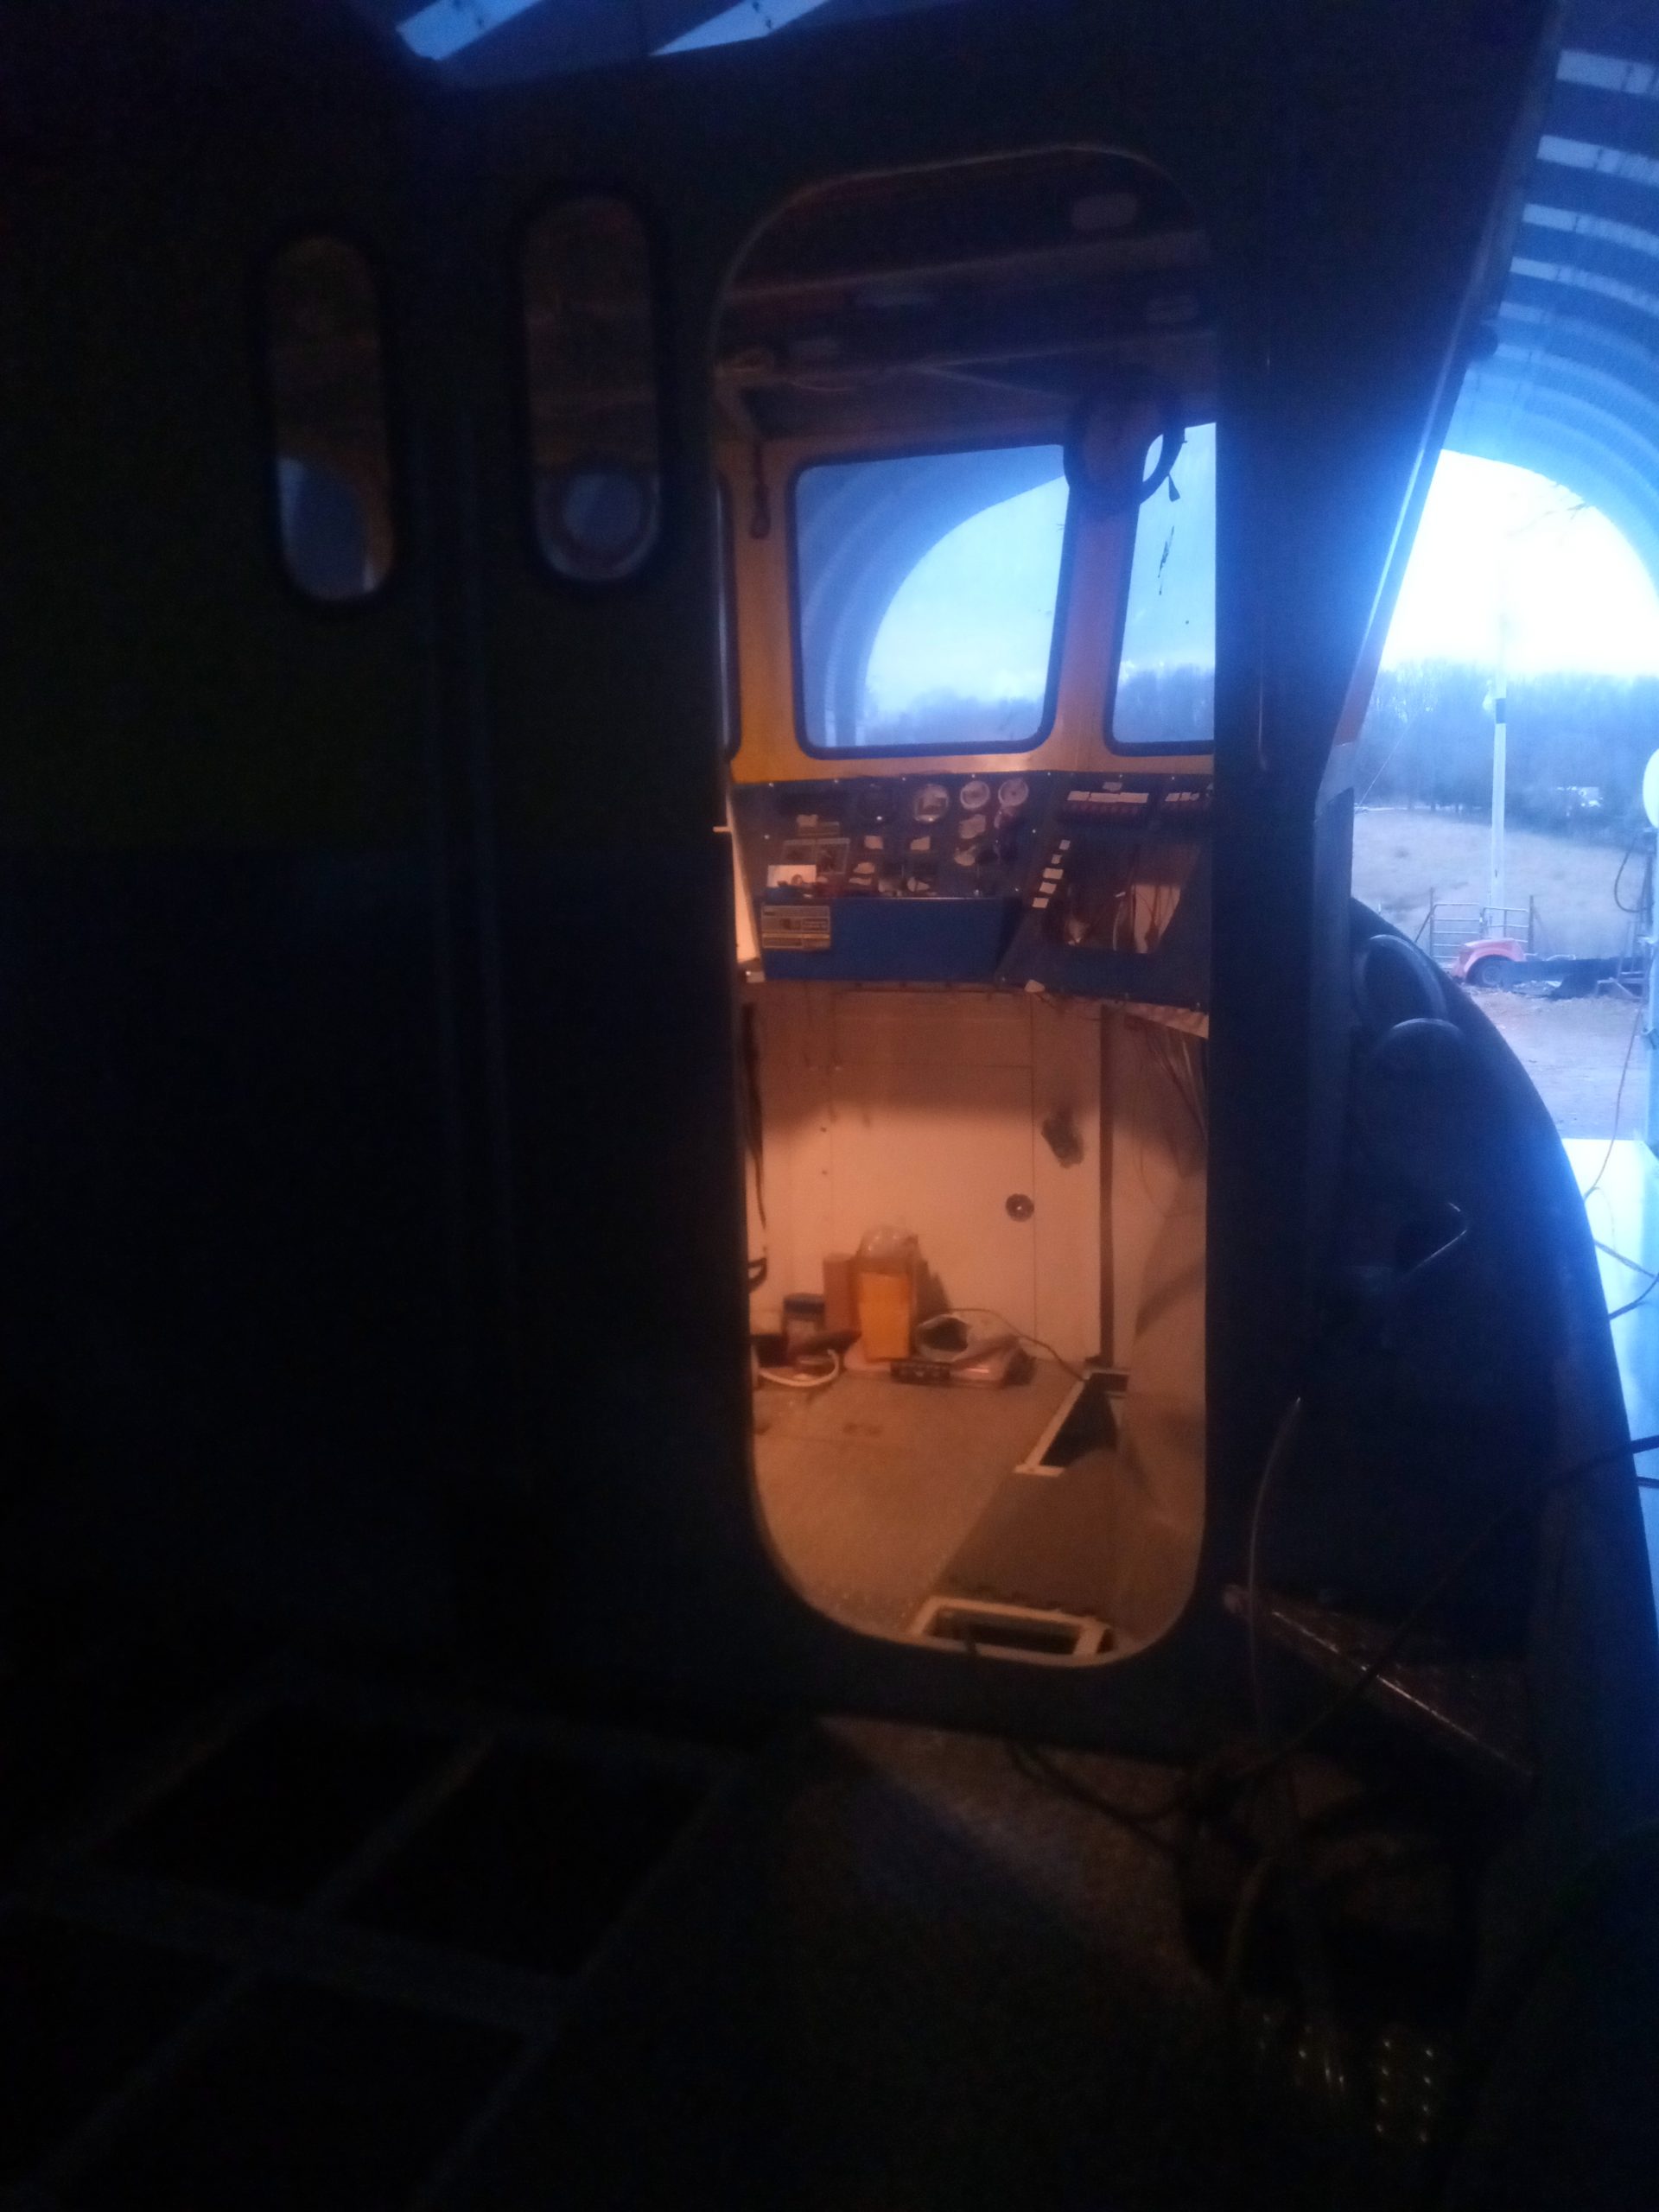
Port raceway with port main power relay. Secondary 24 VDC panel for all 24 volt loads.These relays are 500 Amp, and are needed to switch on/off the port and starboard 48 VDC battery banks to the drives.
But, in this update, most of the actual boat construction occurred last week from the 16th to the 20th of November.
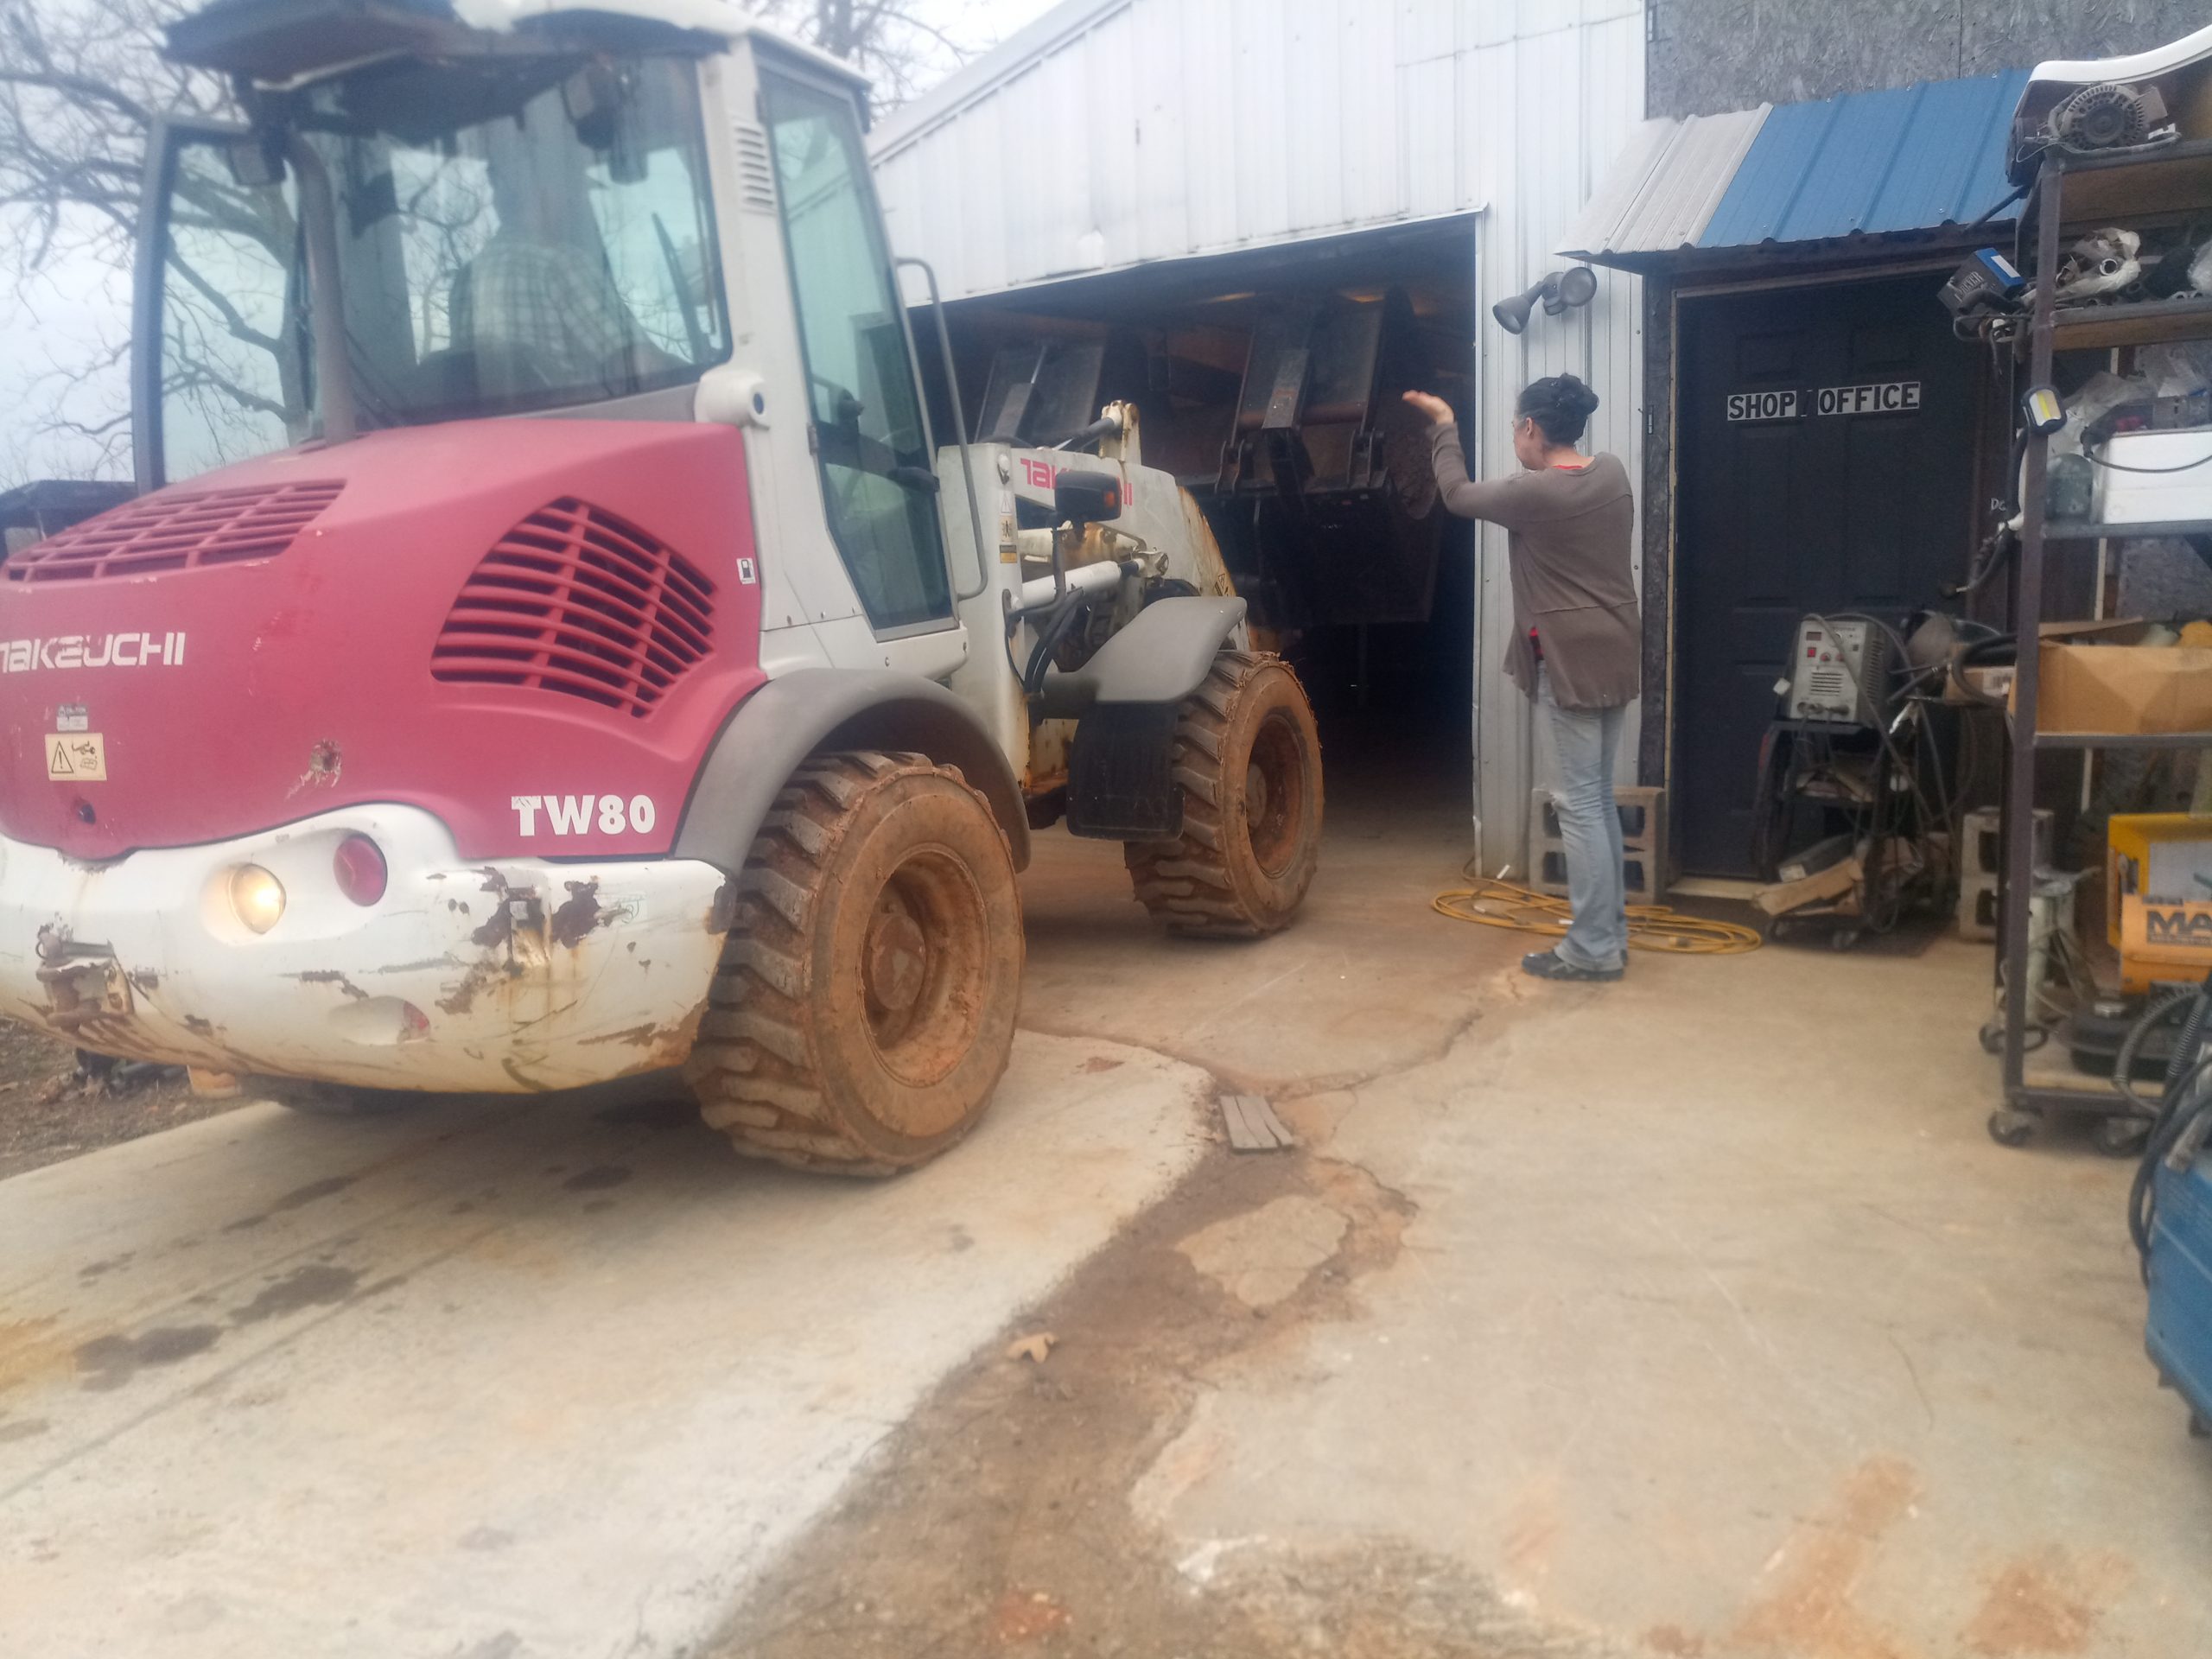
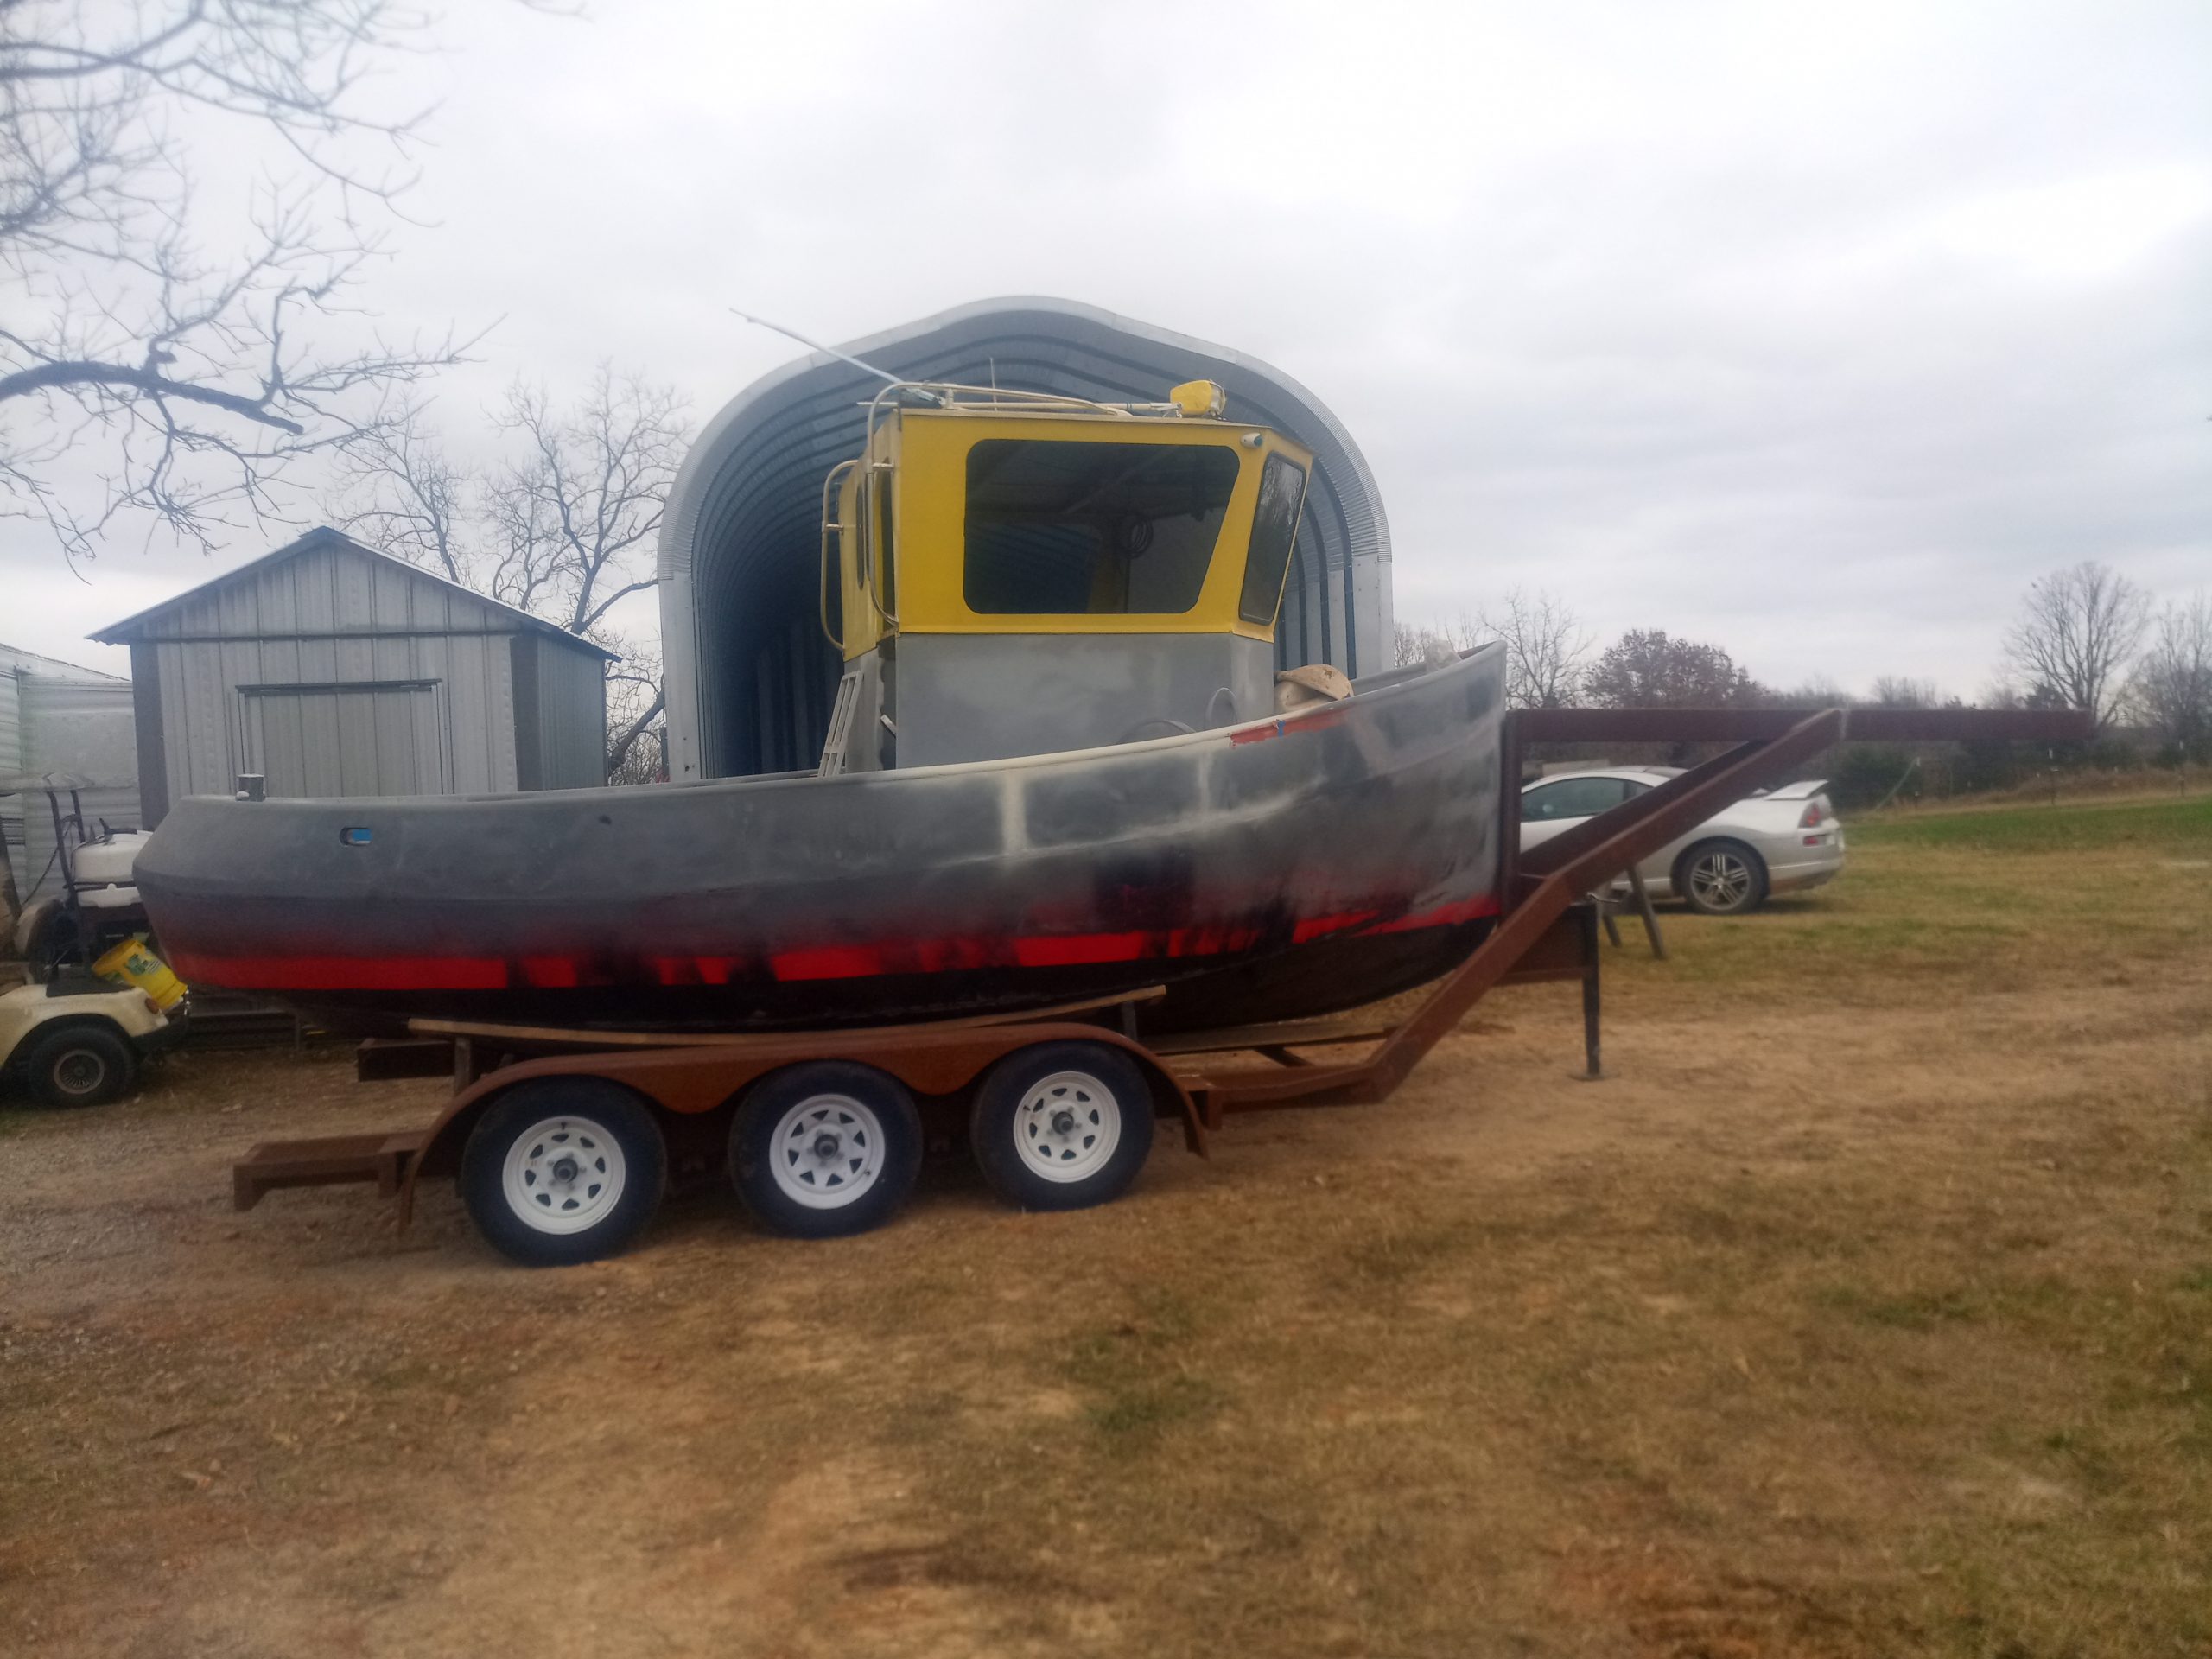
Also, I needed to actually transfer the tug onto the trailer and build the bunk supports, etc. So here is the picture set to help show what I have been doing with regards to this build.
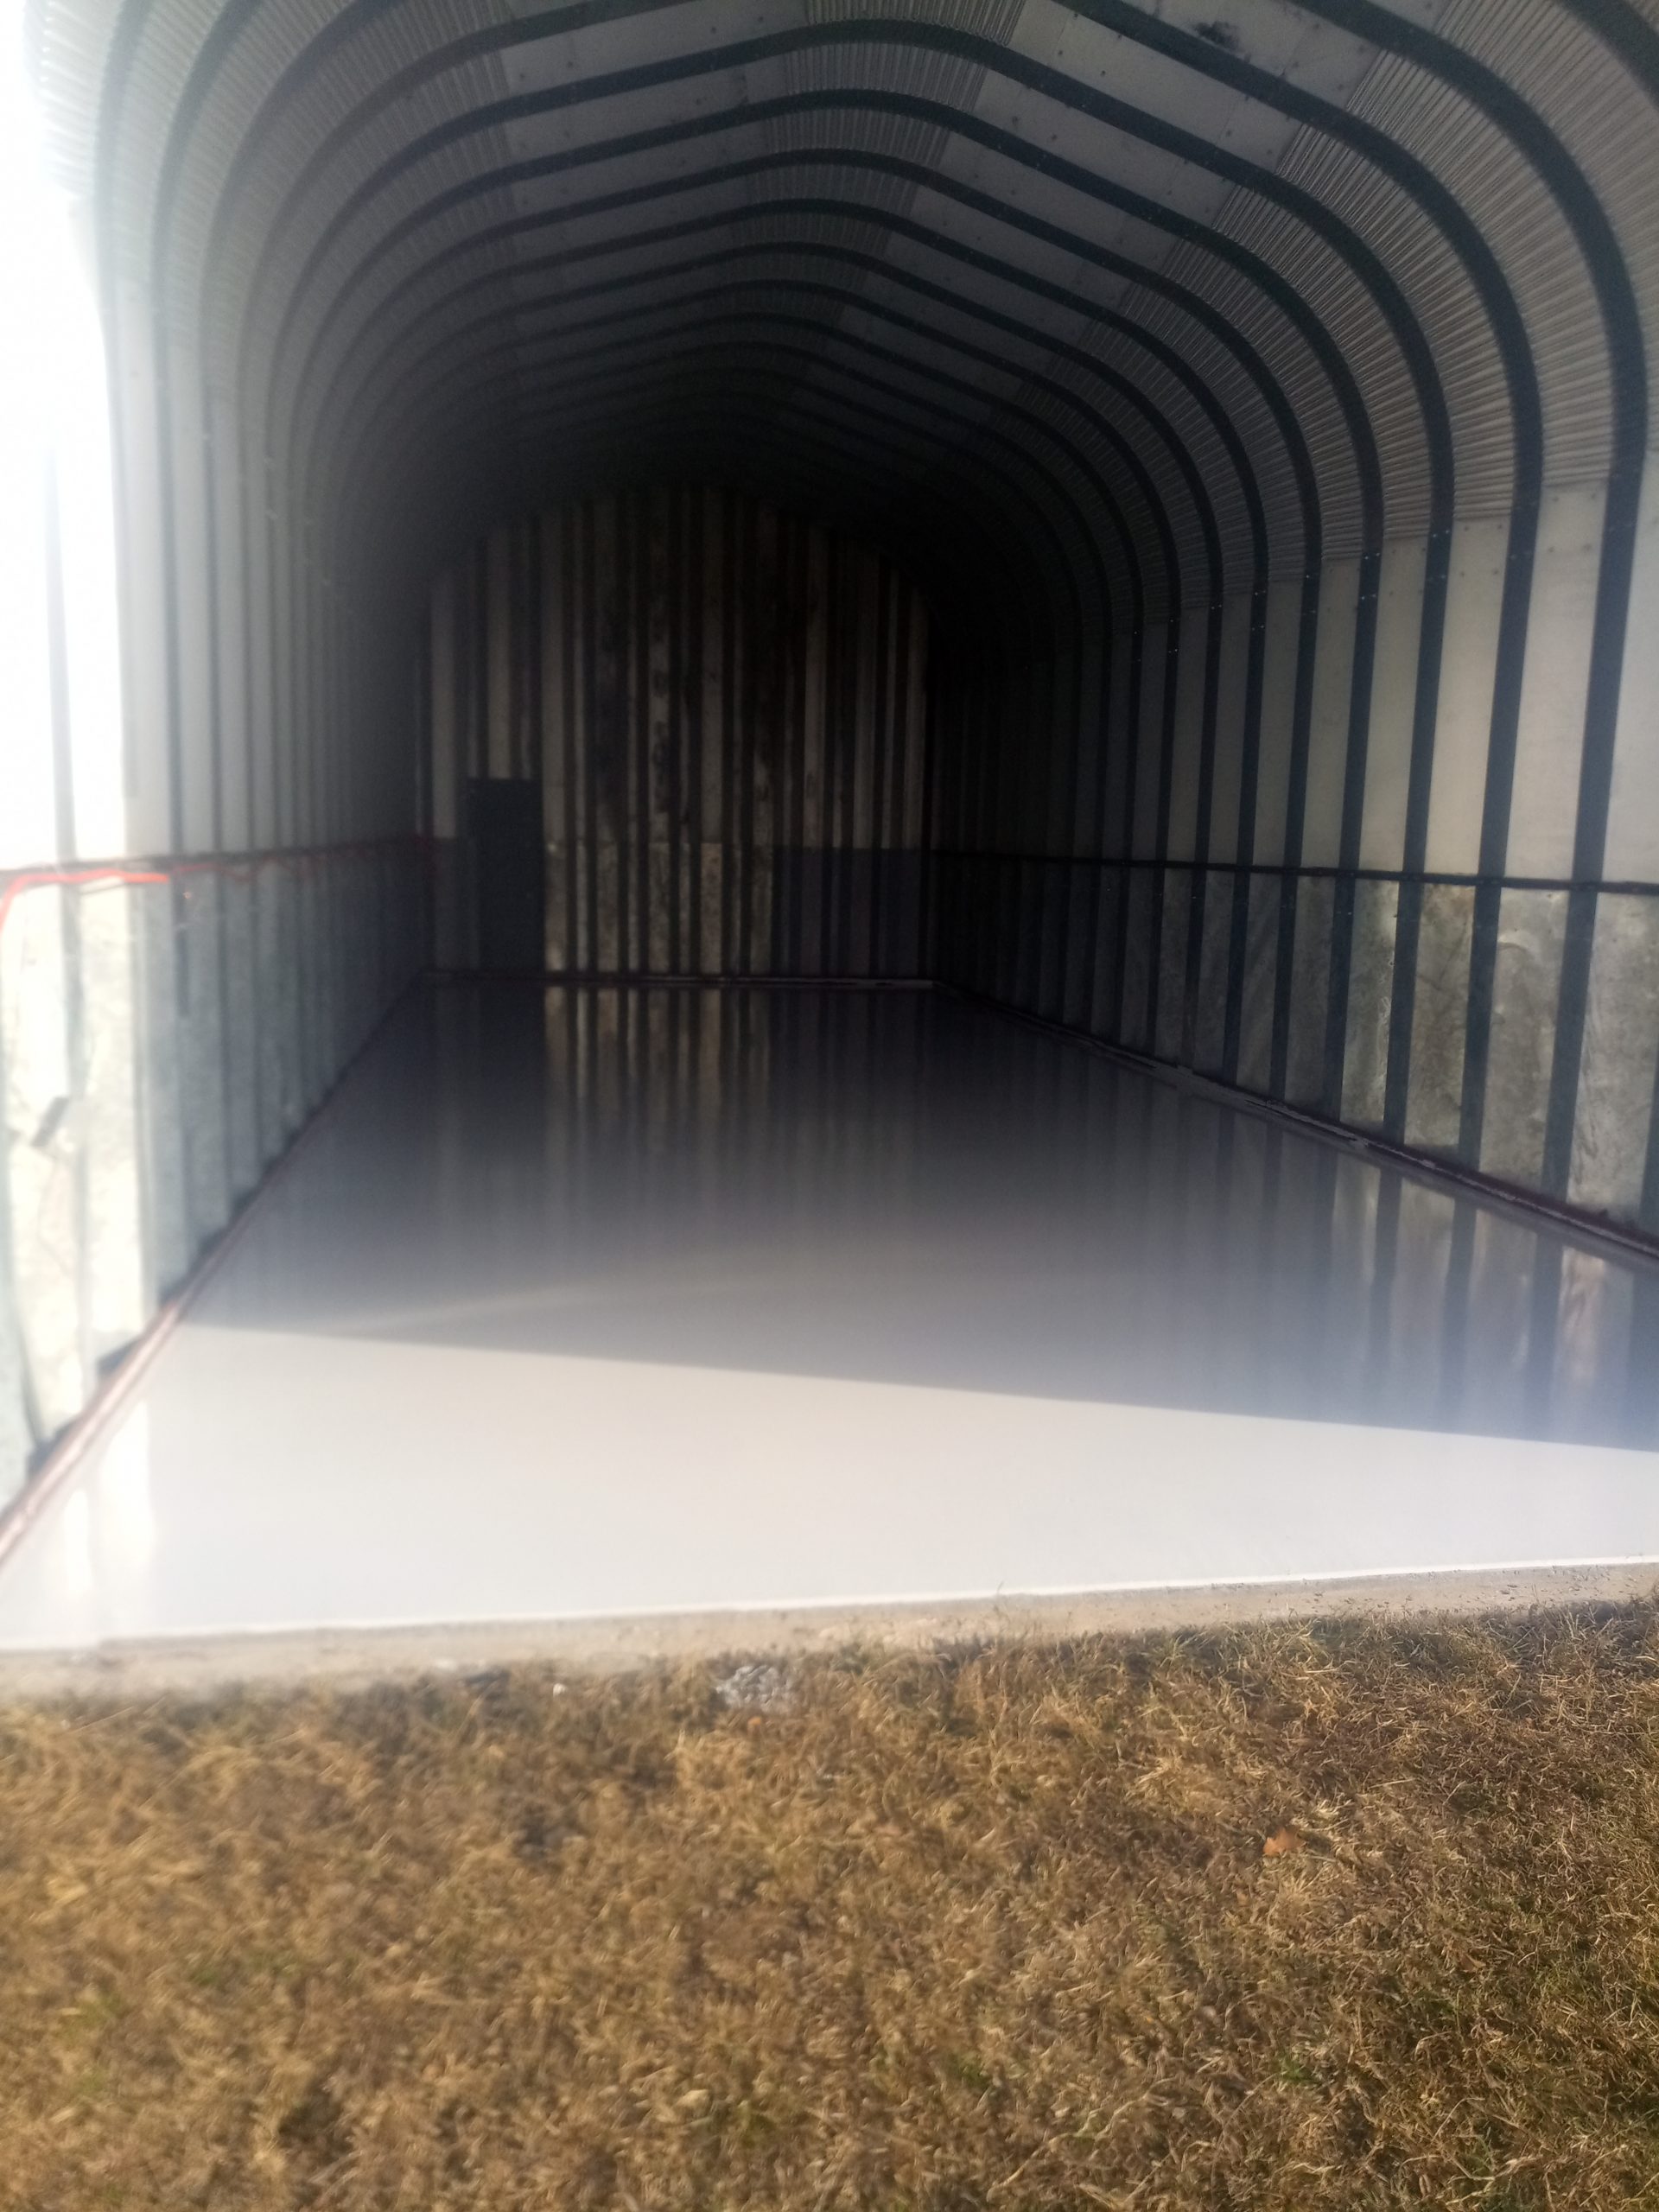
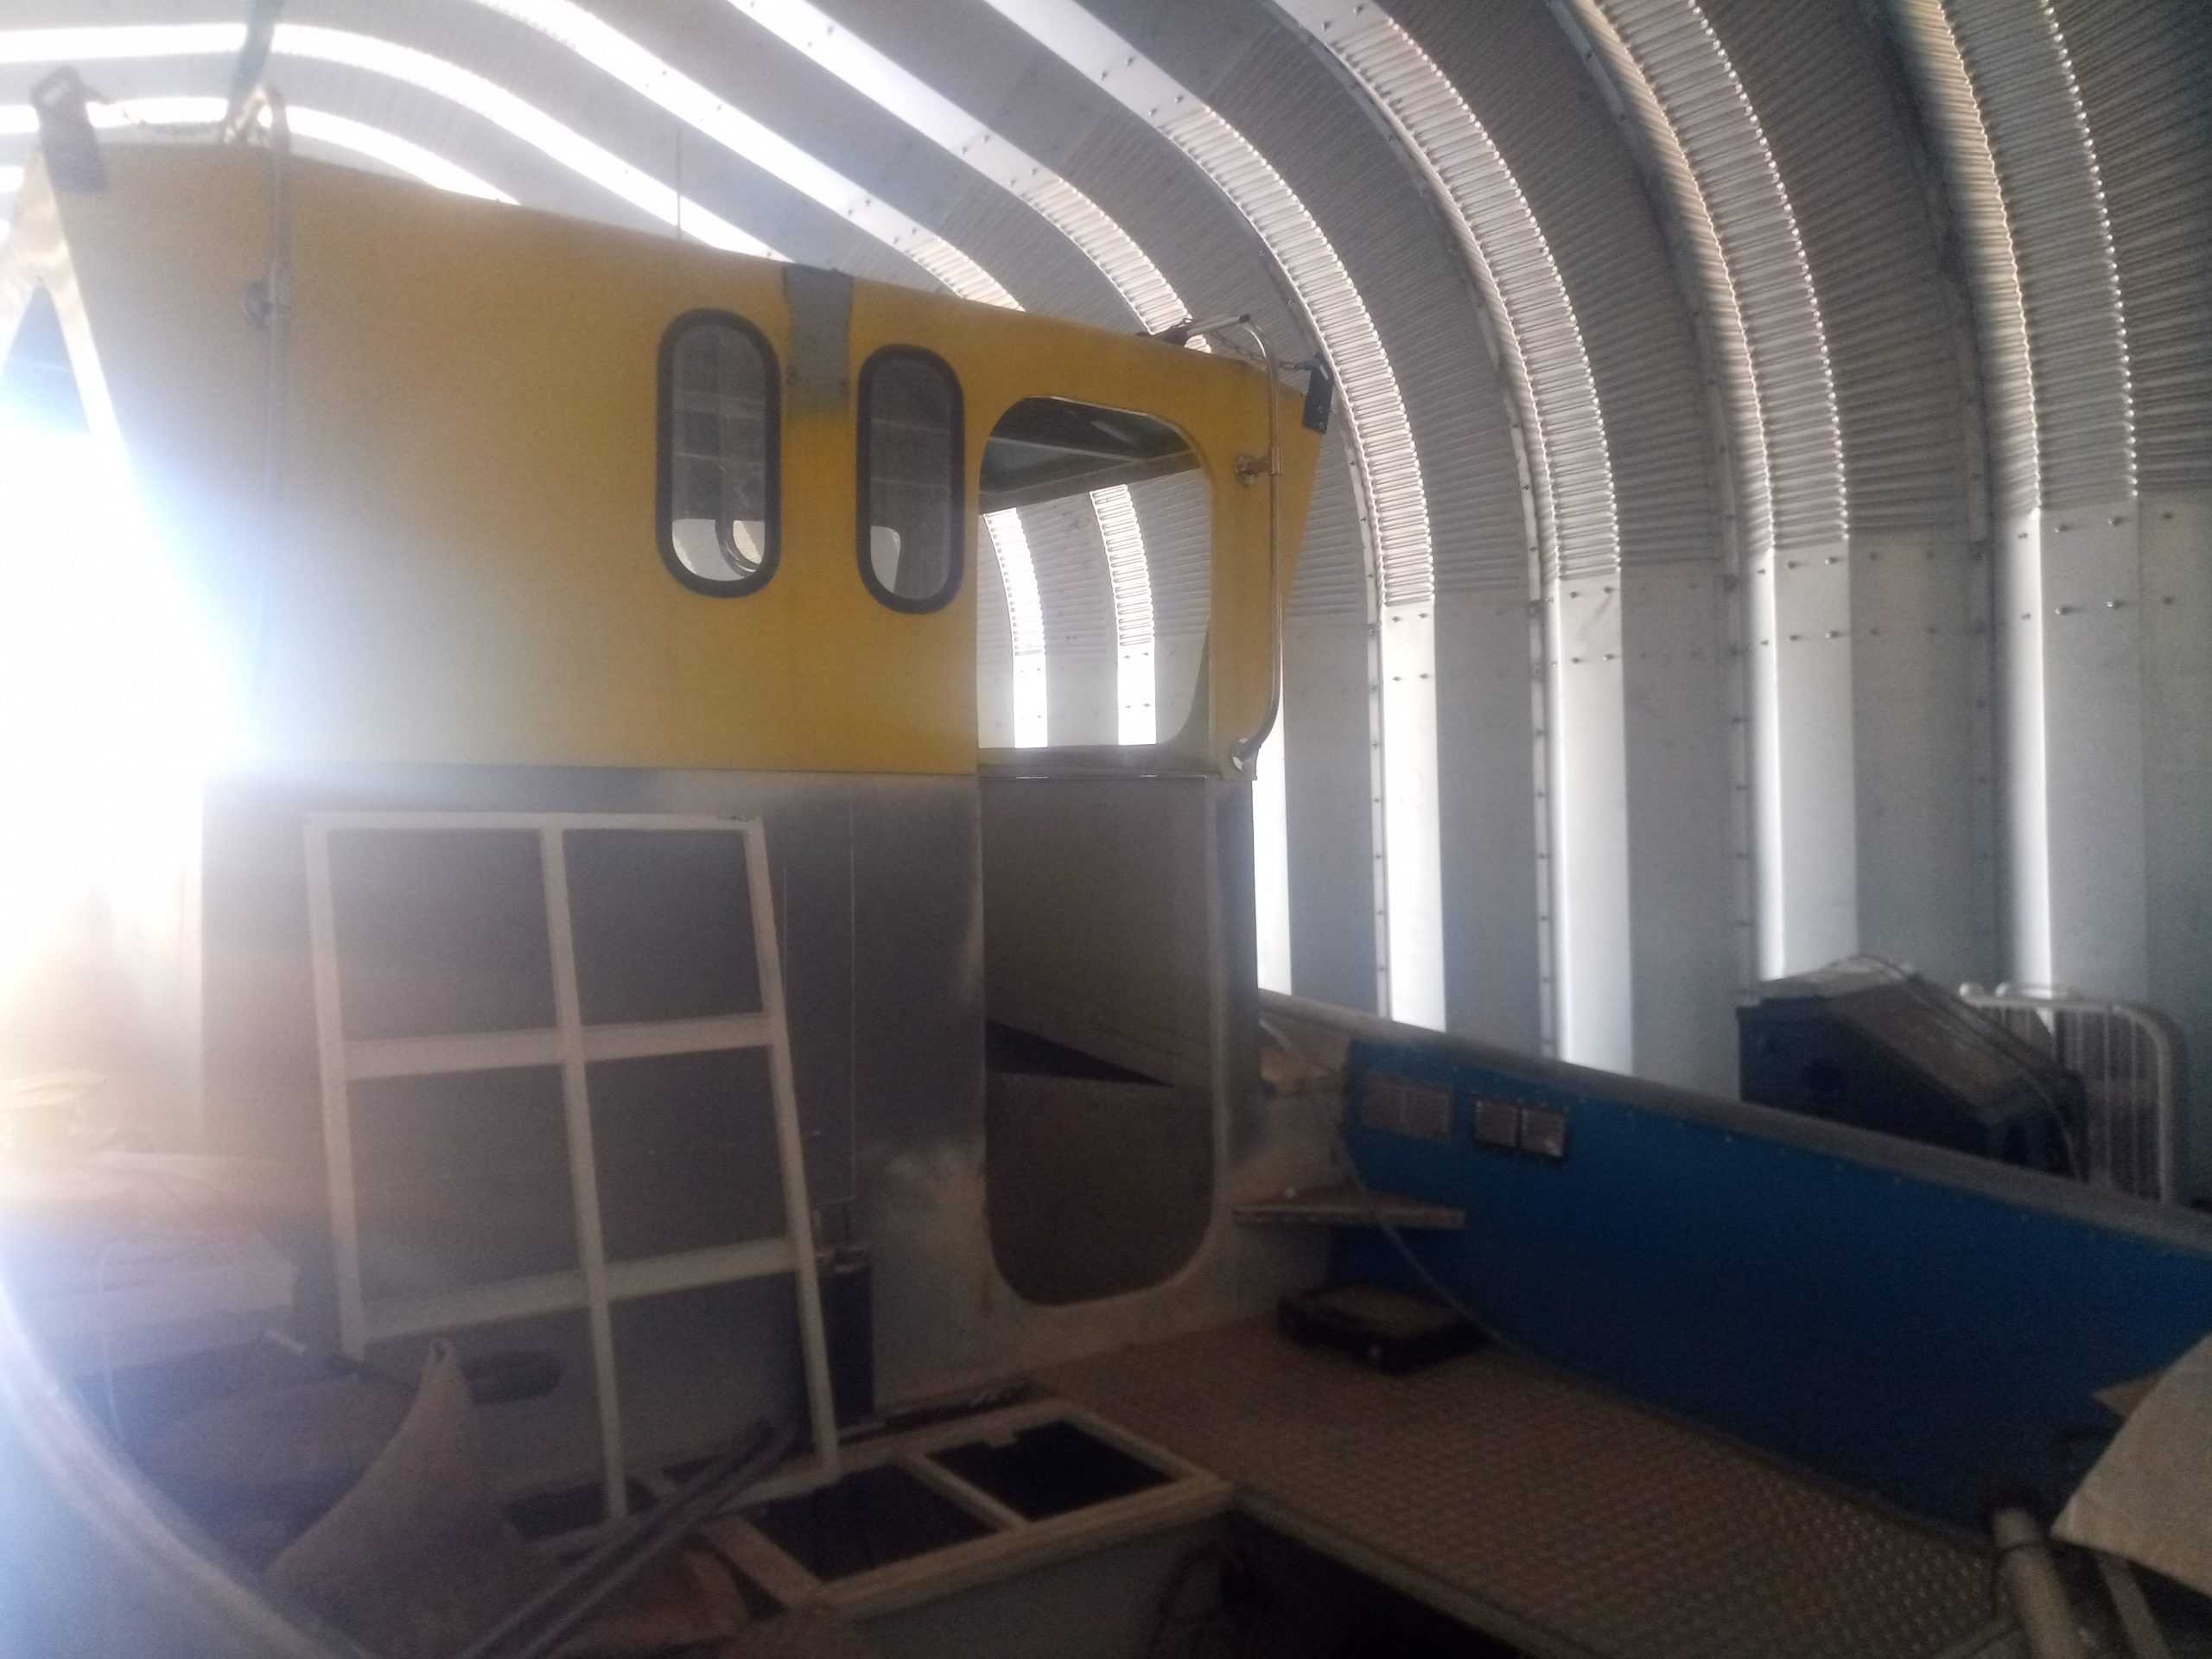
Affectionately called "The cathedral." Over 1,428 bolts later...
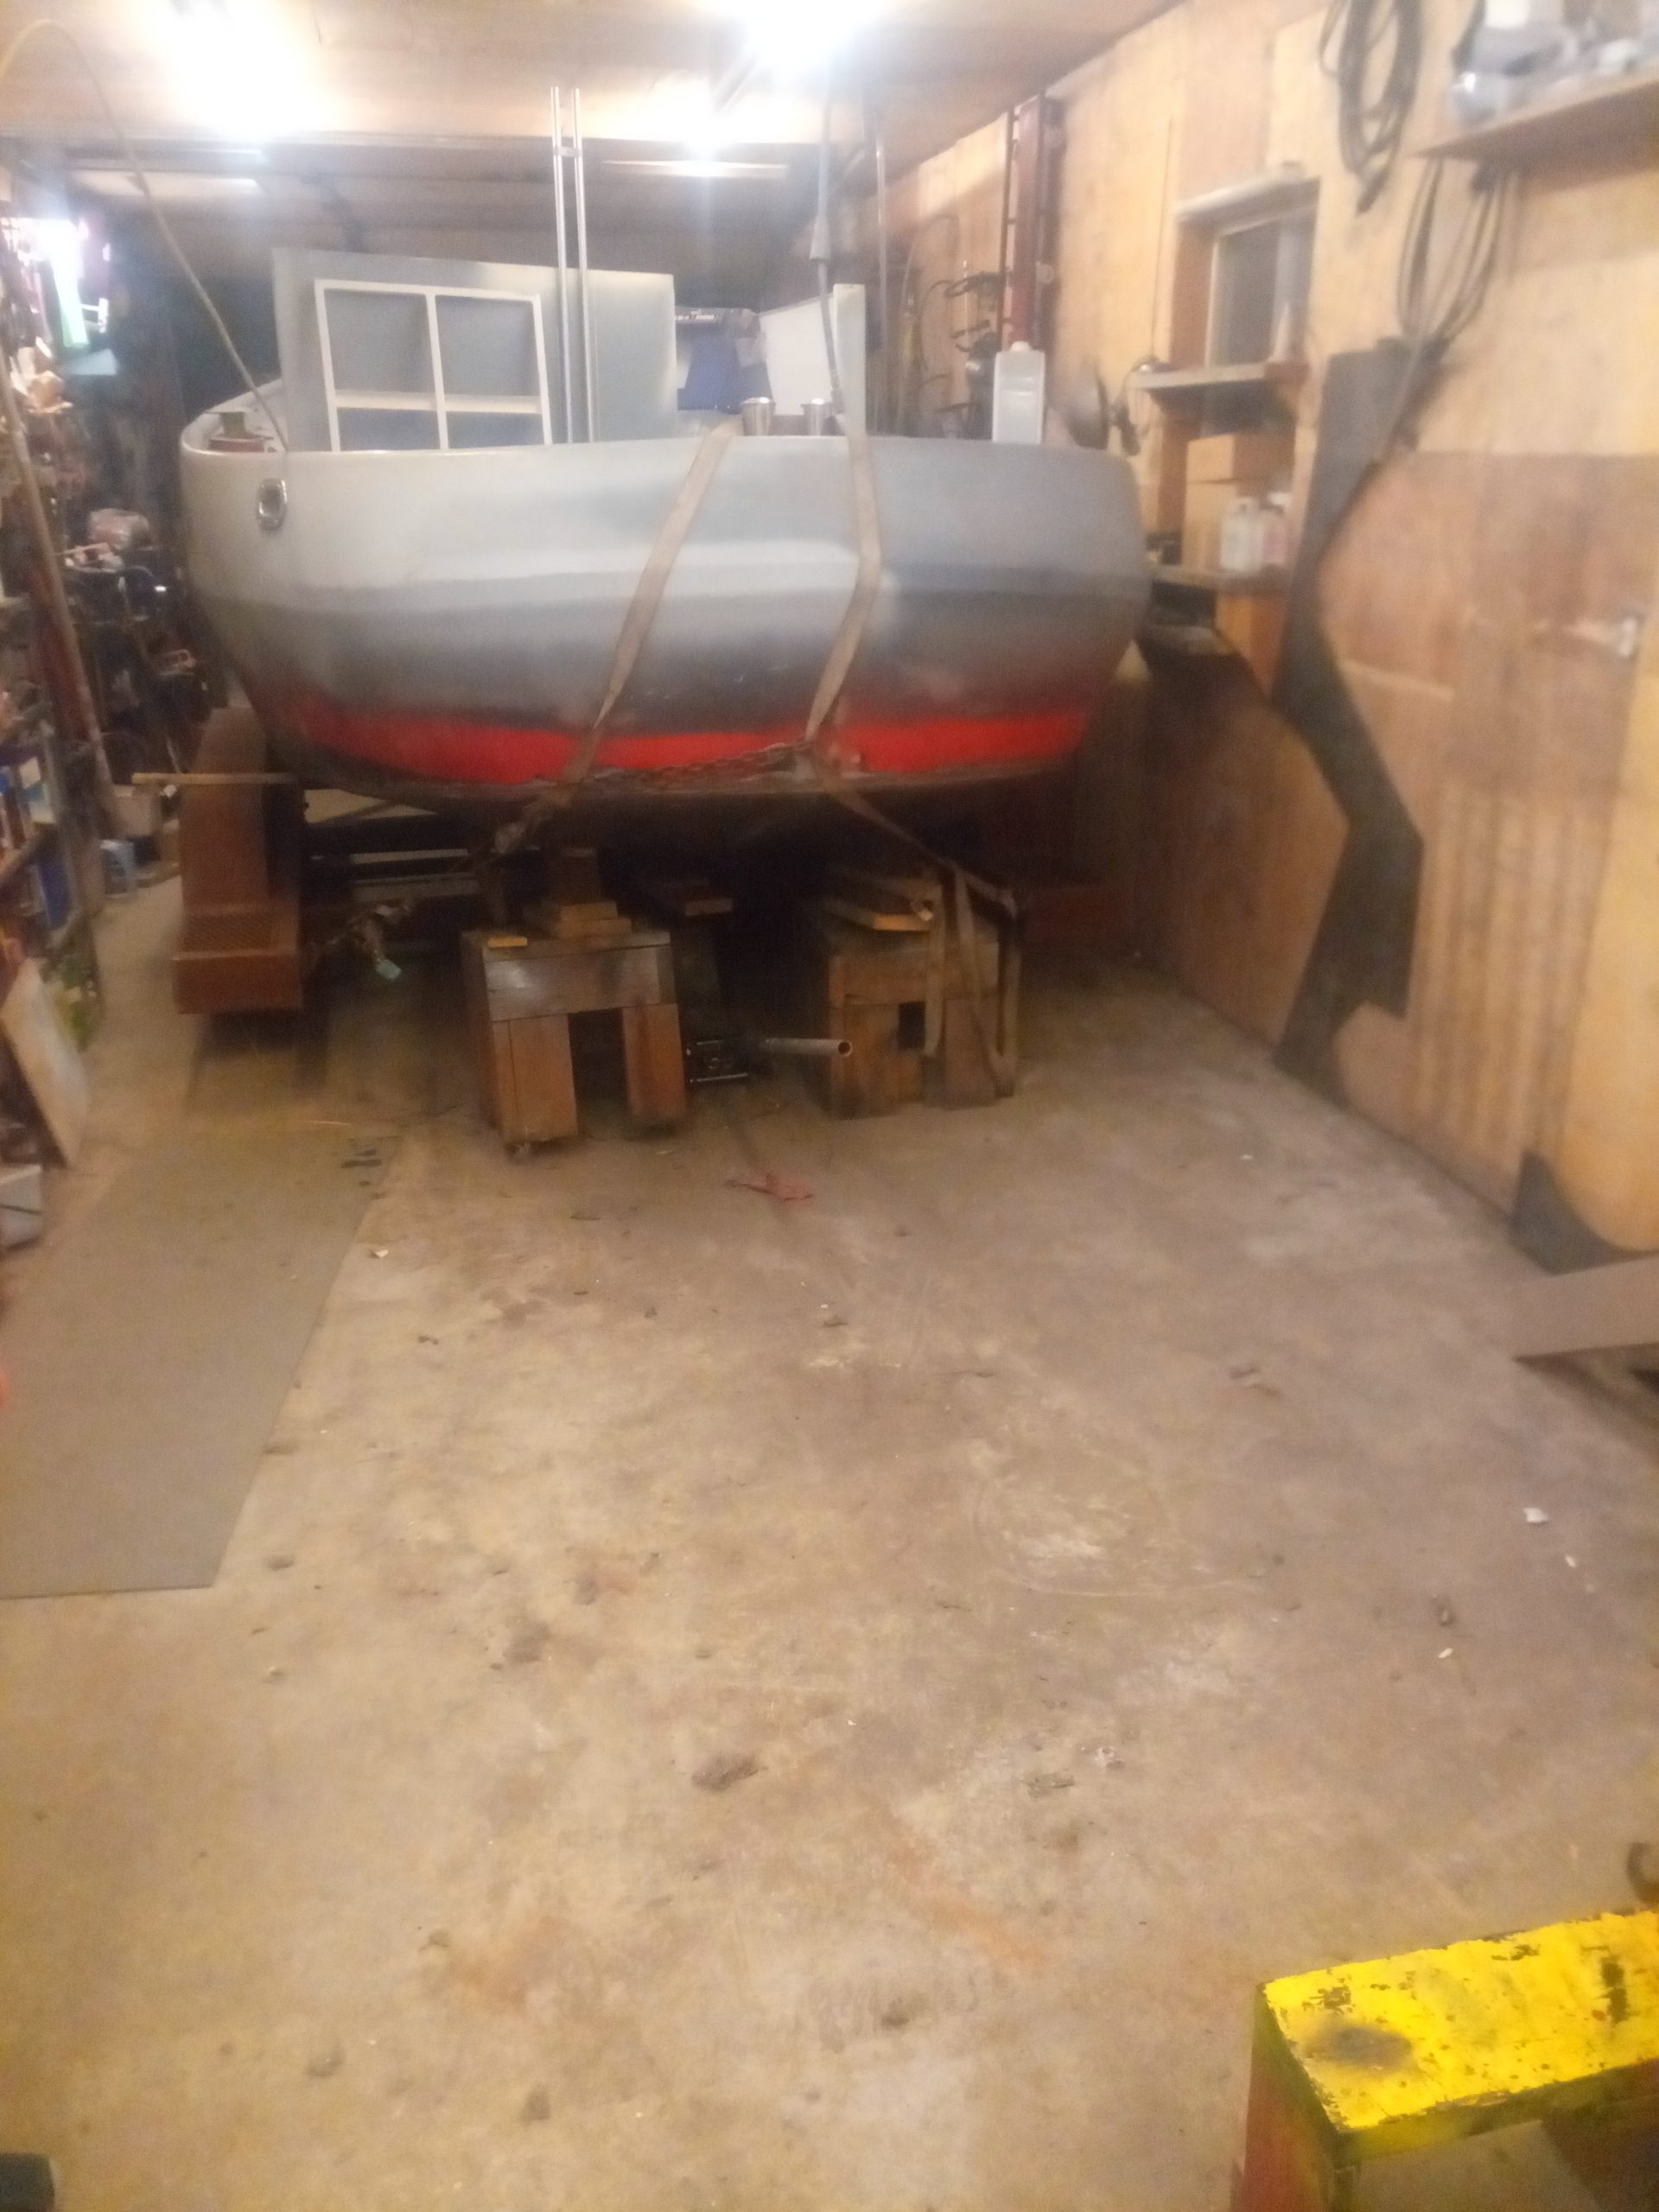
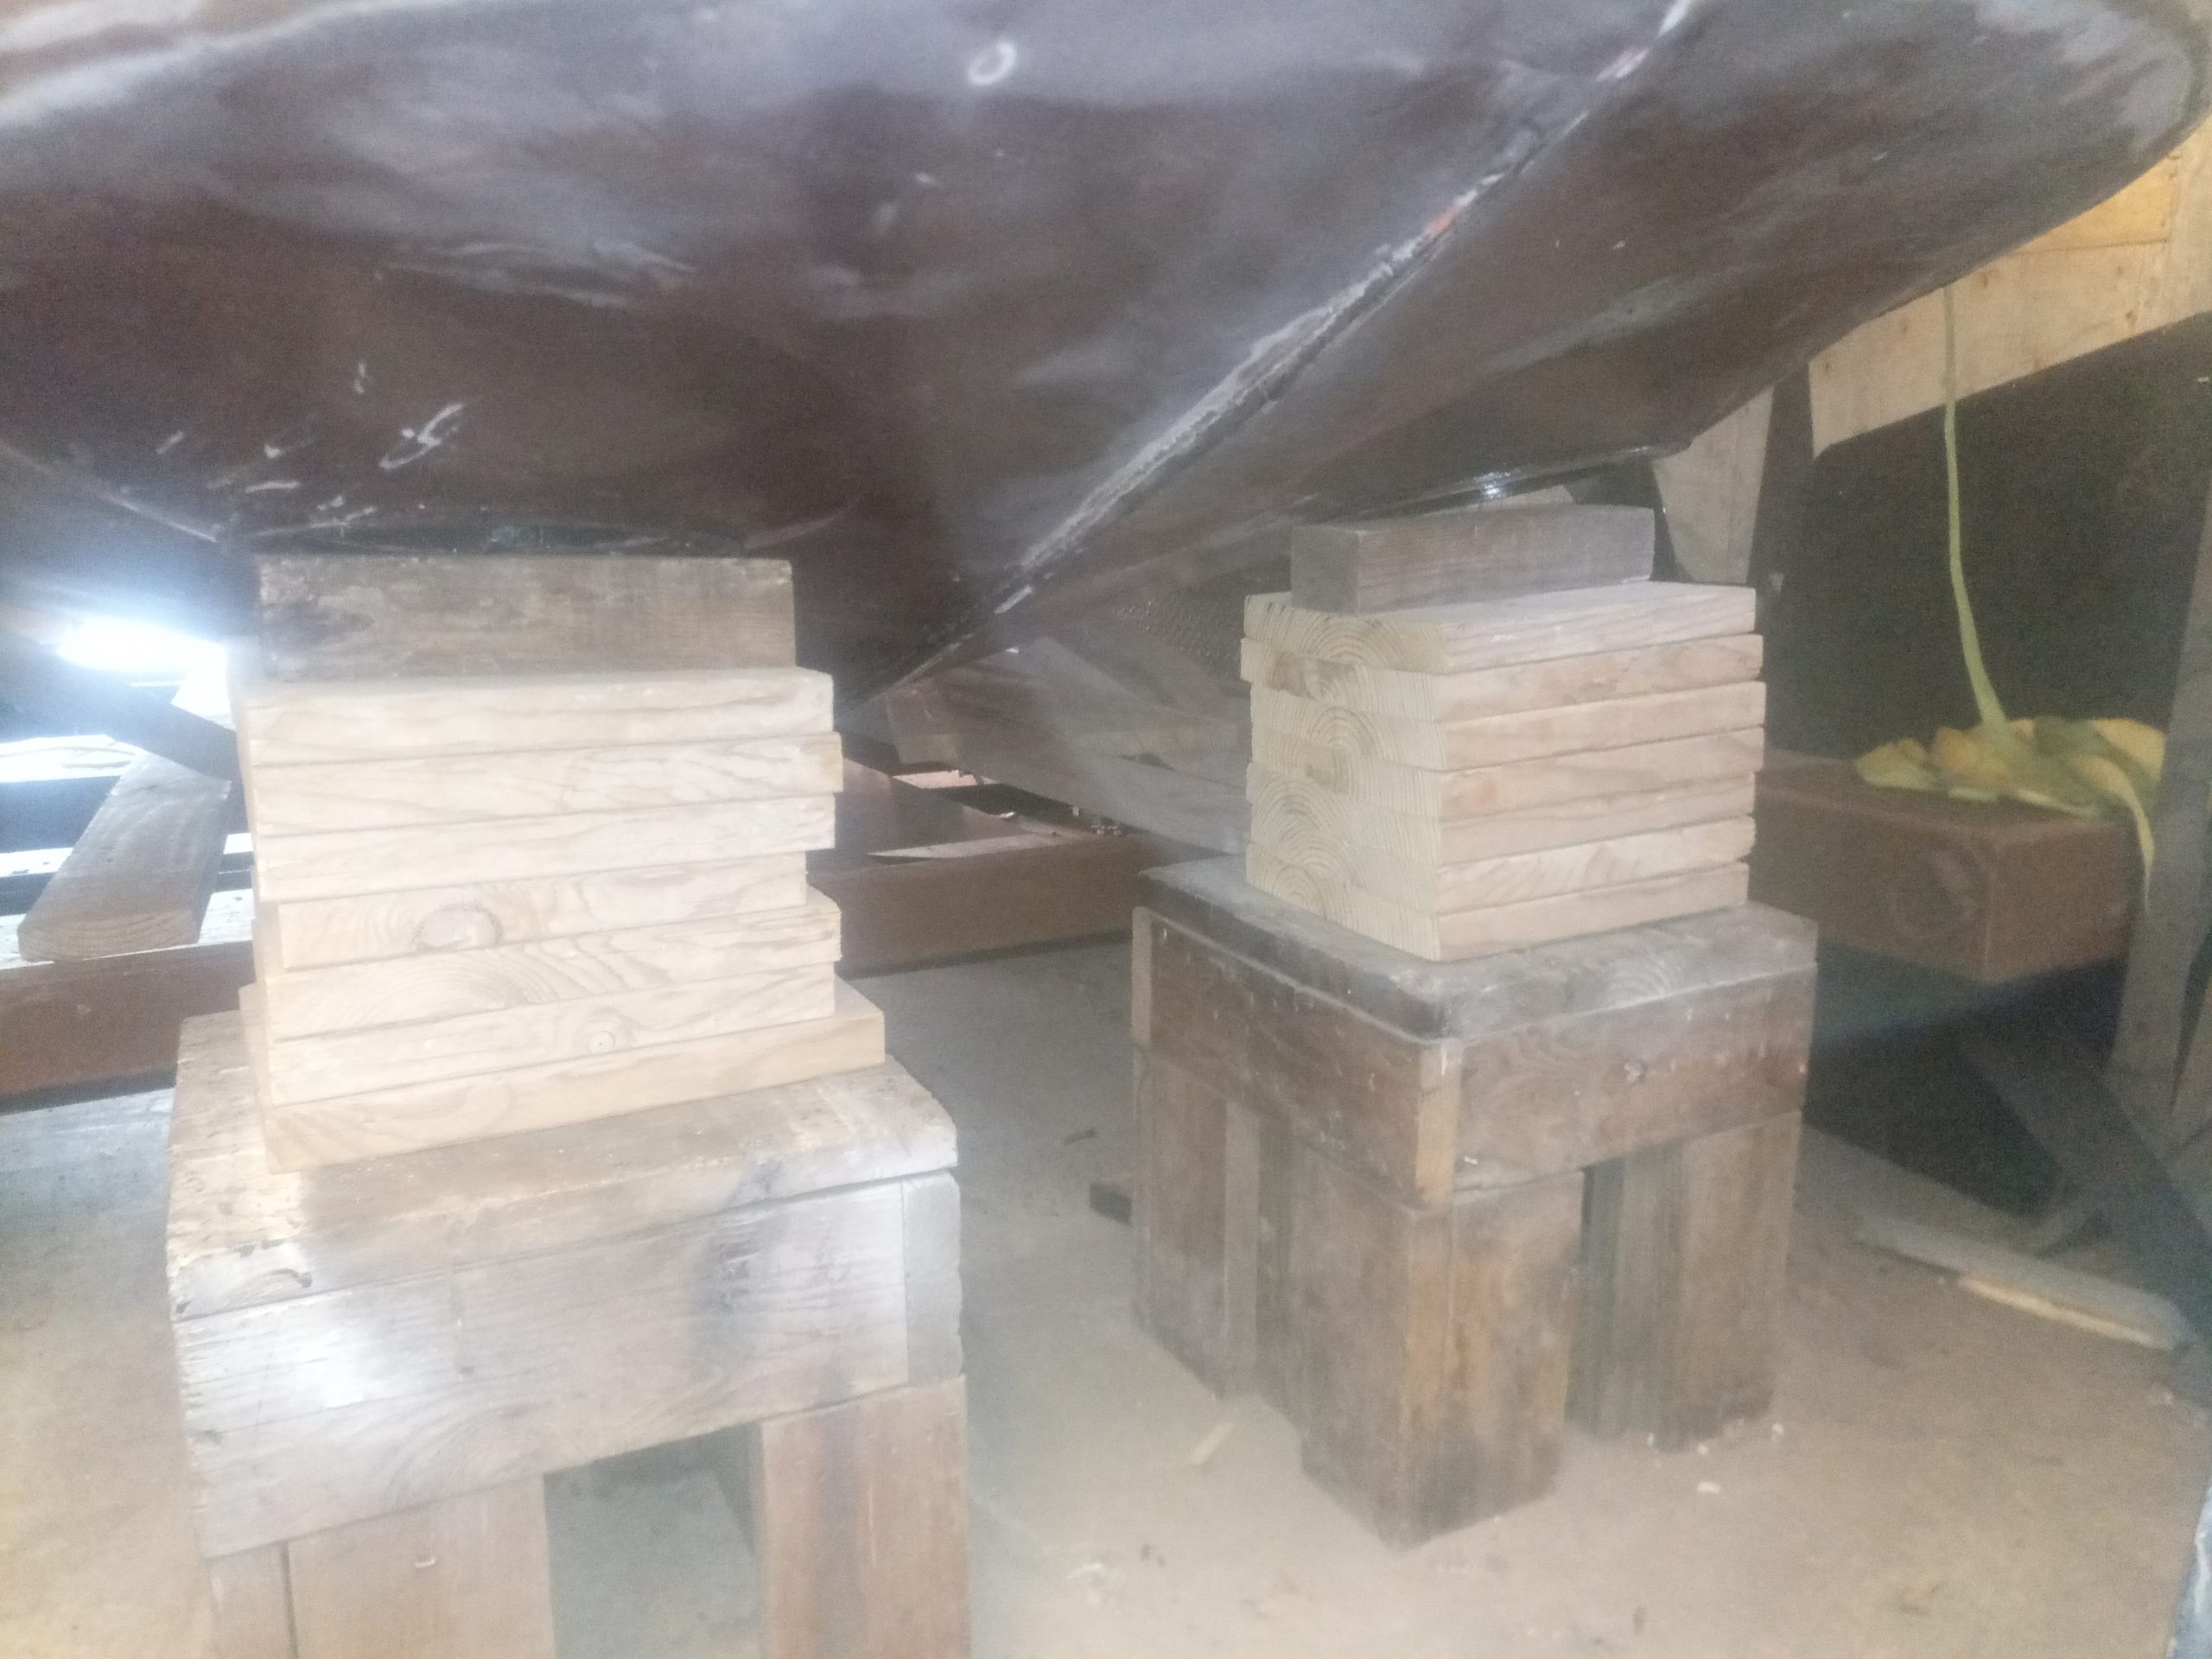
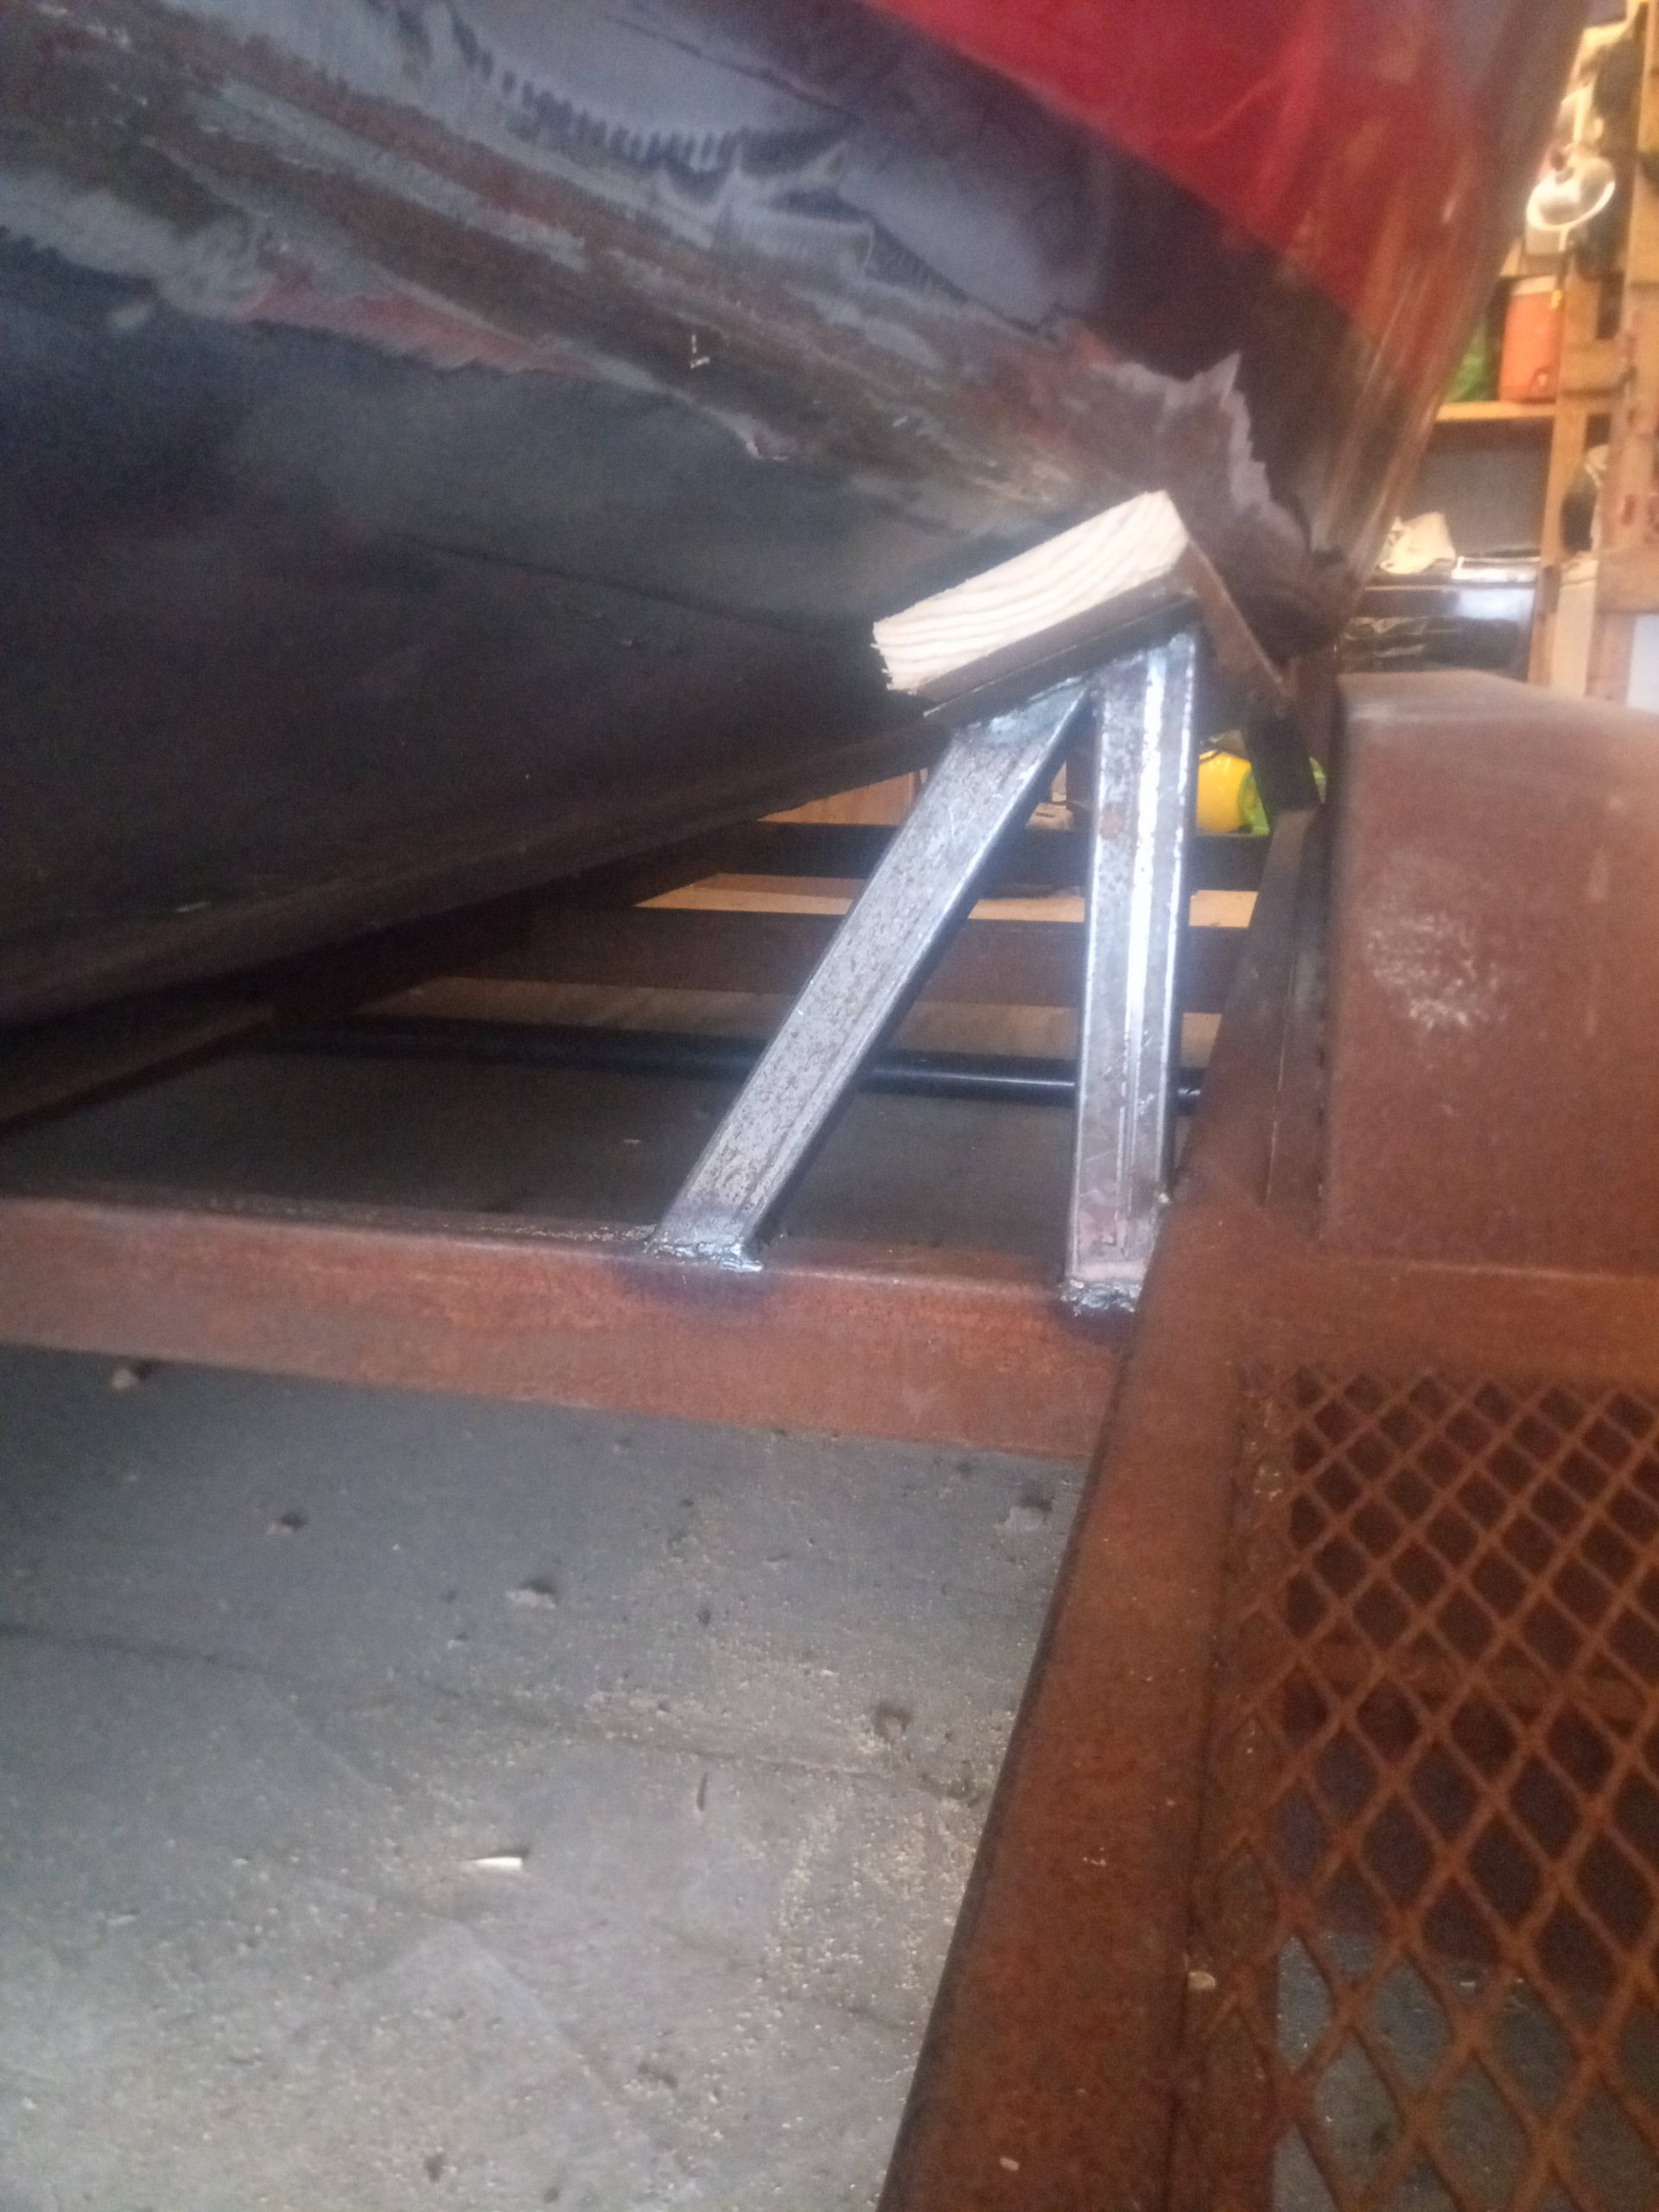
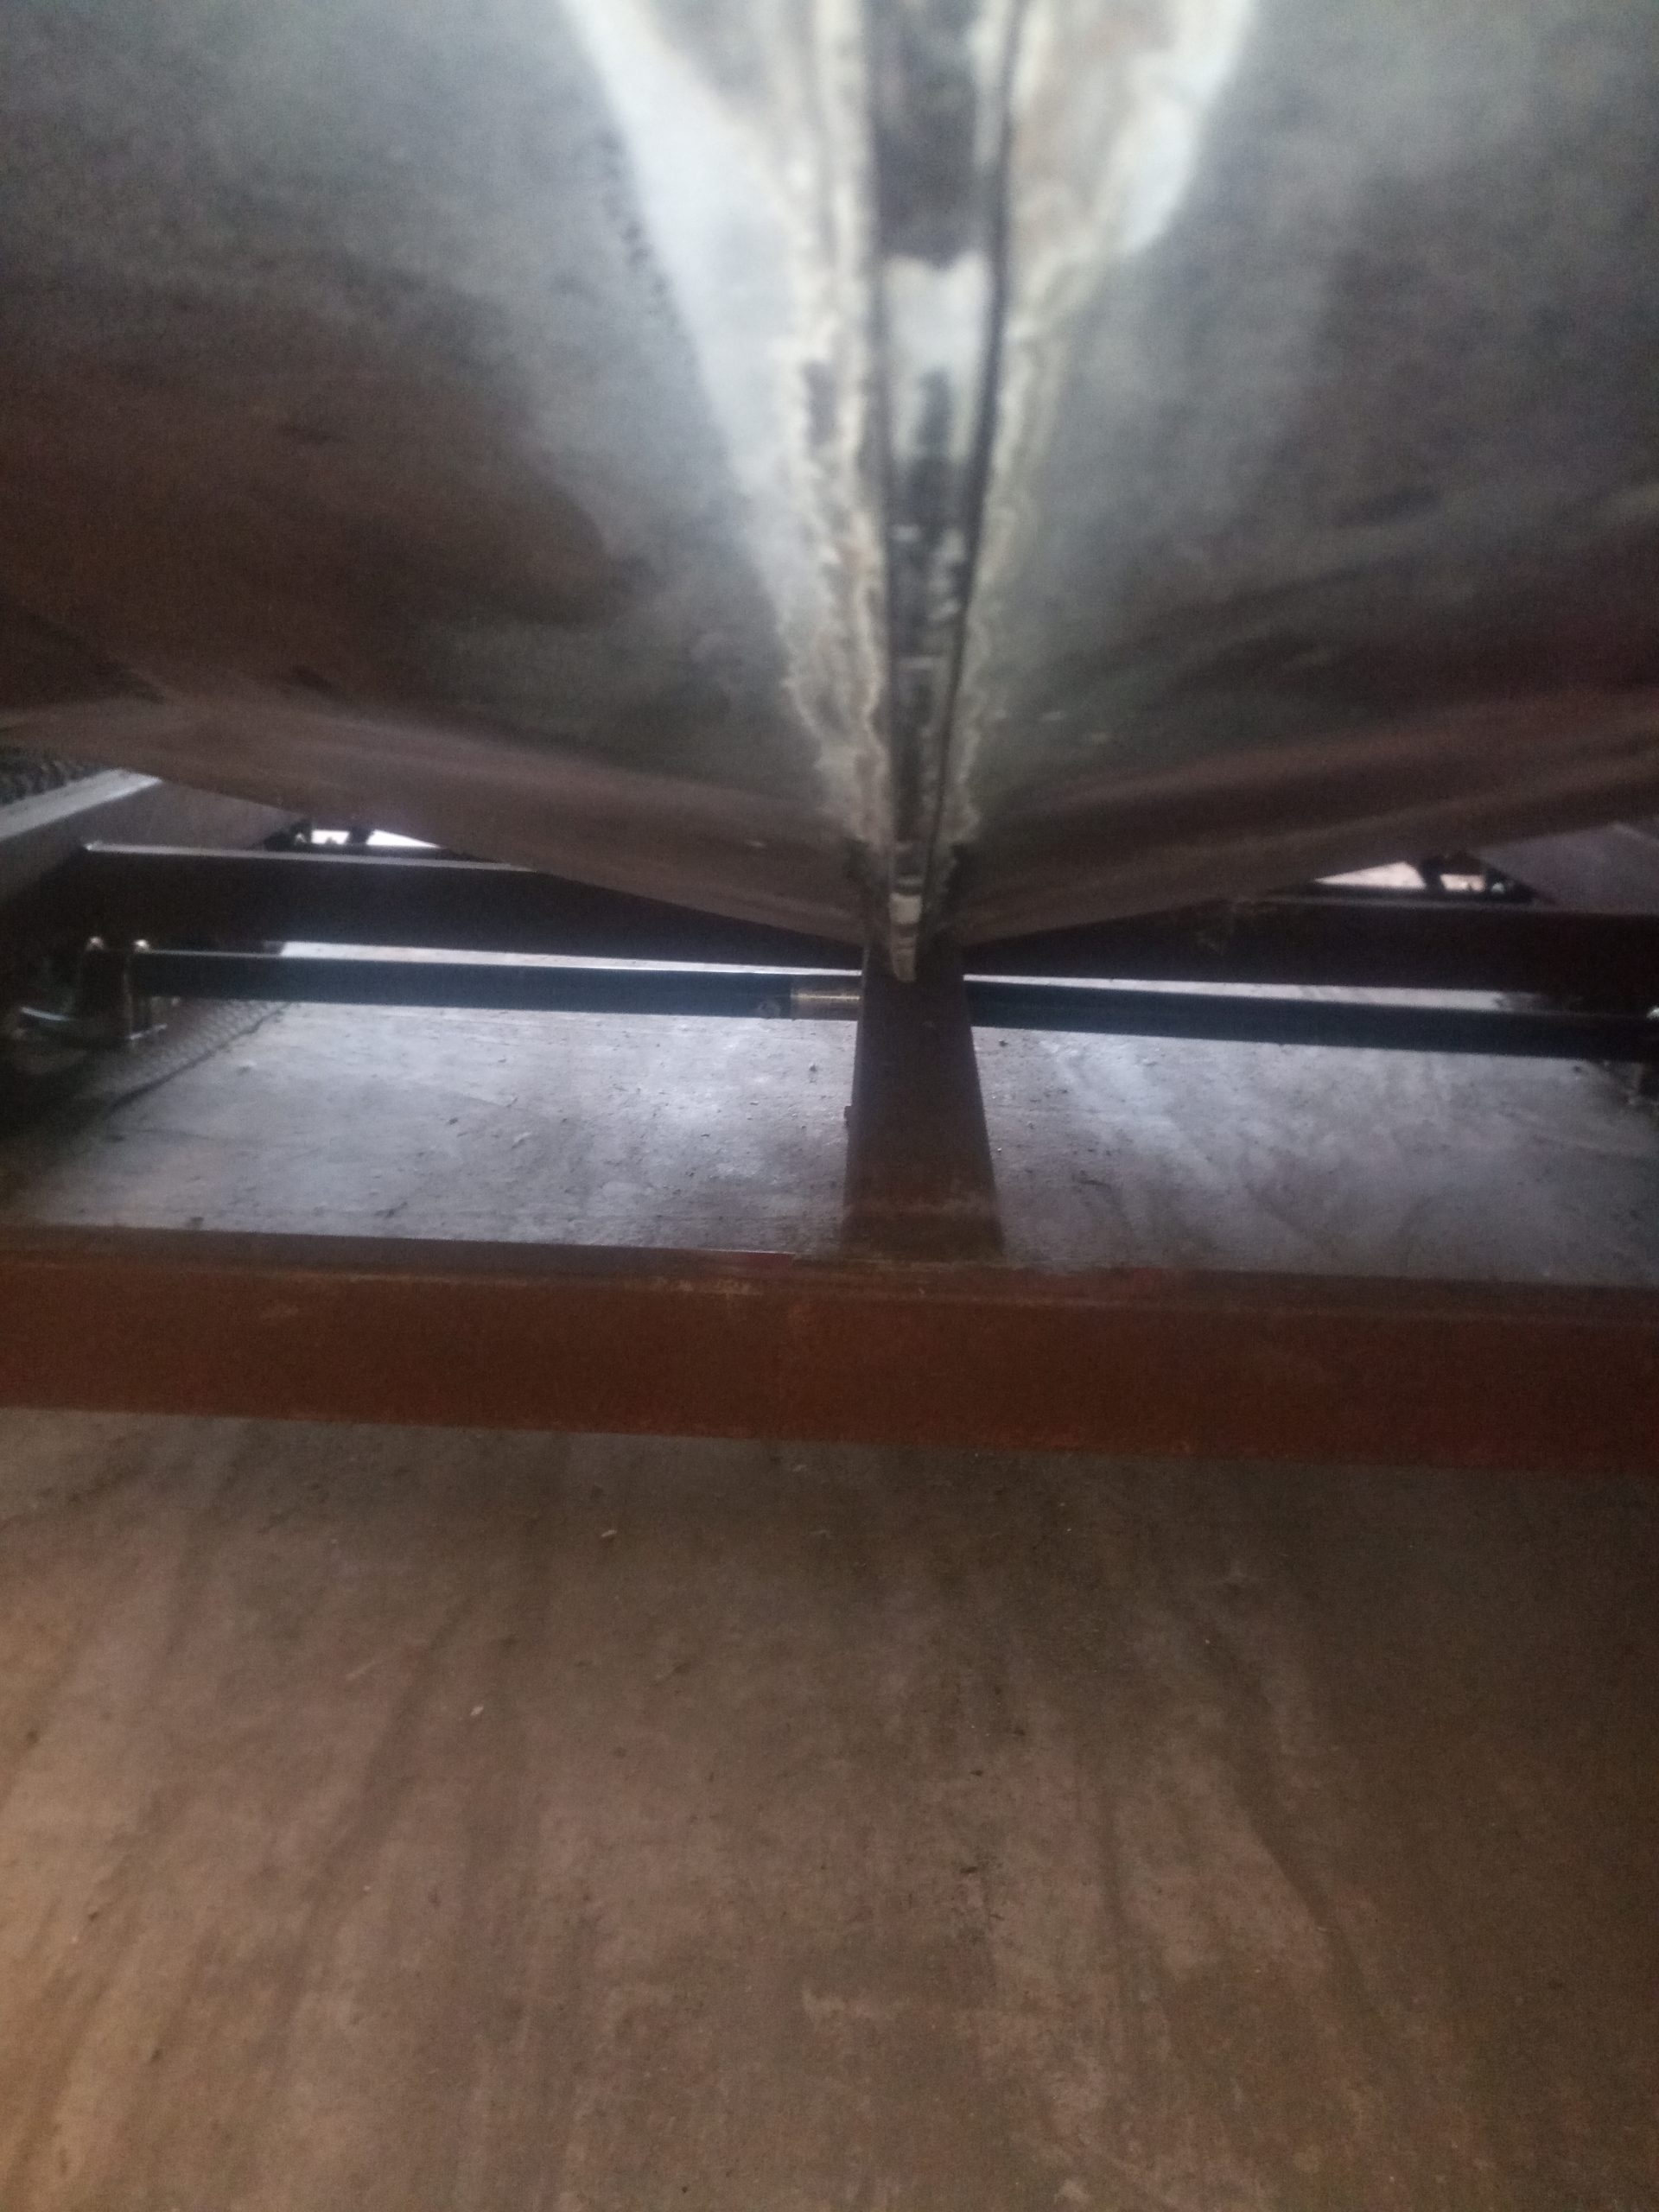
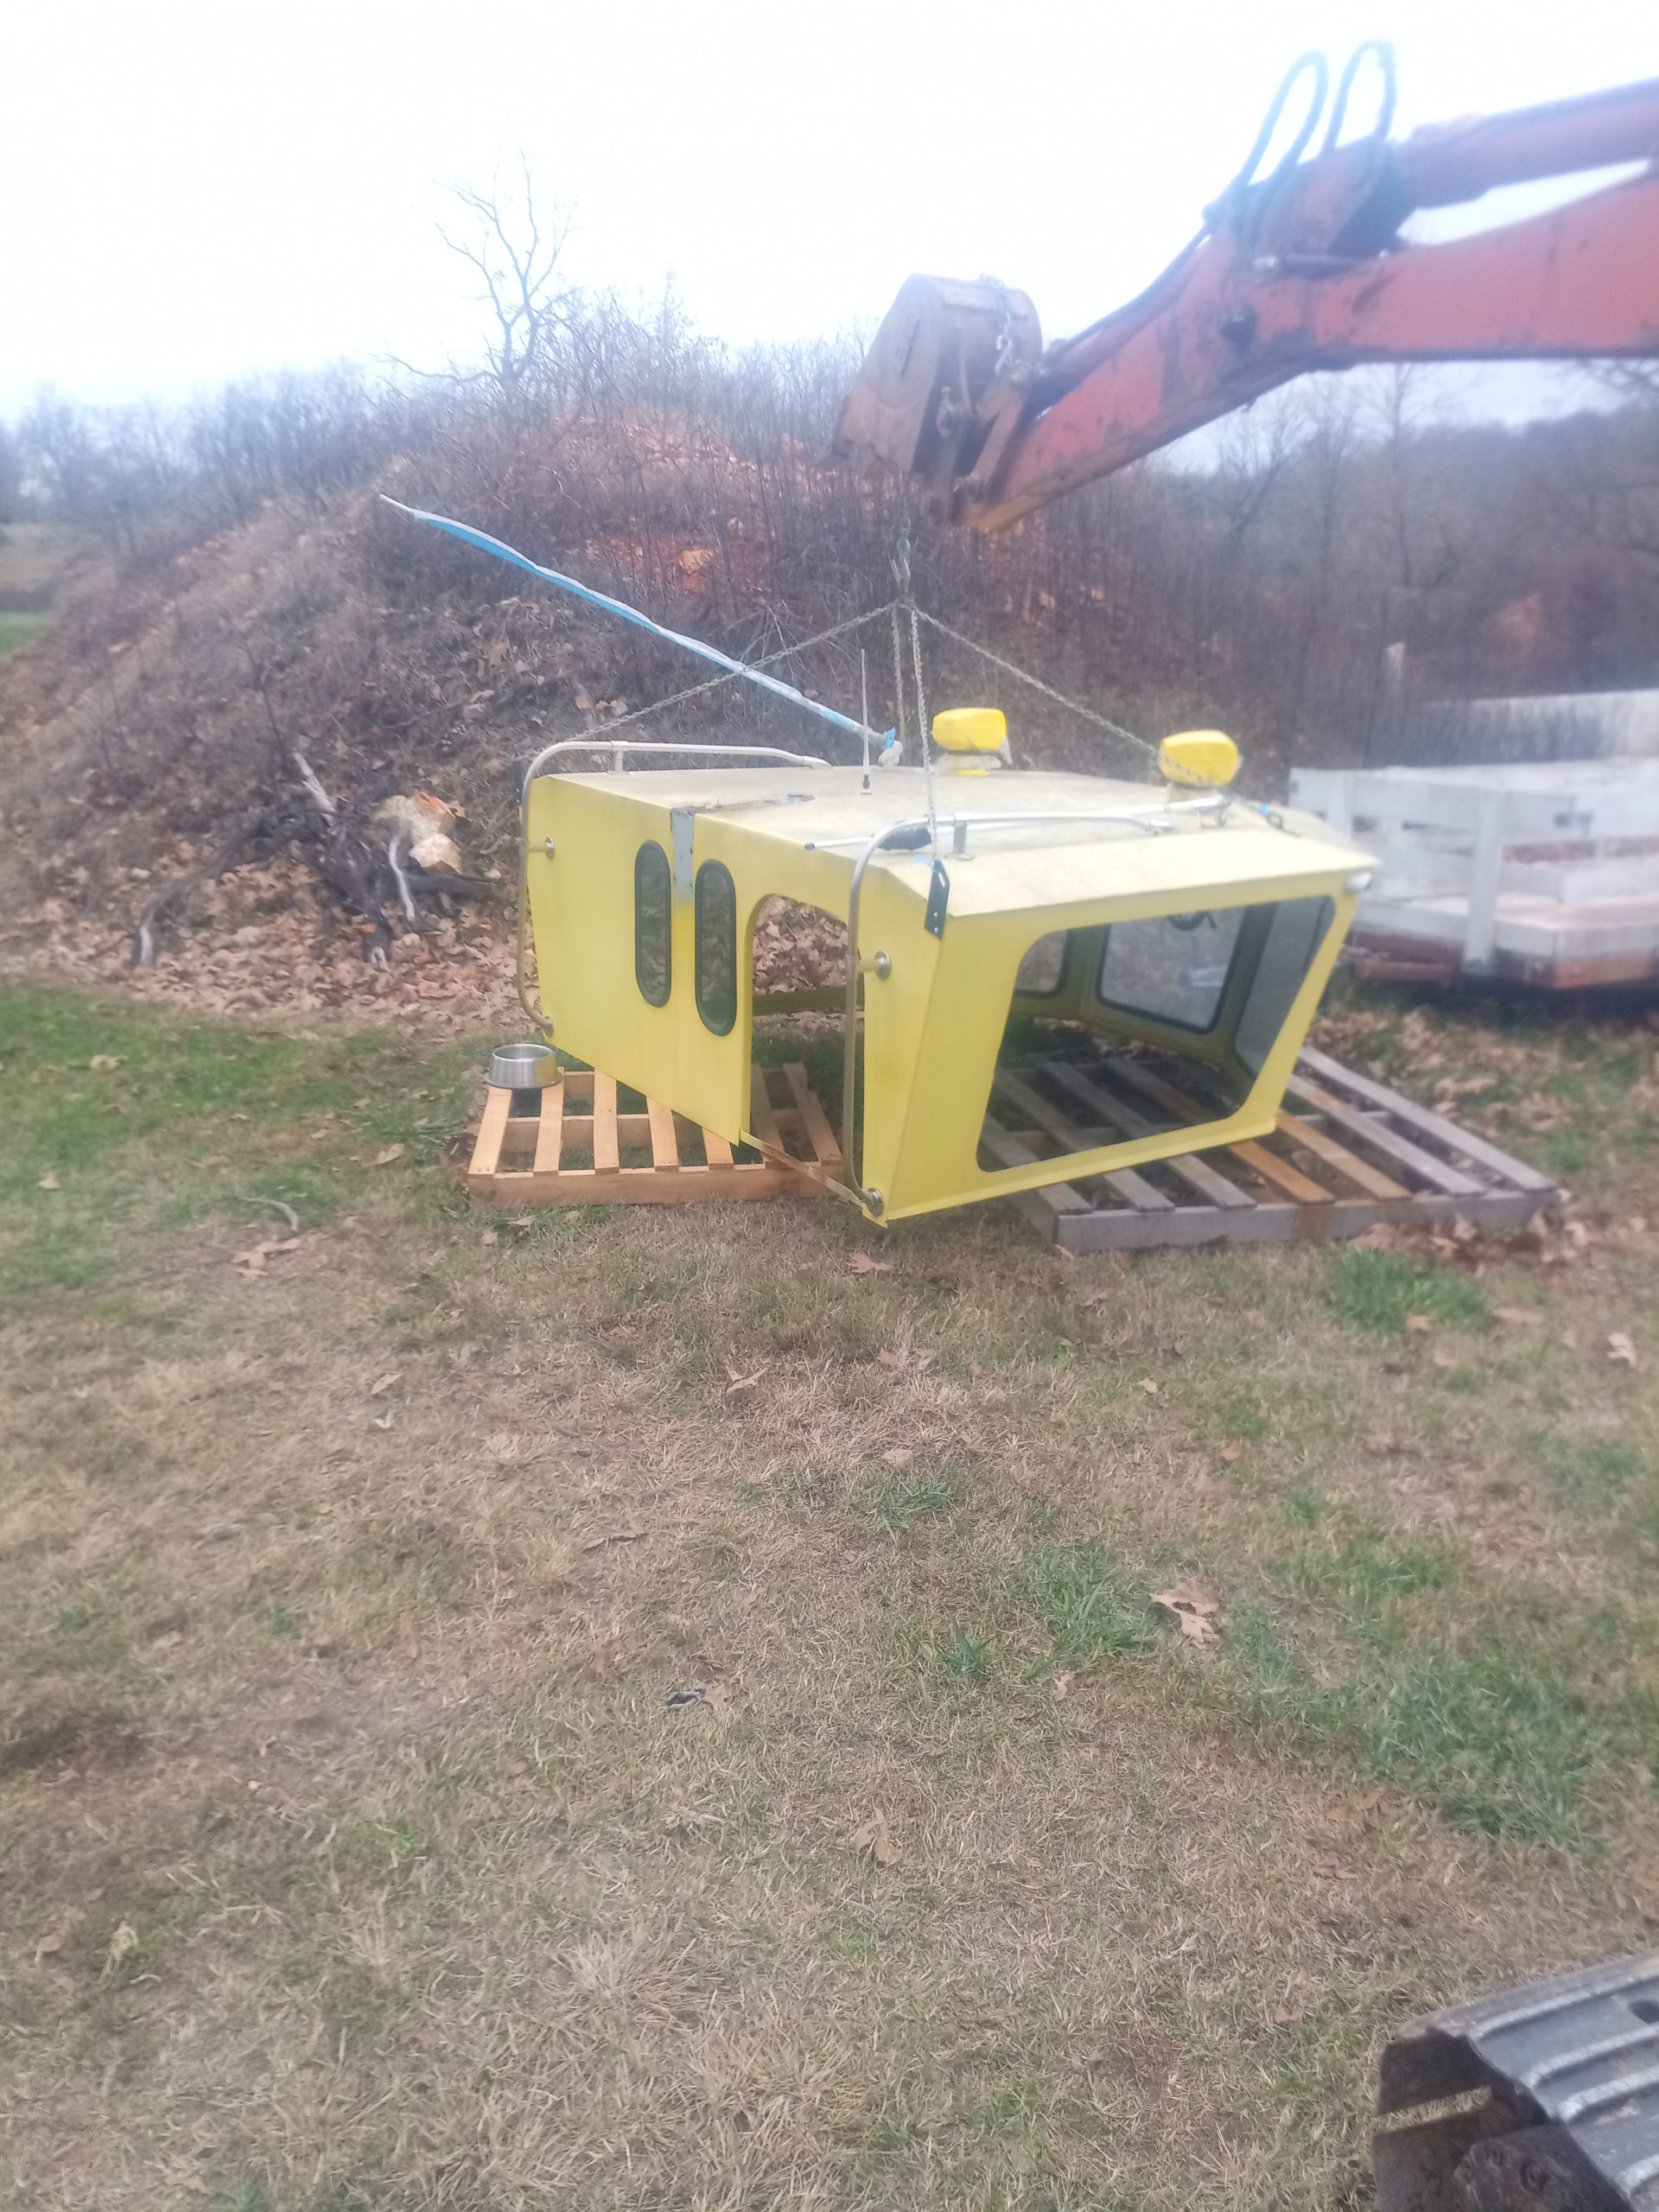
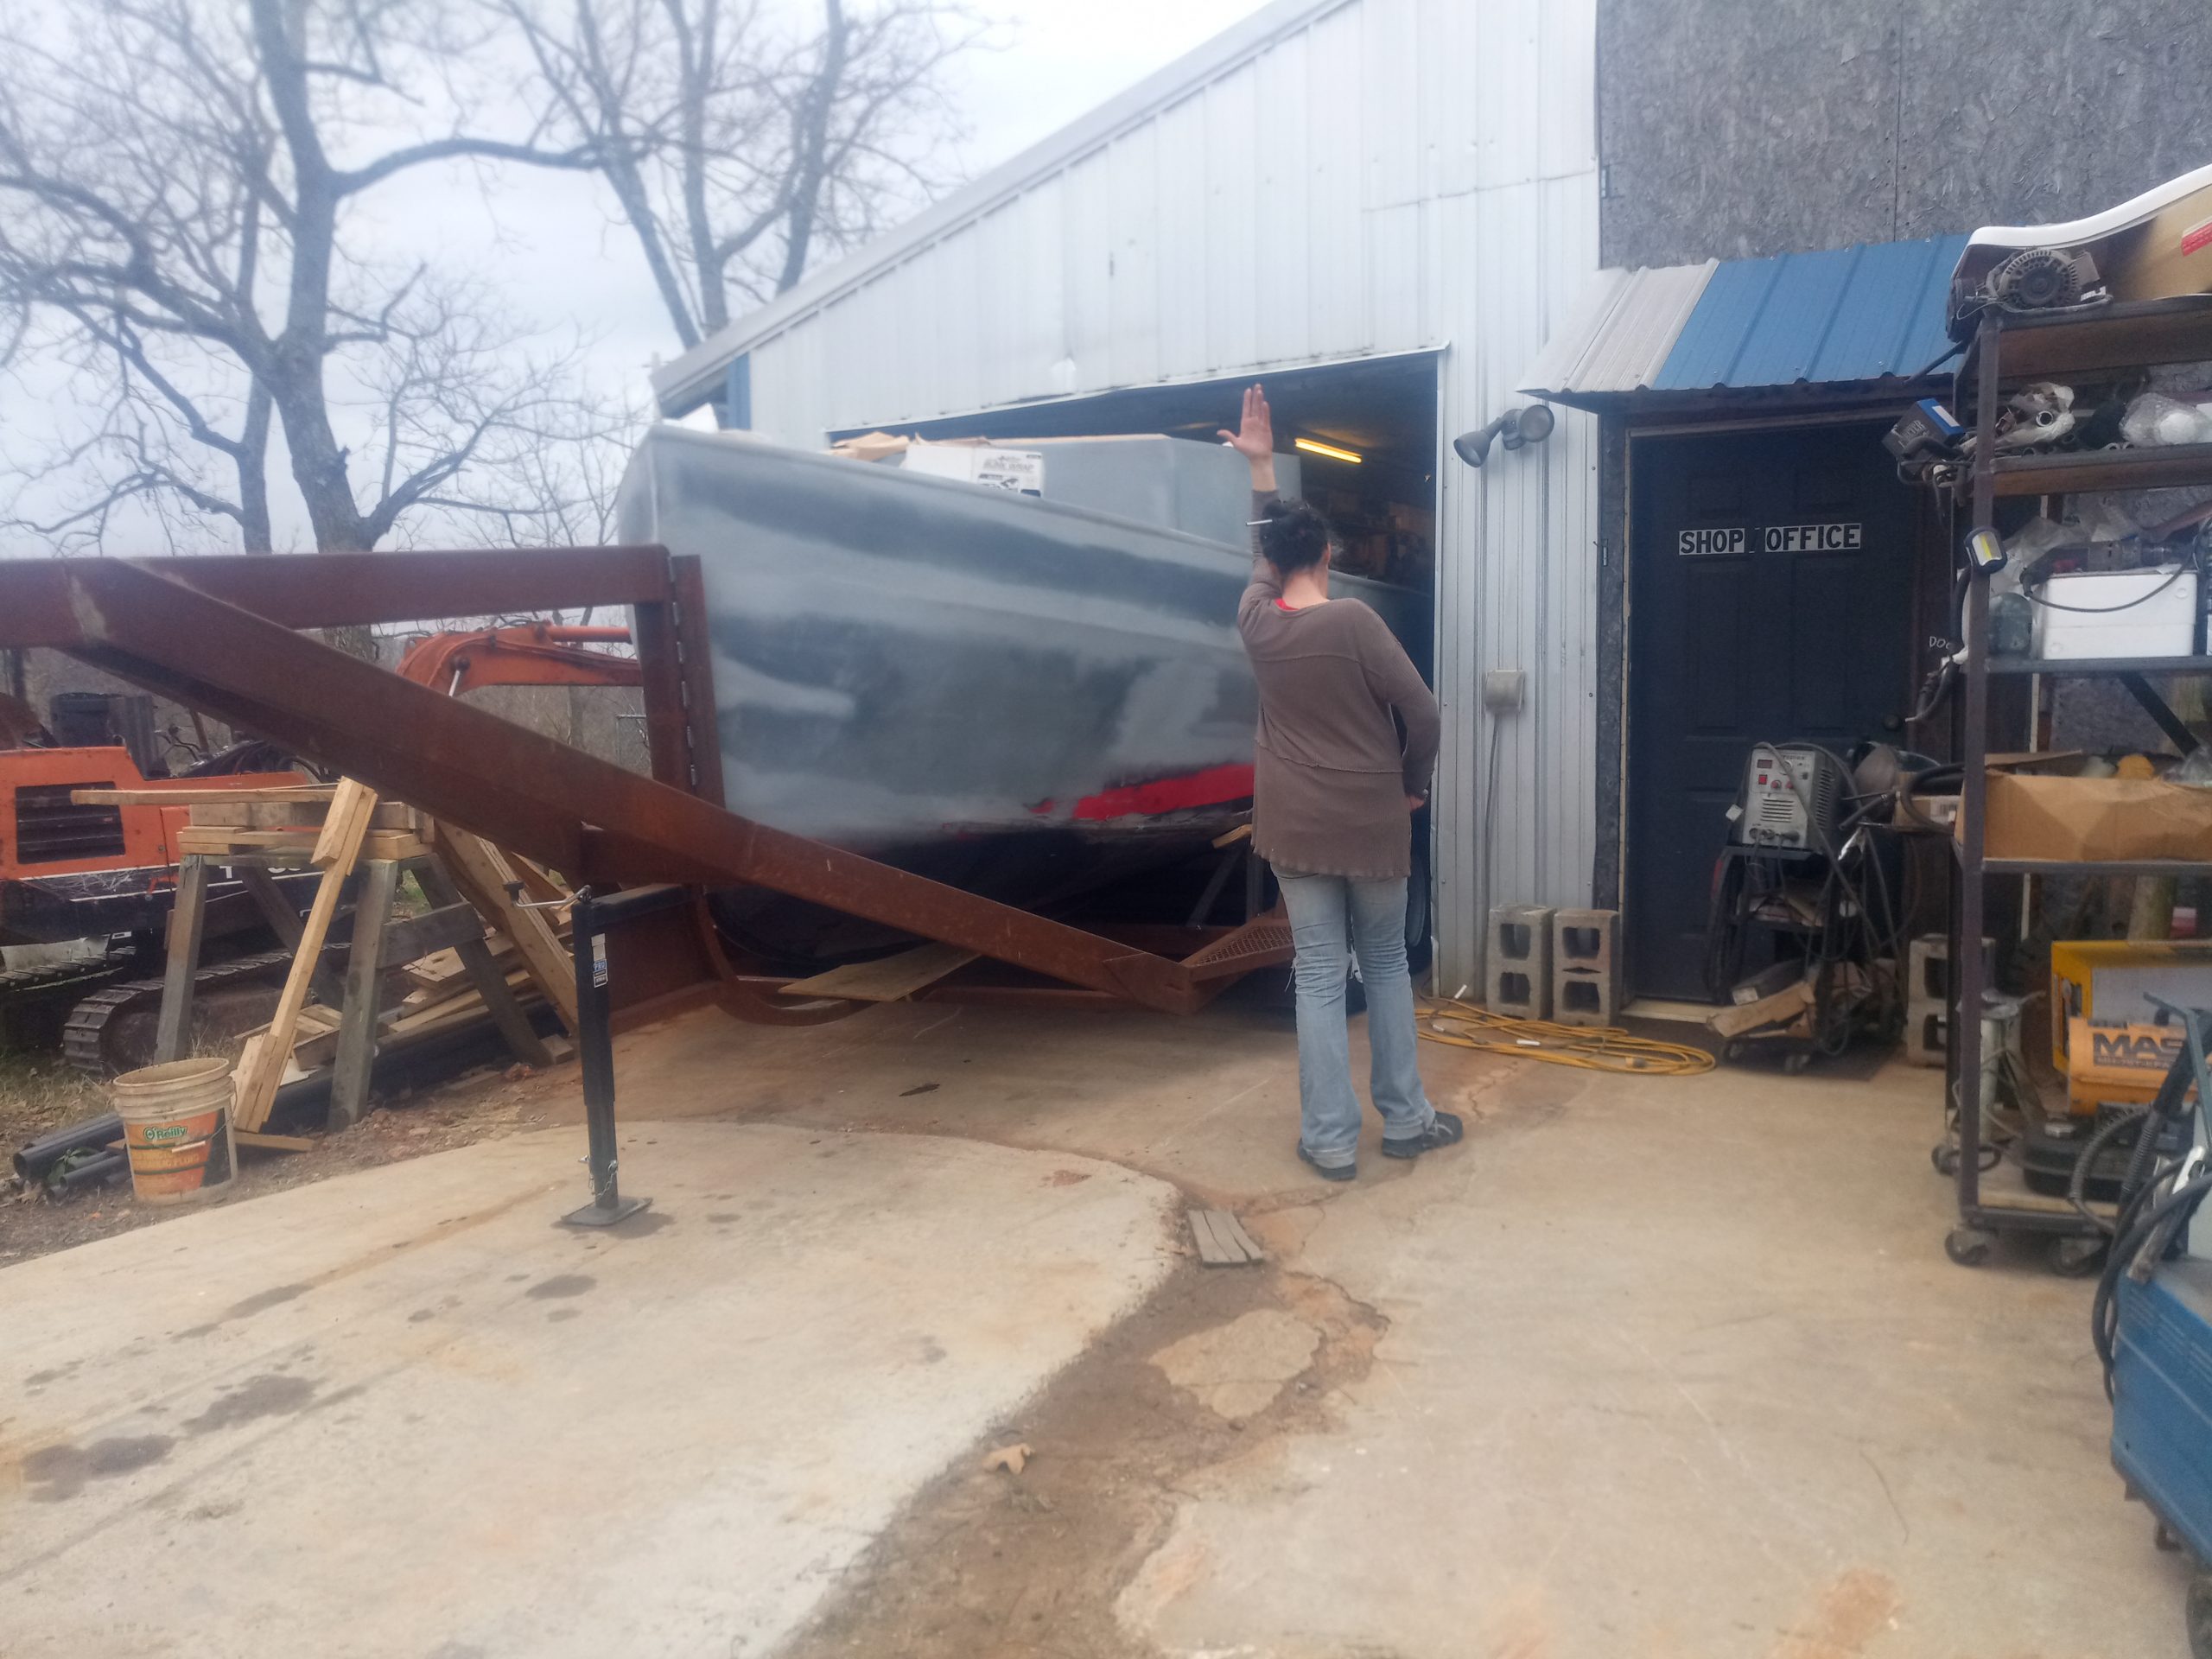
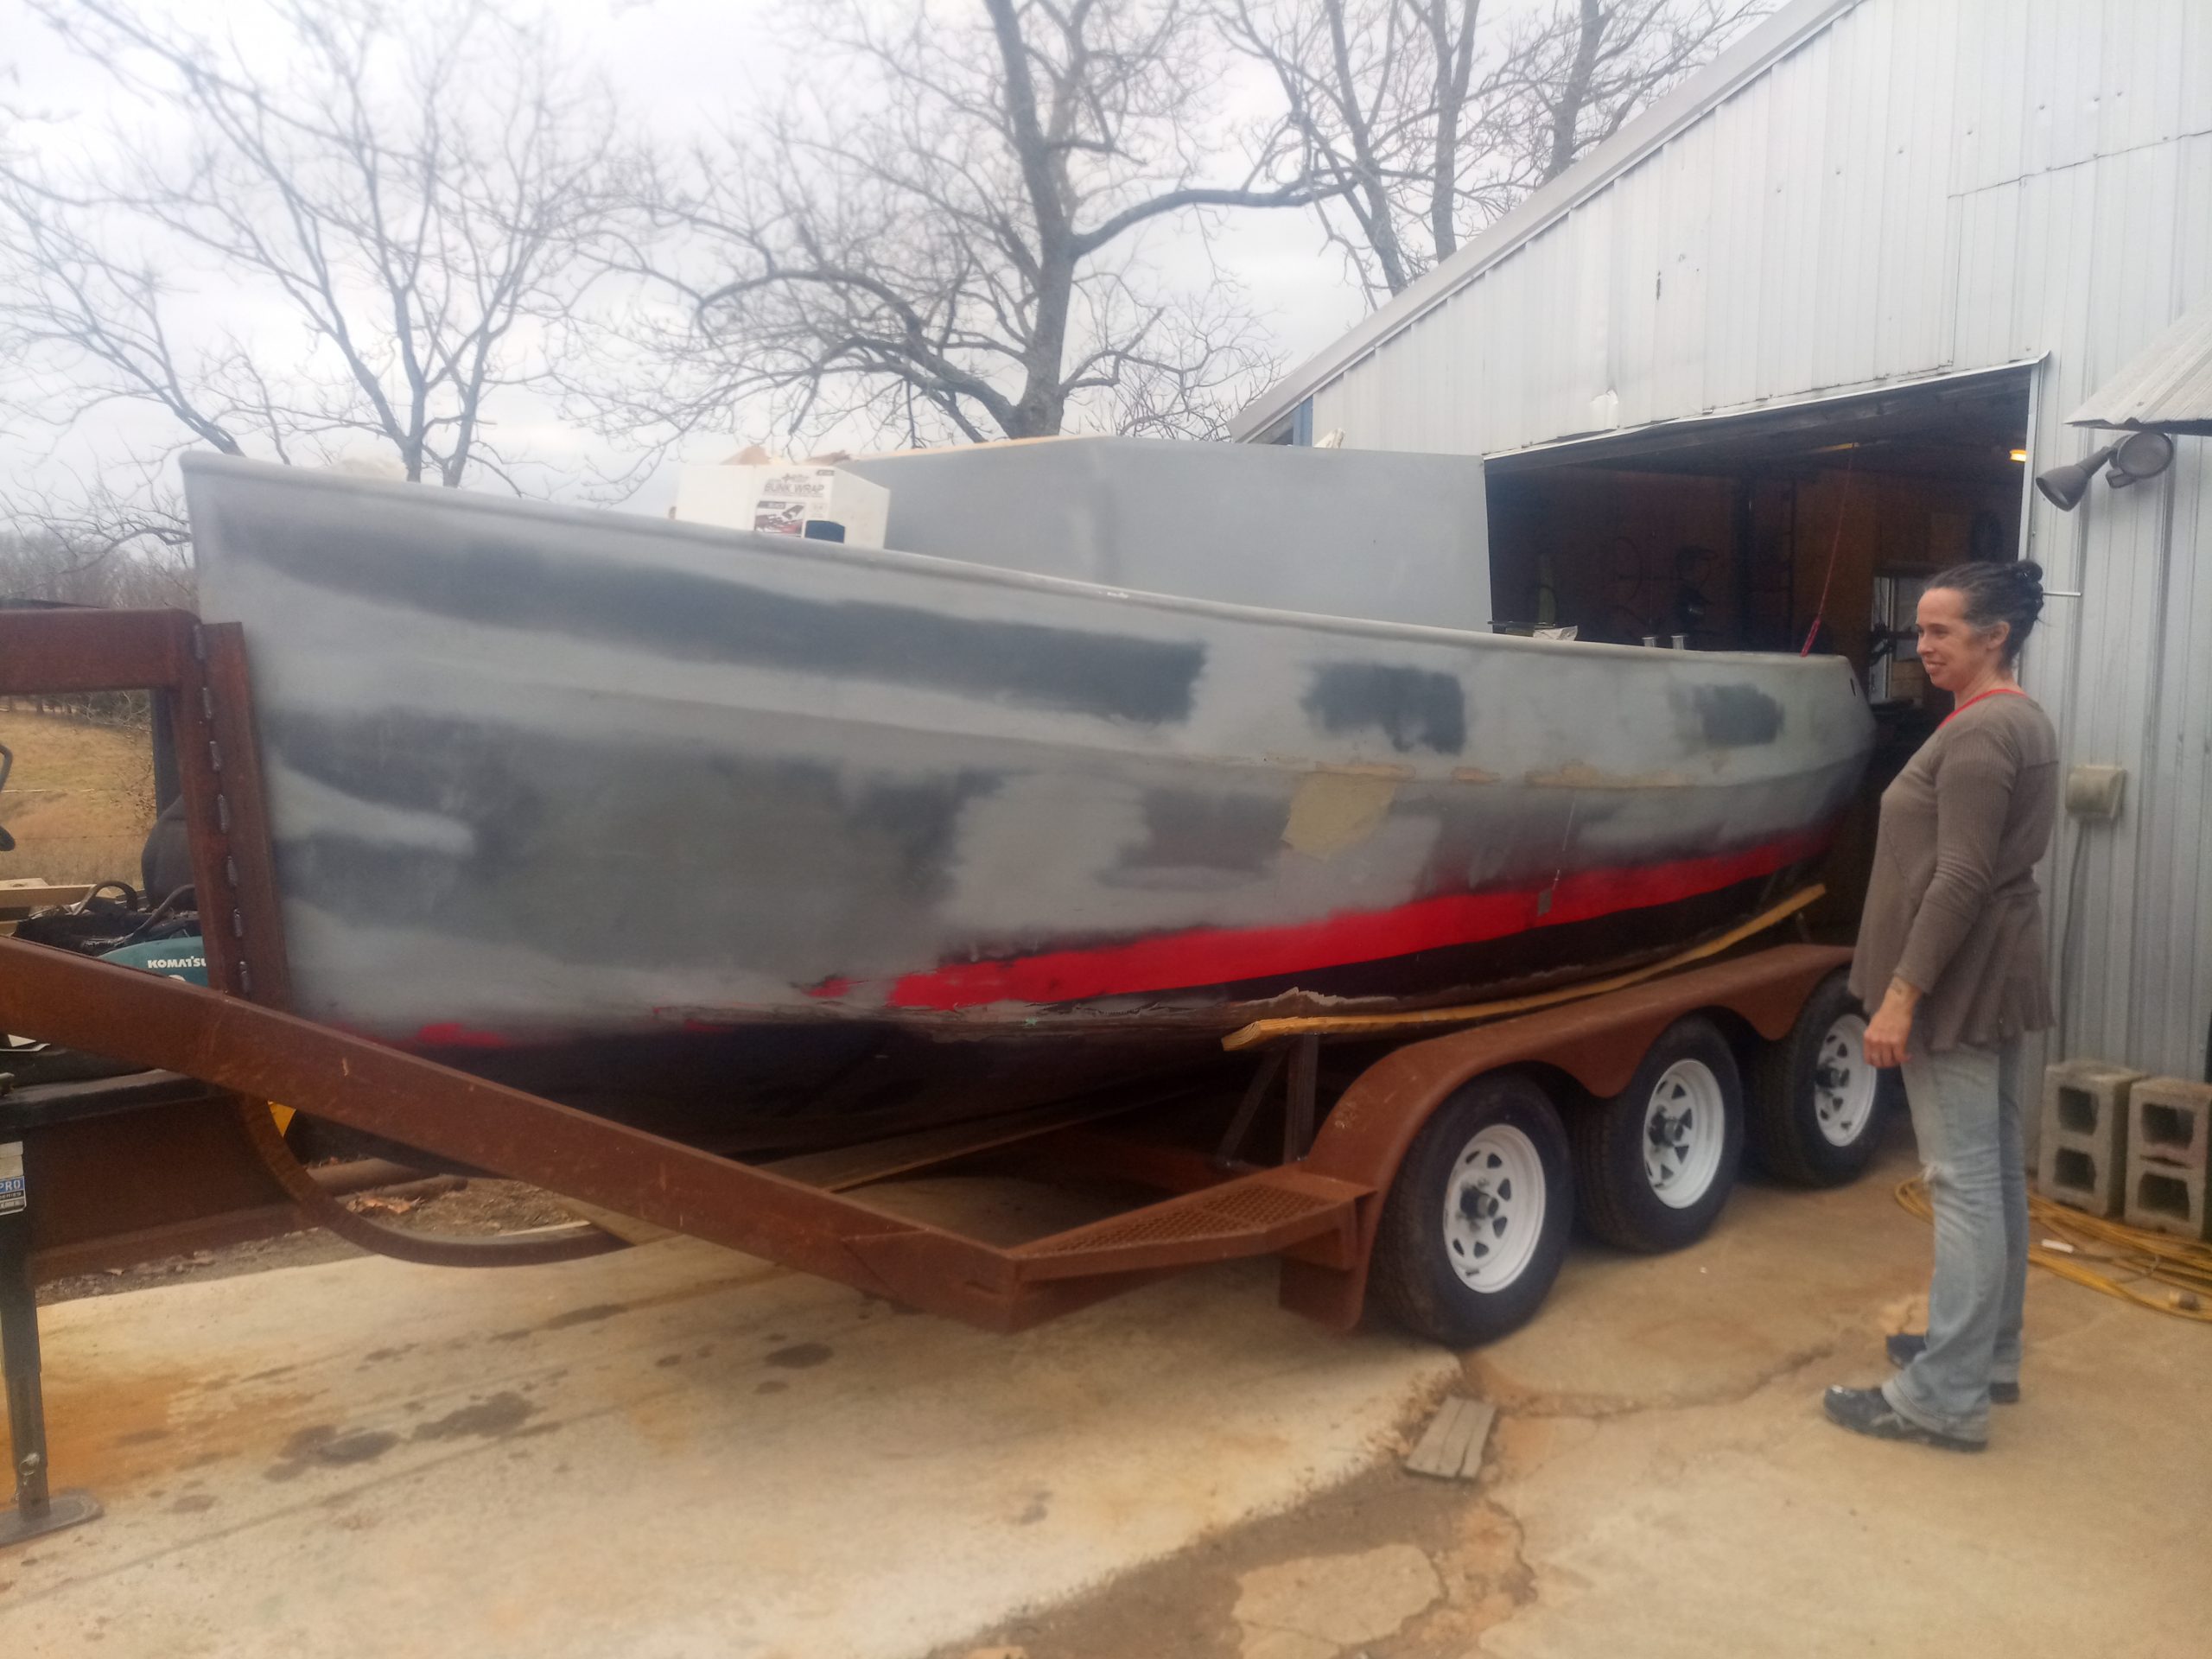
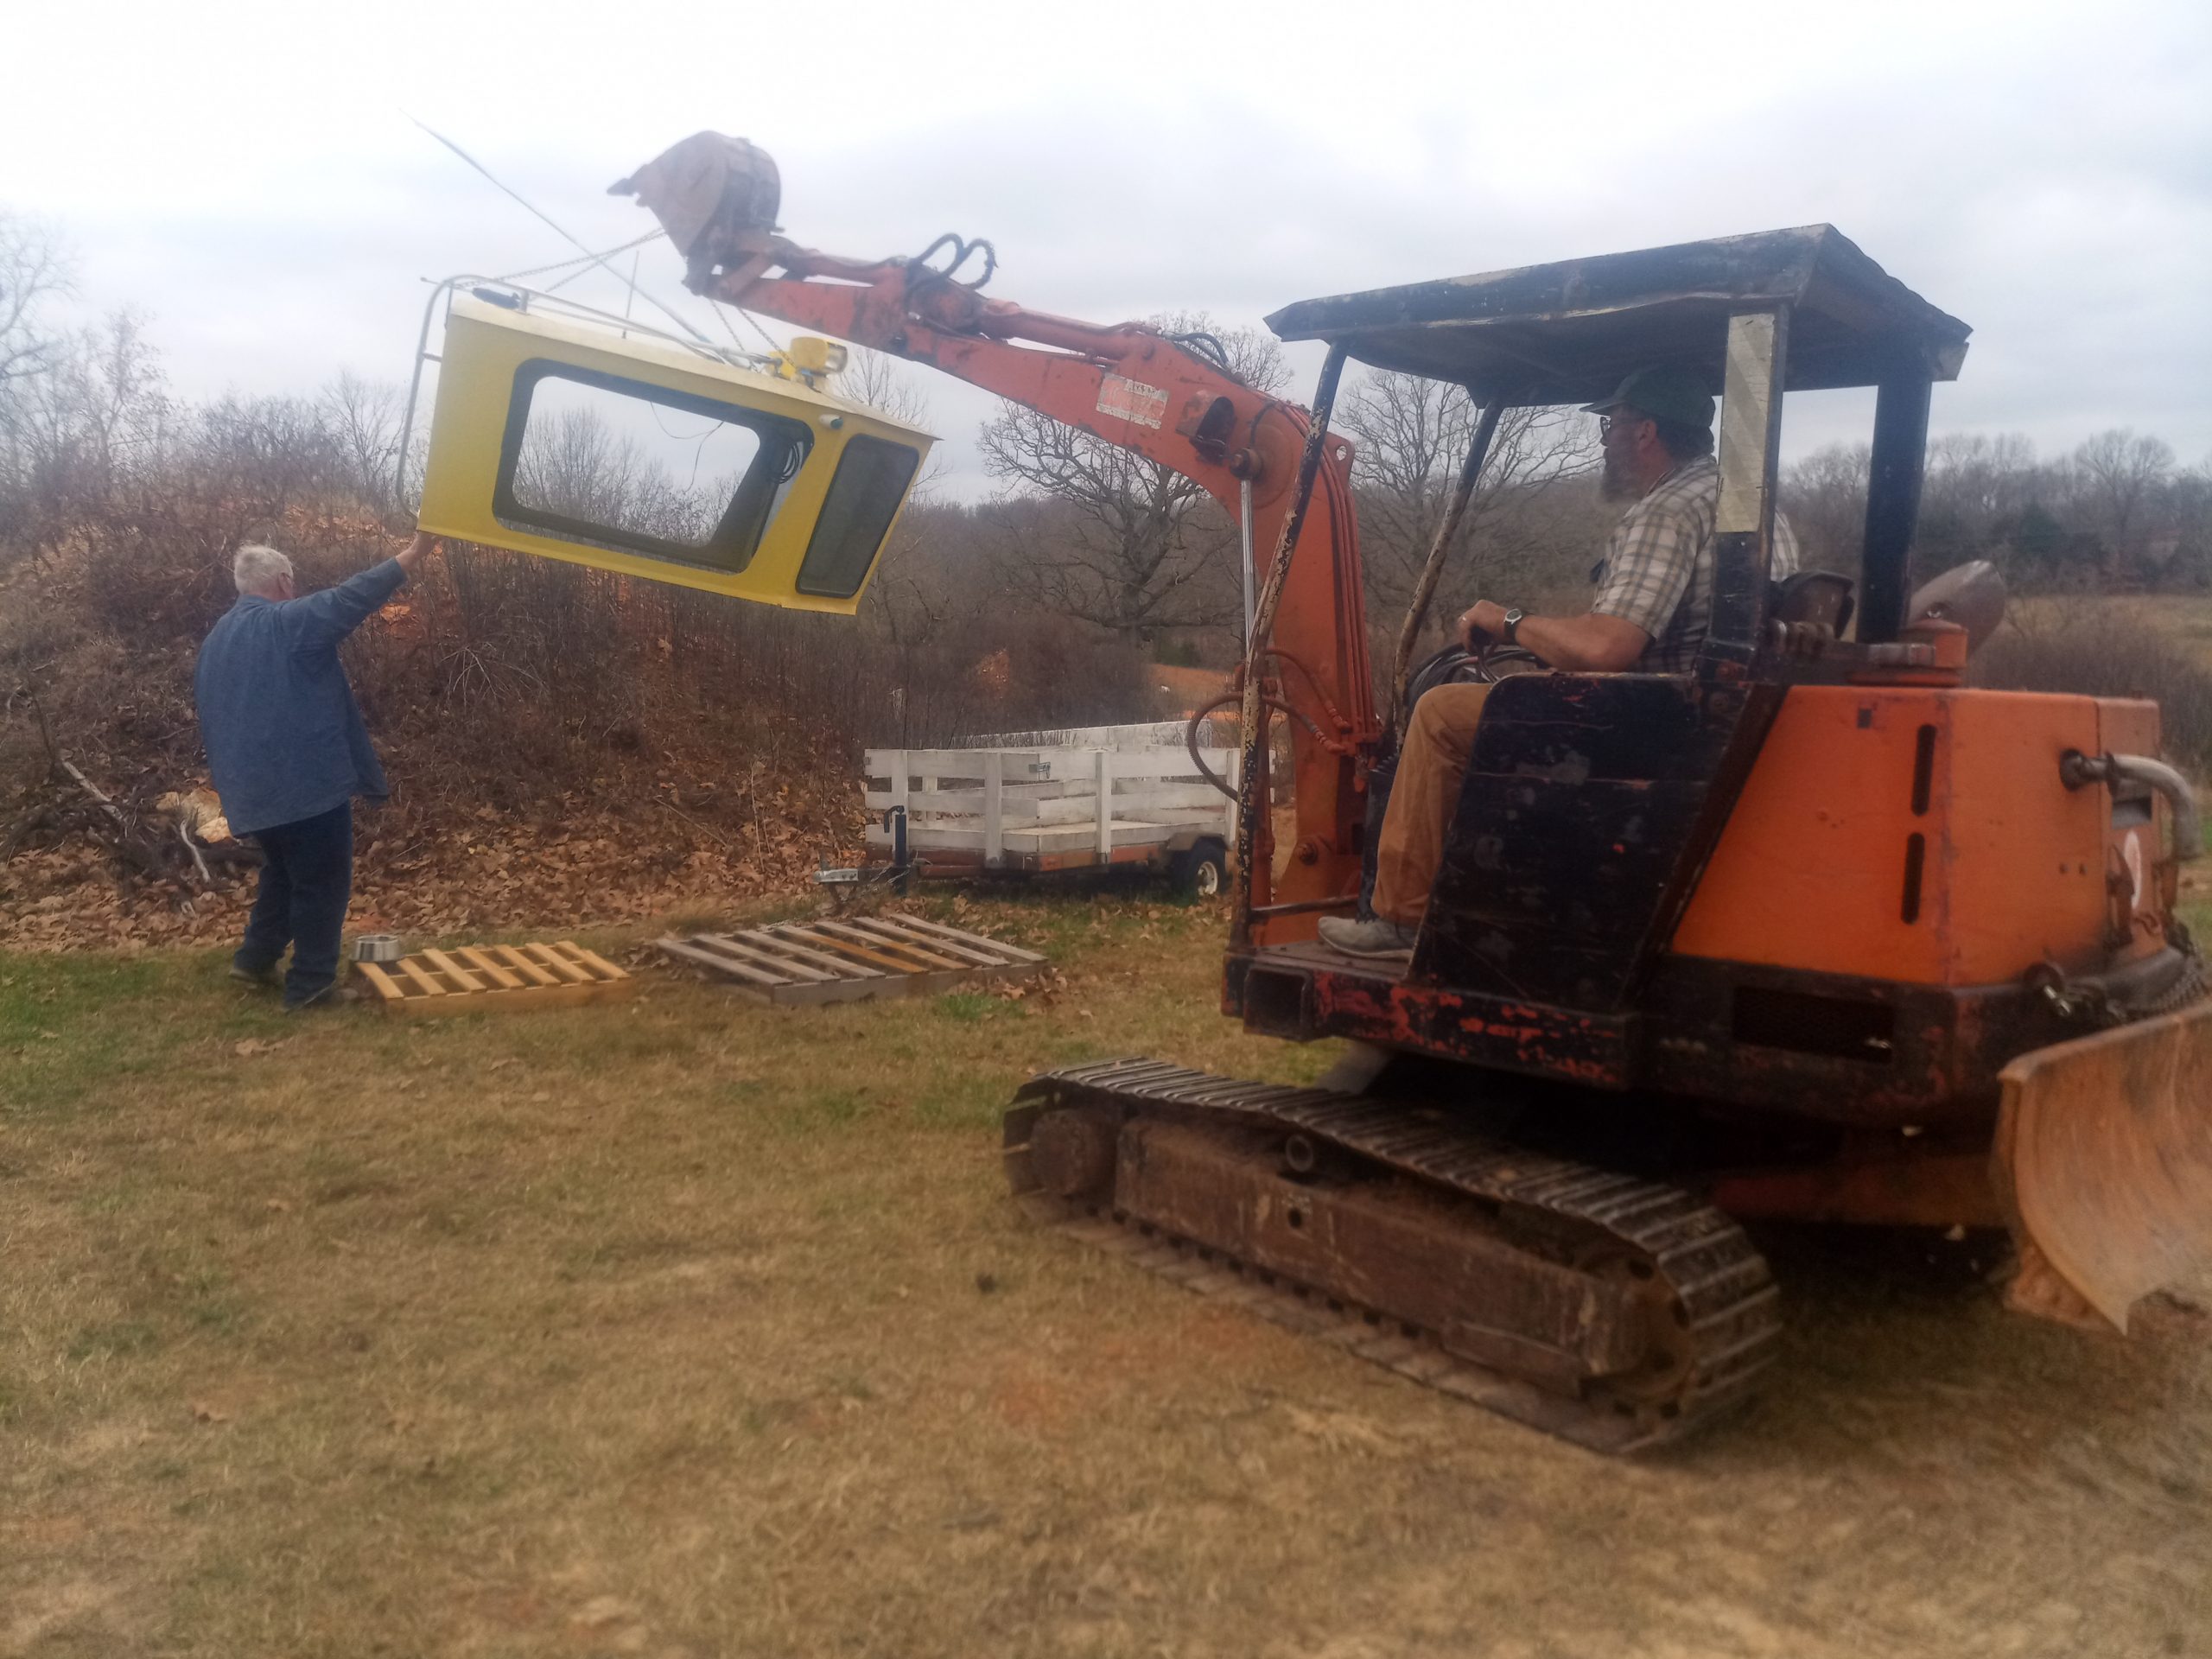
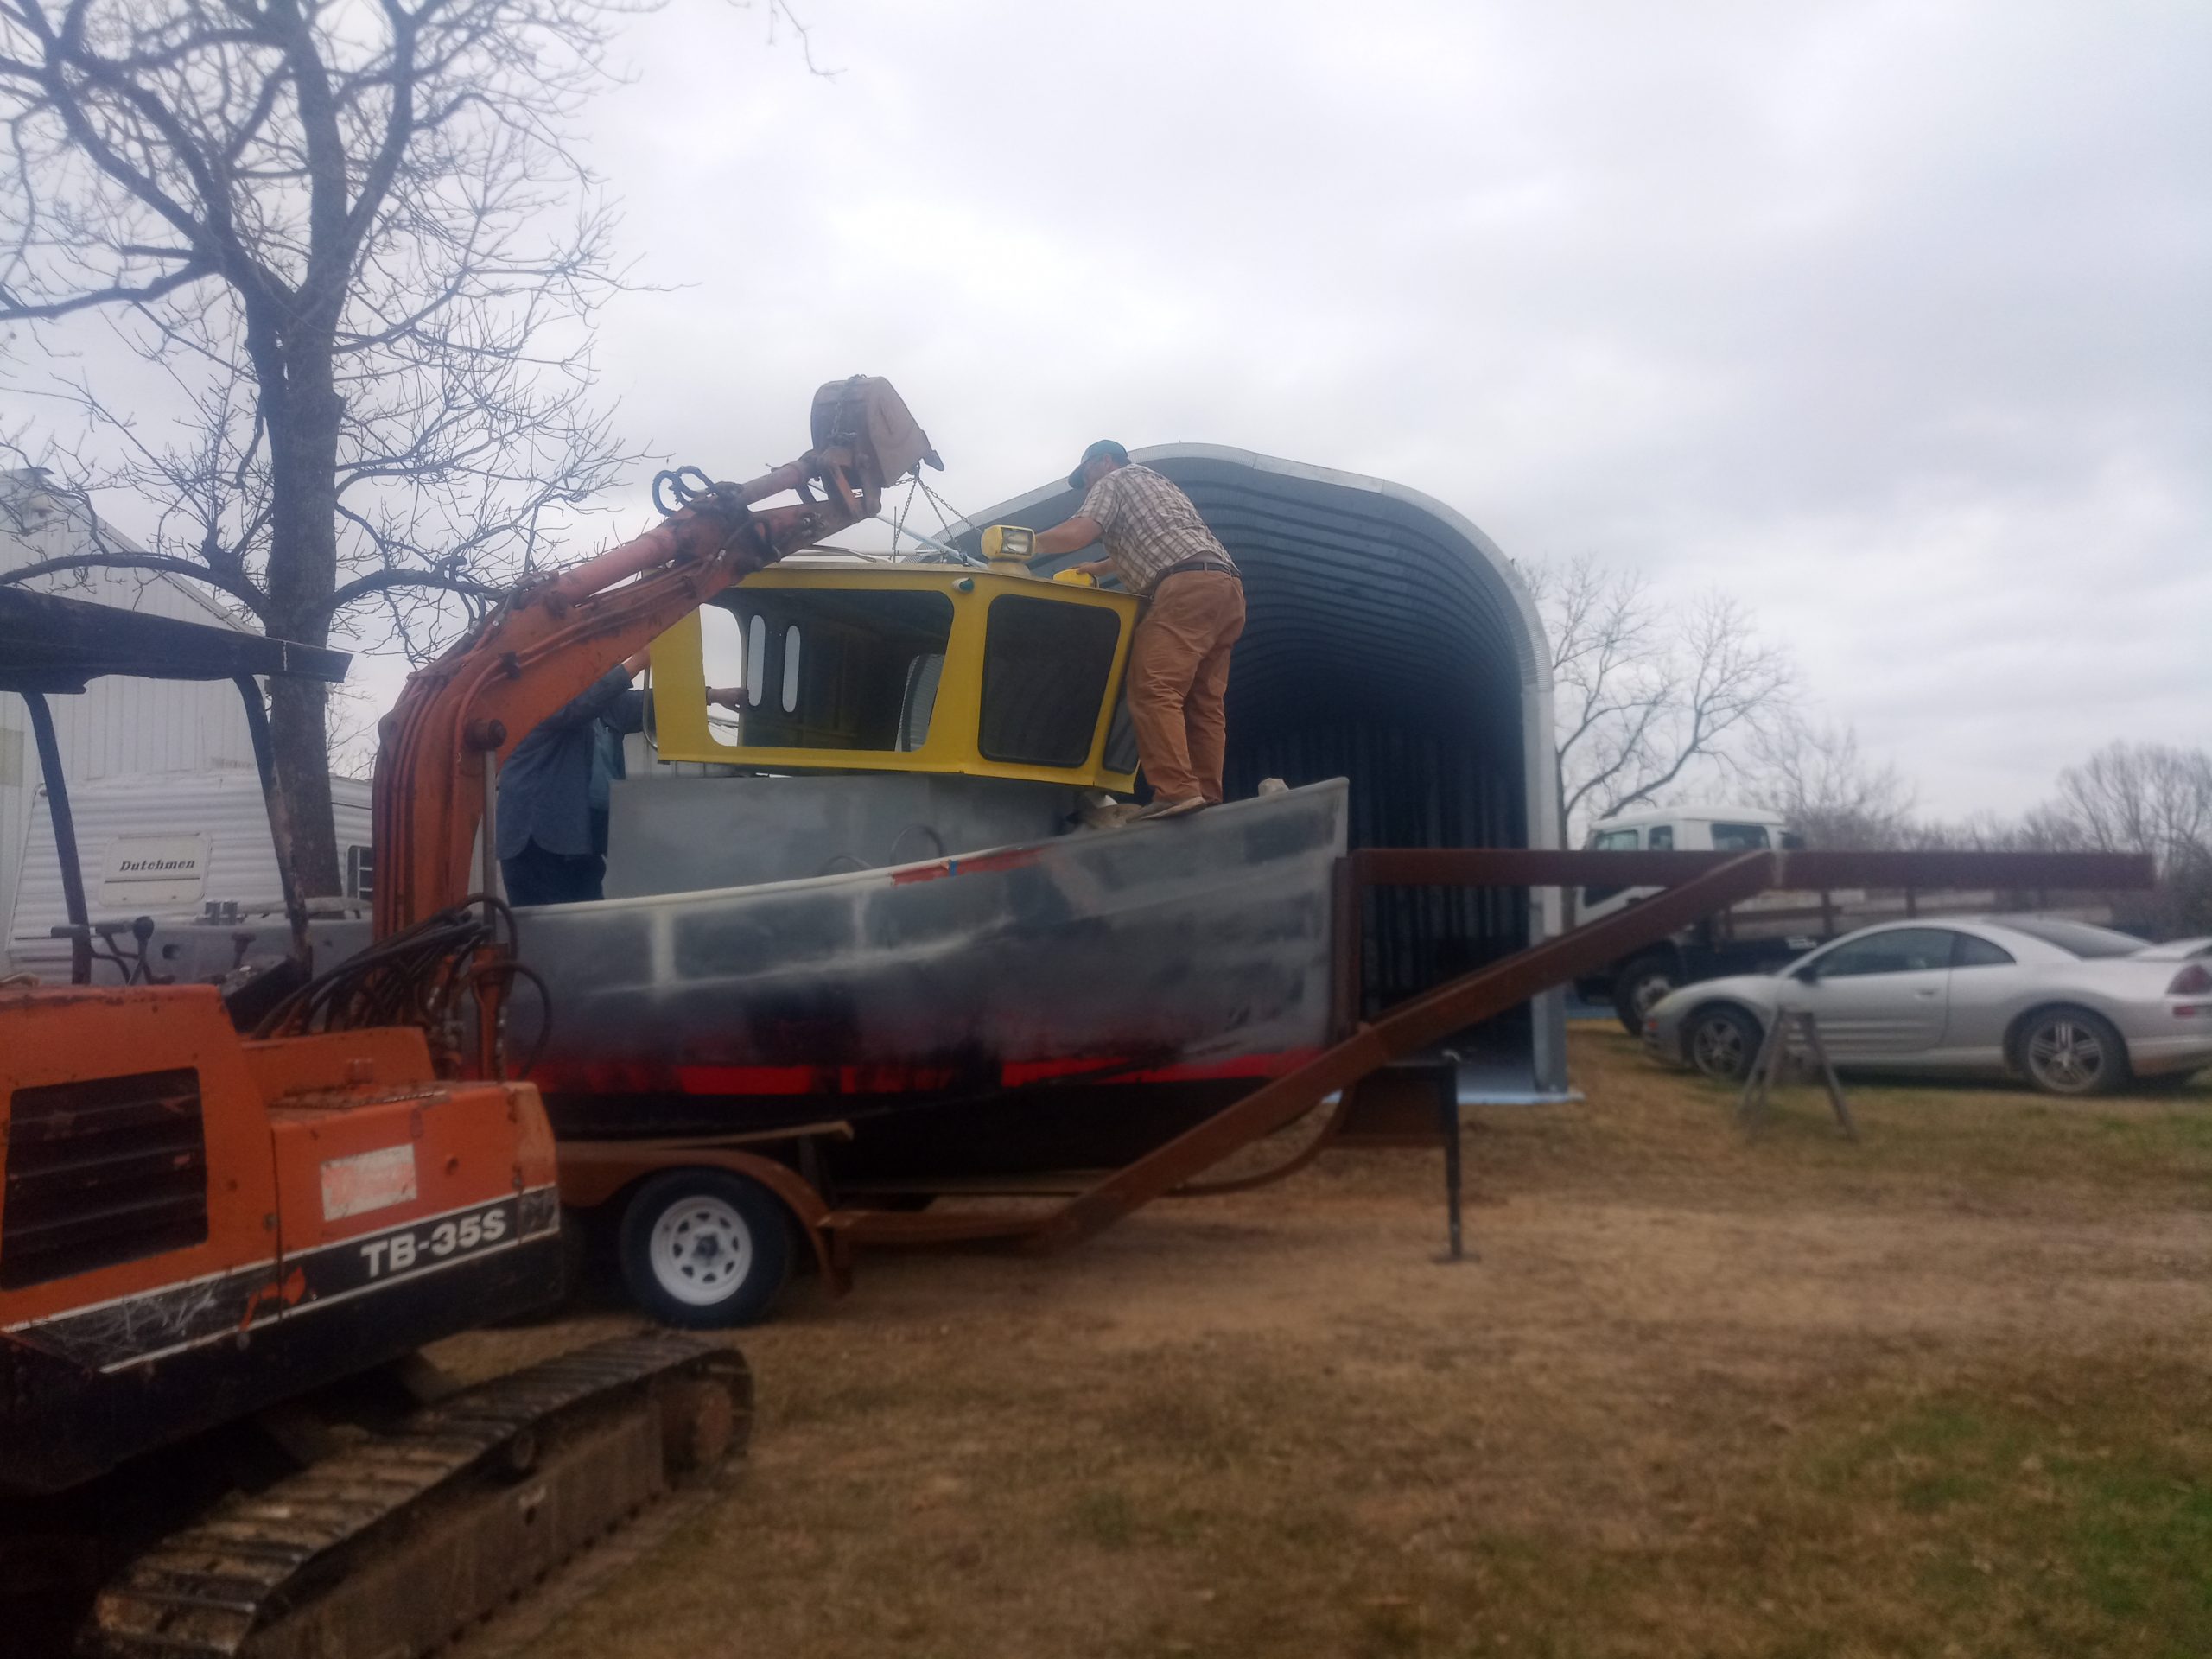
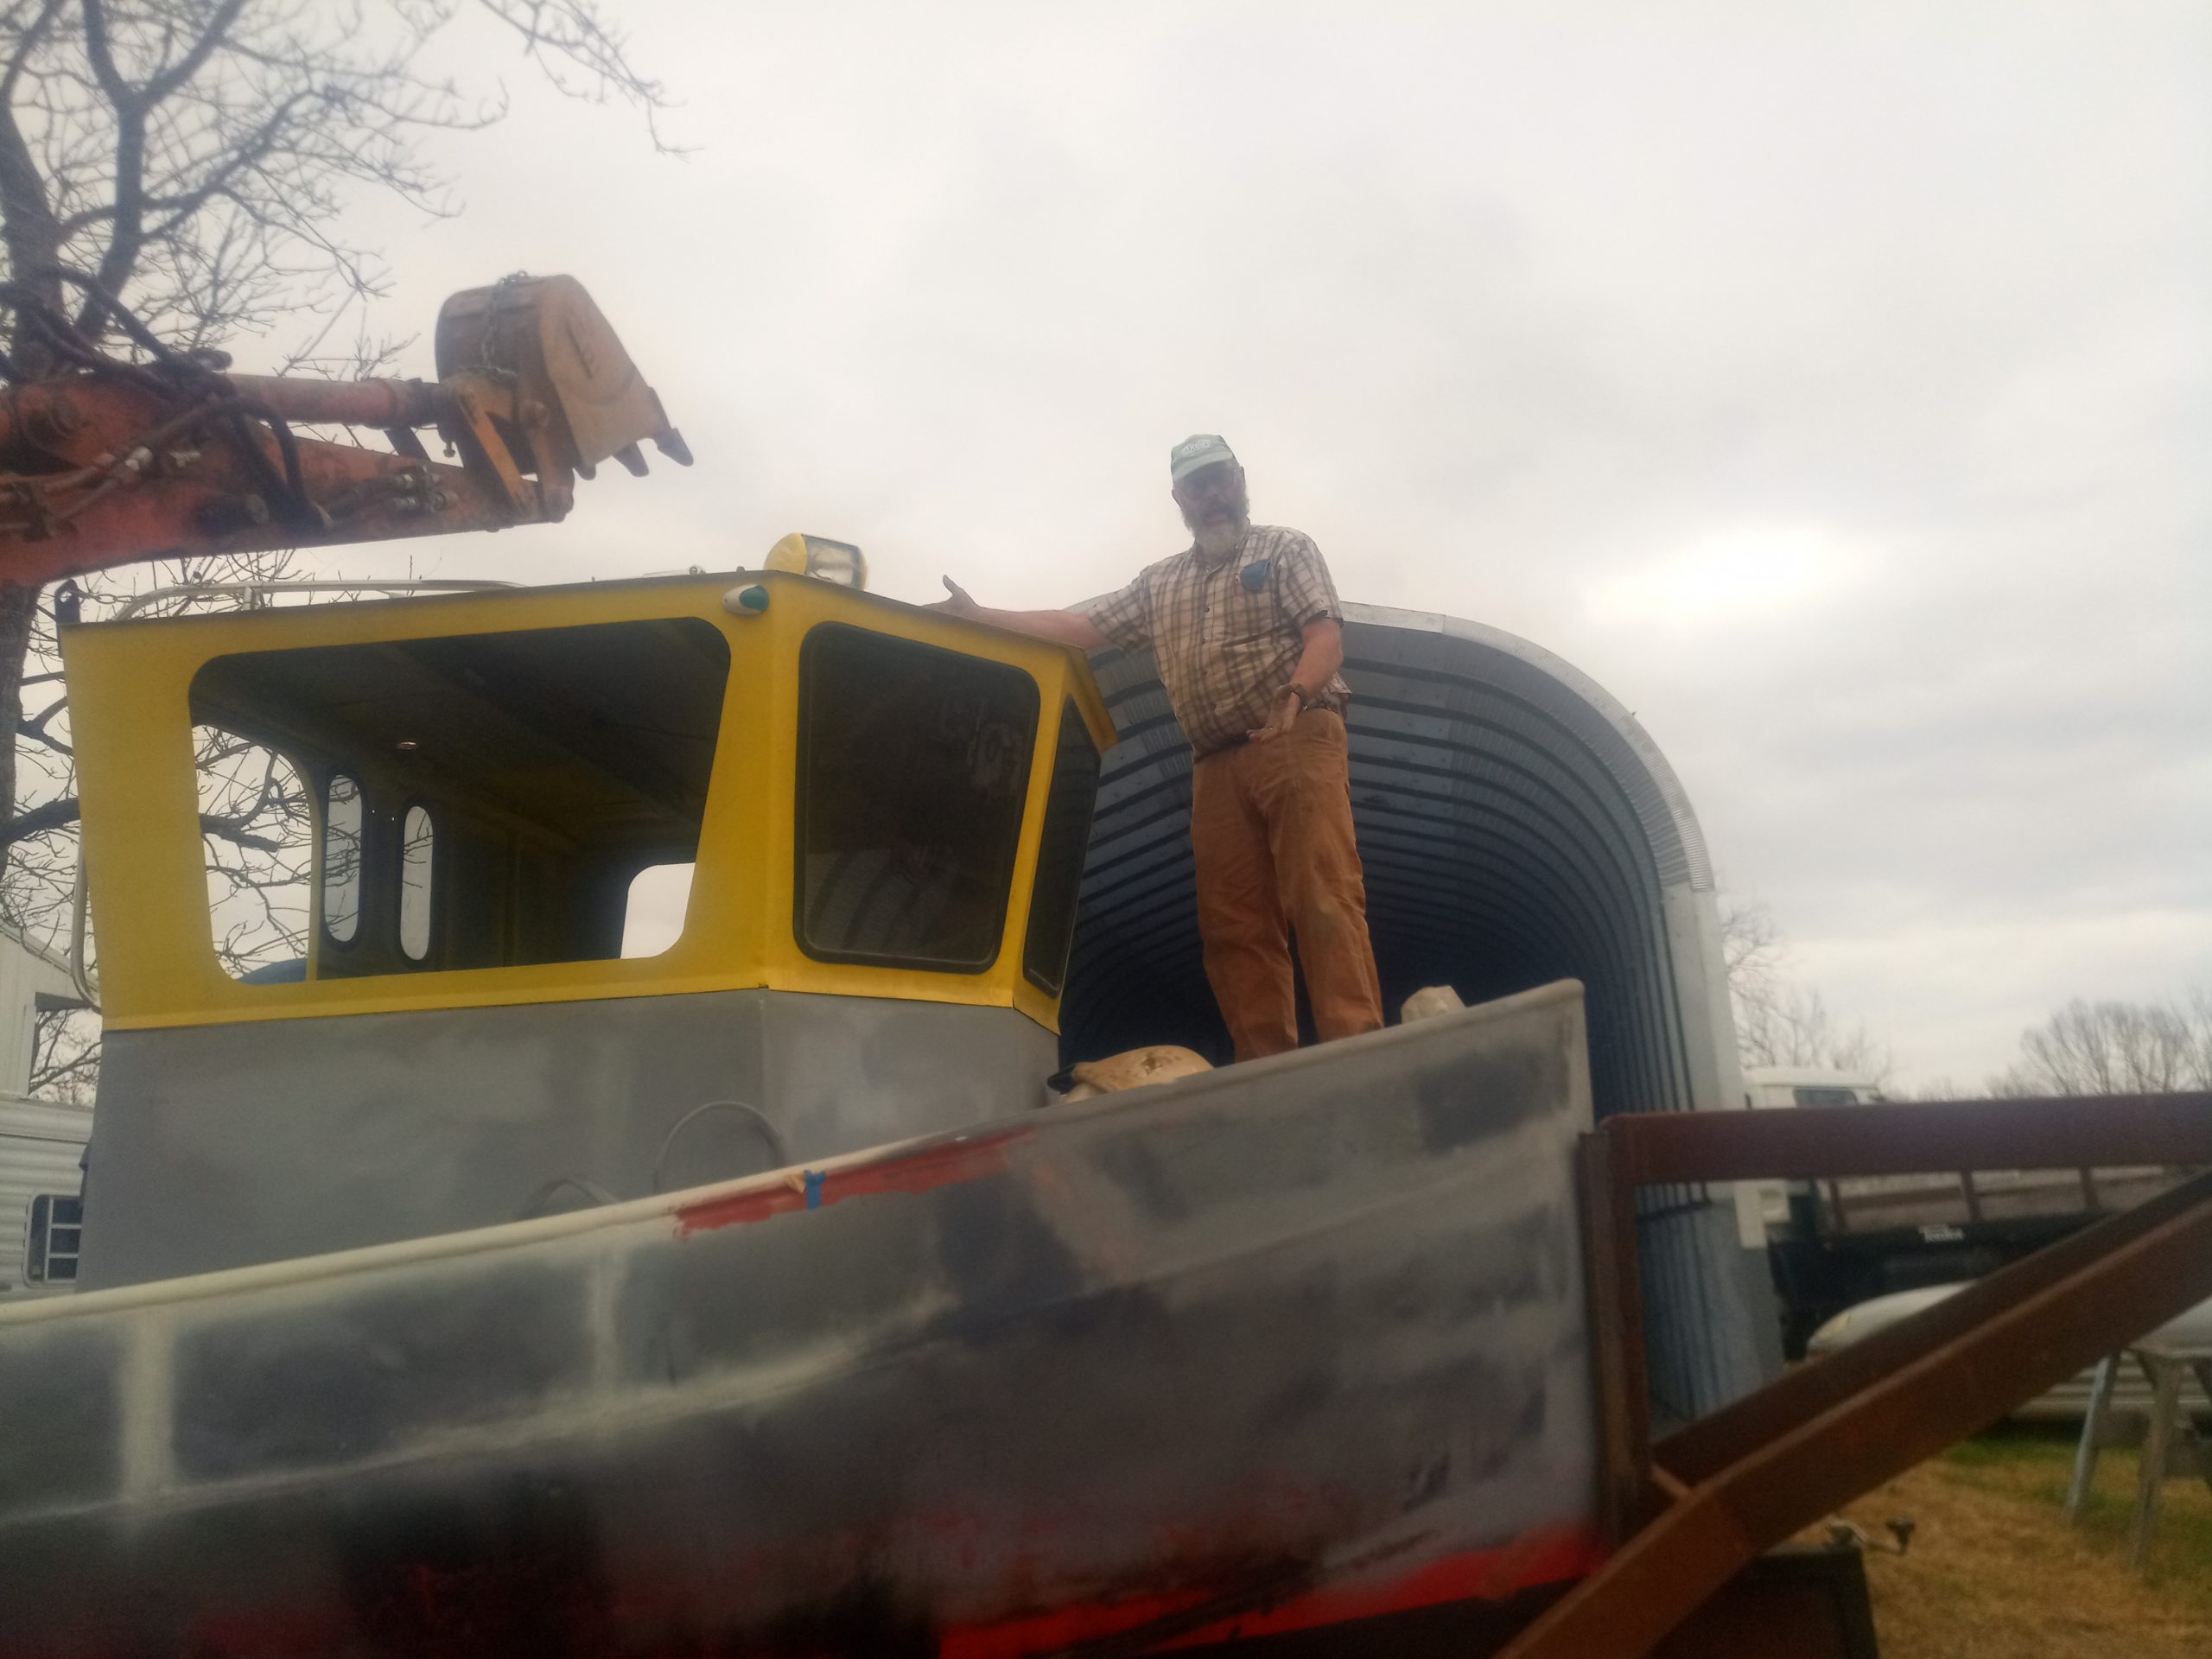
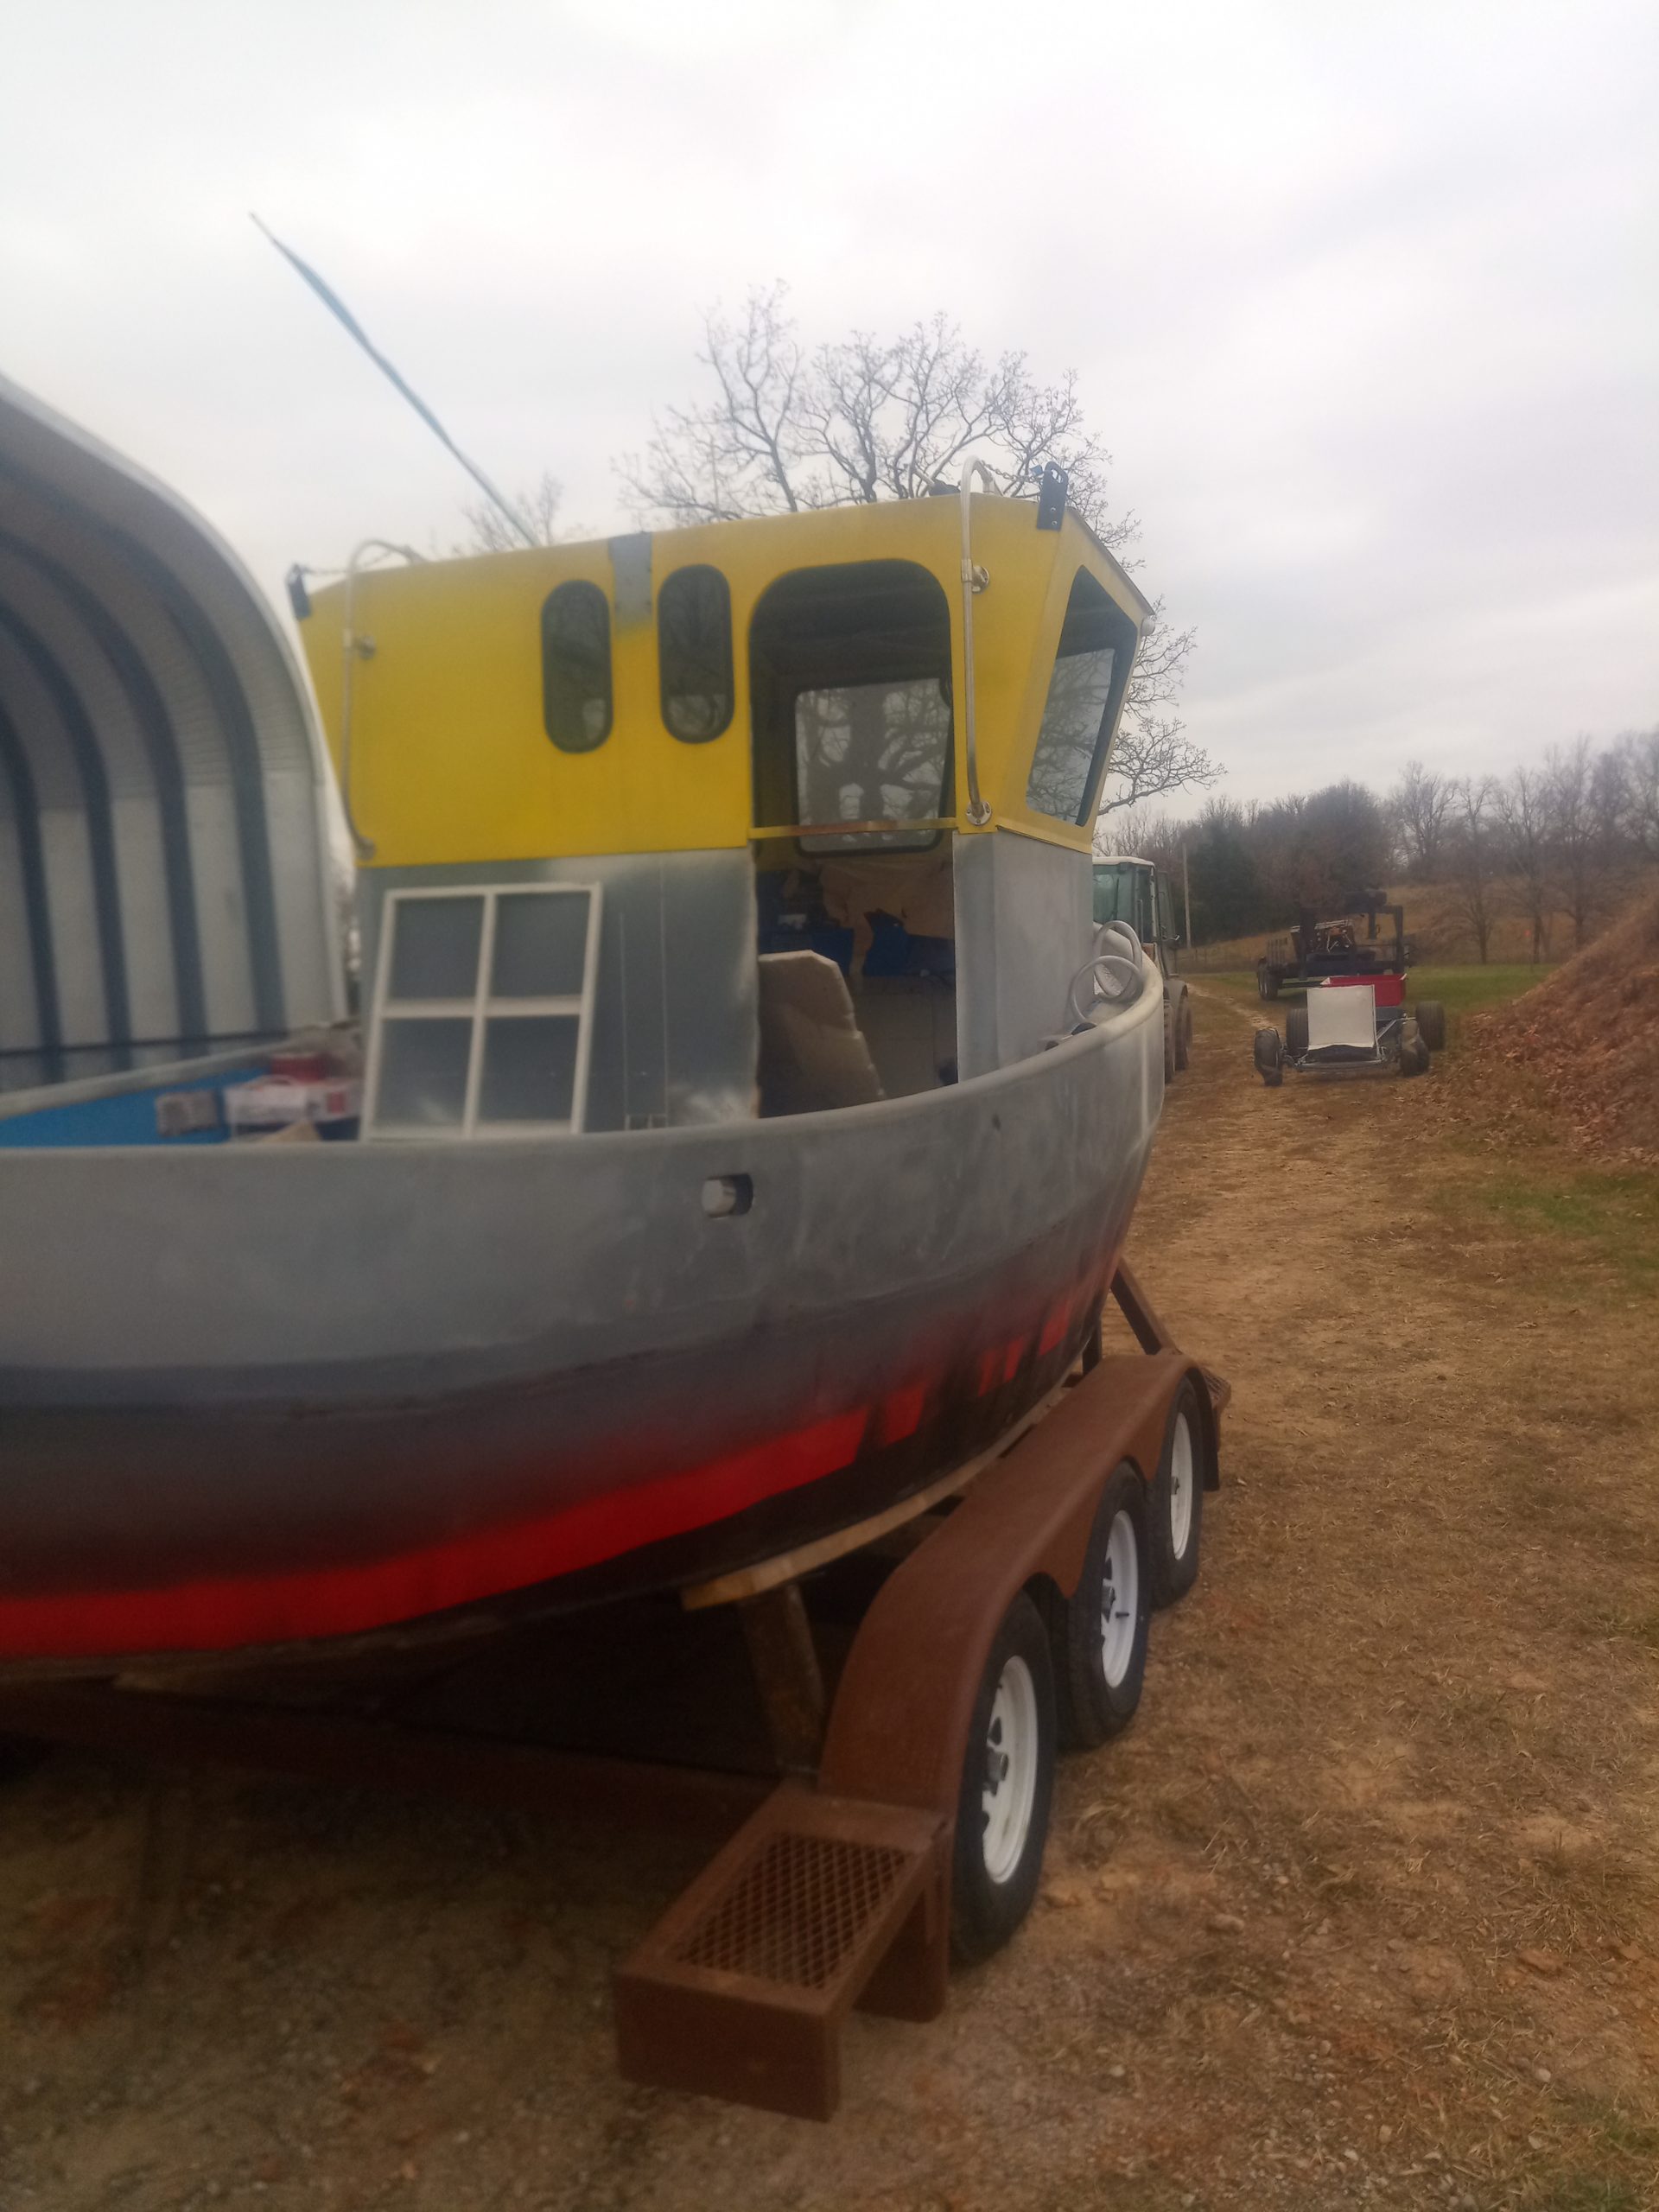
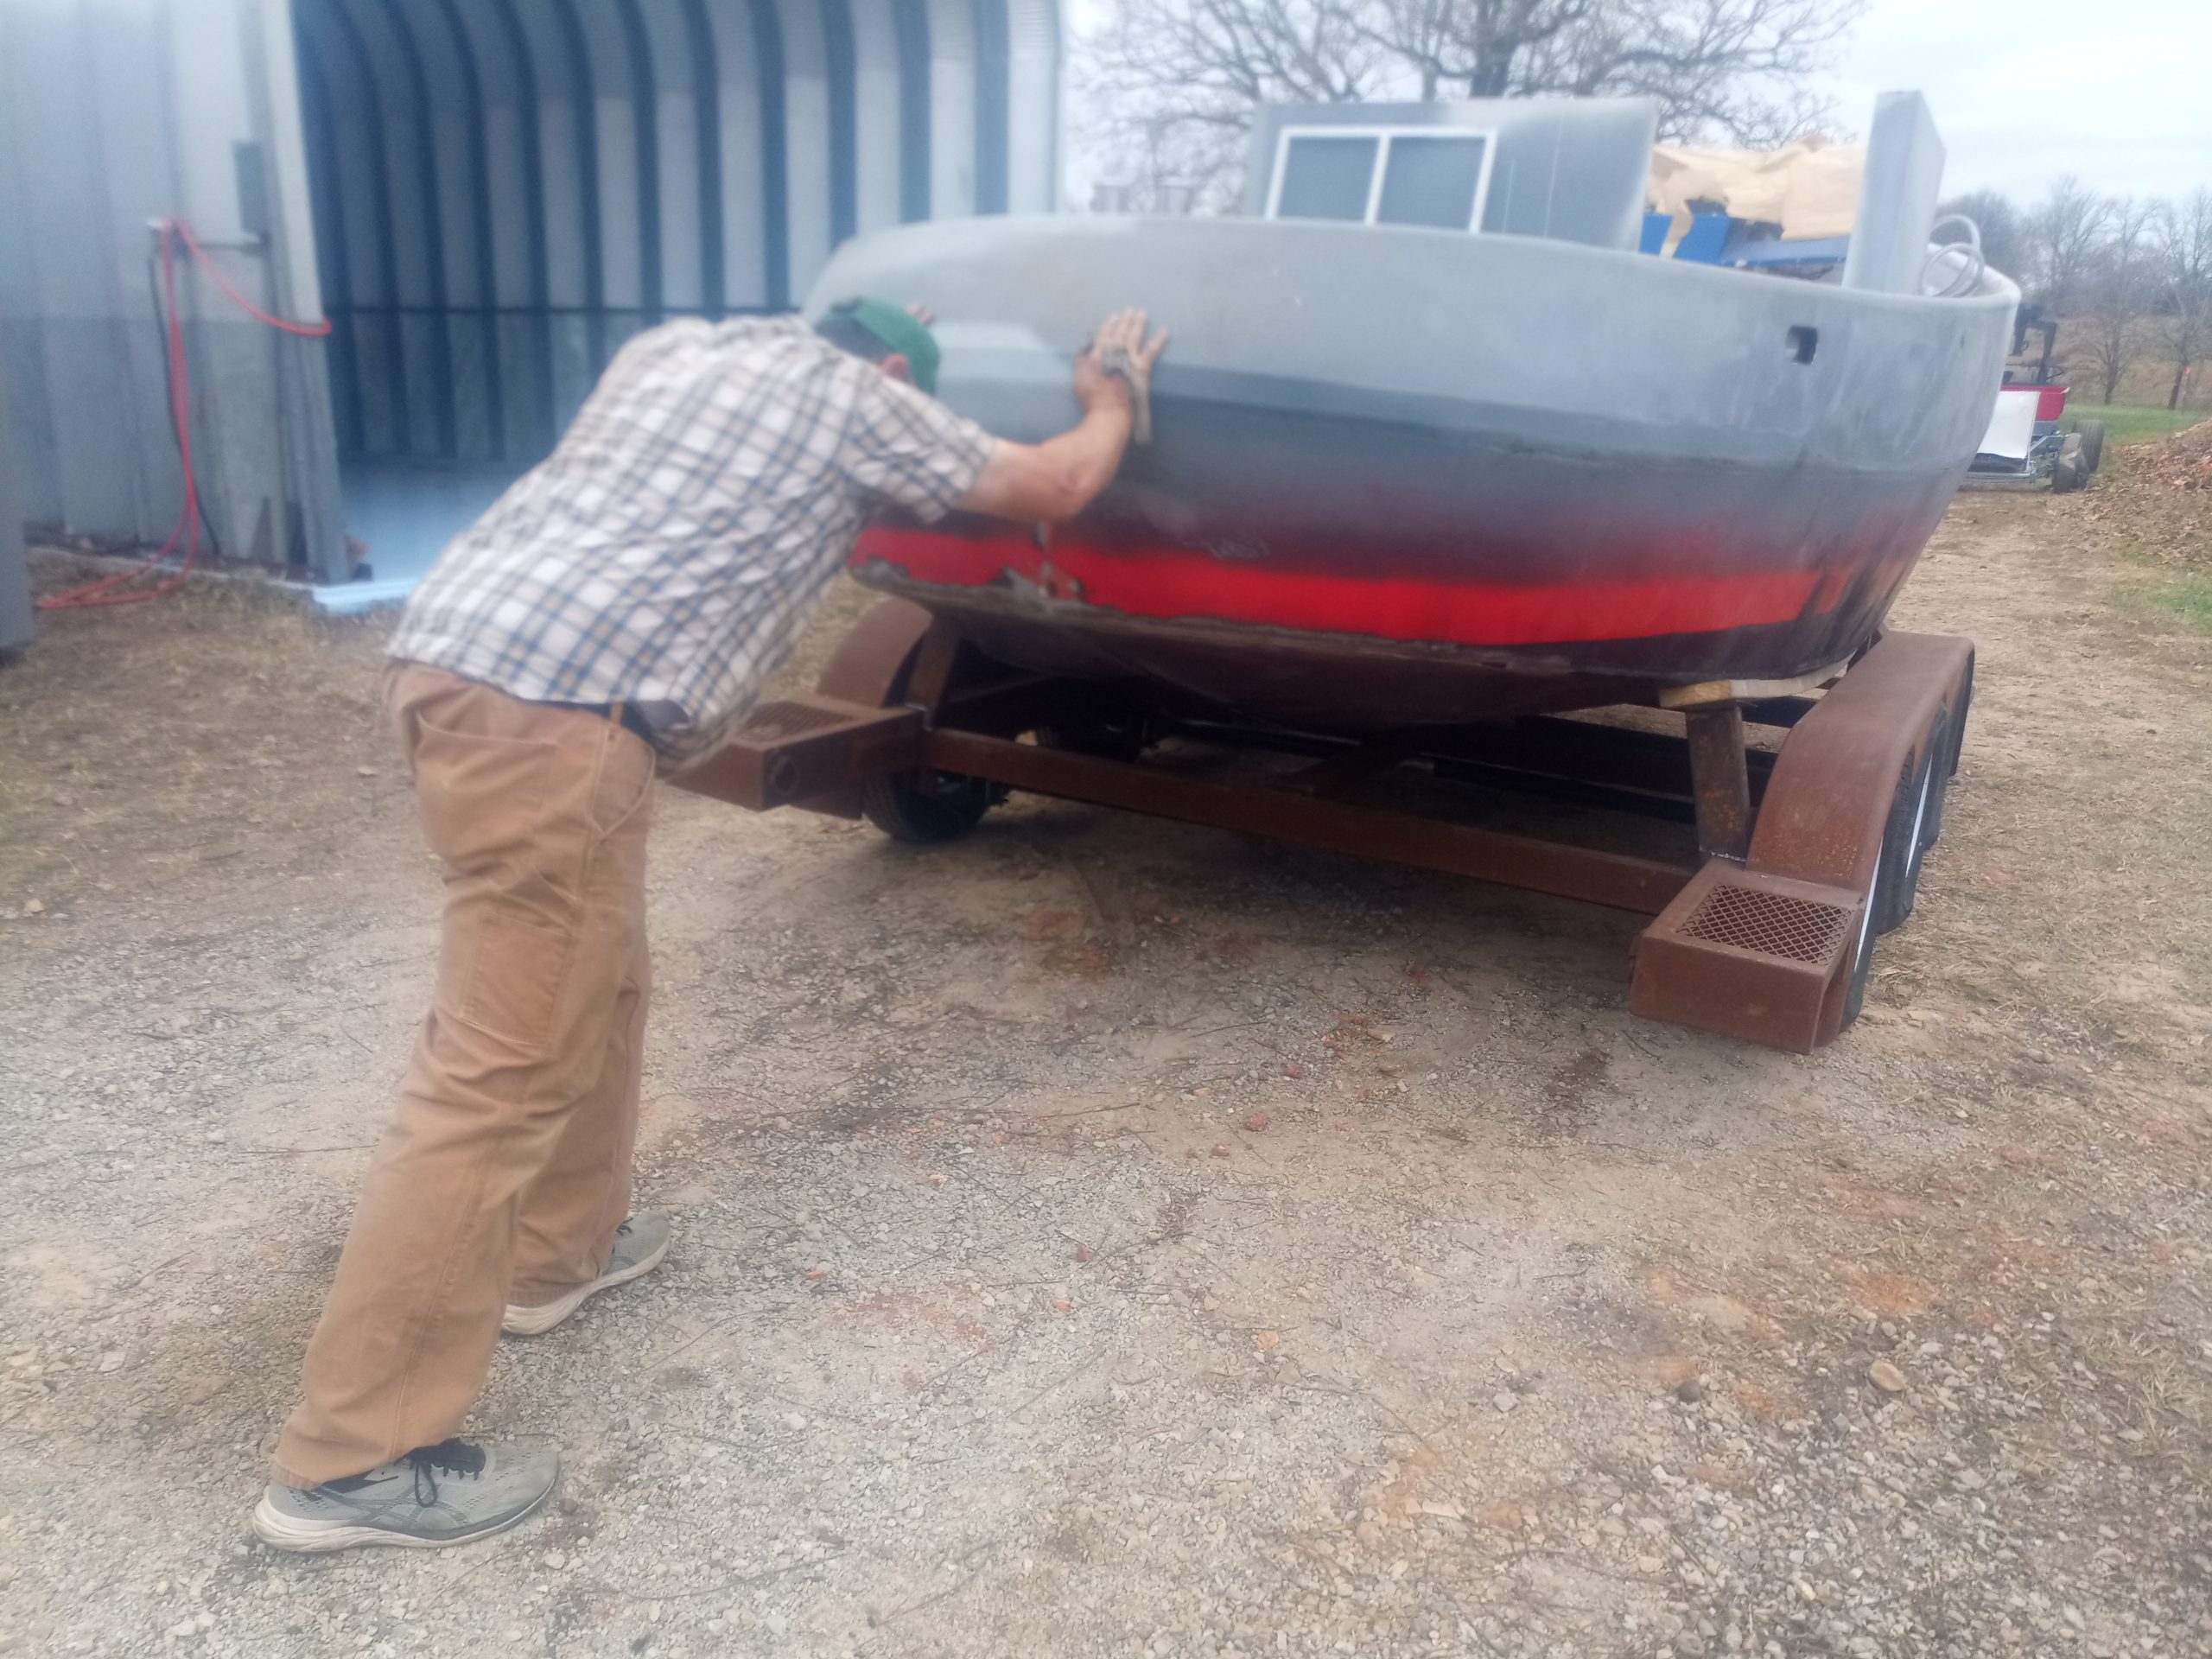
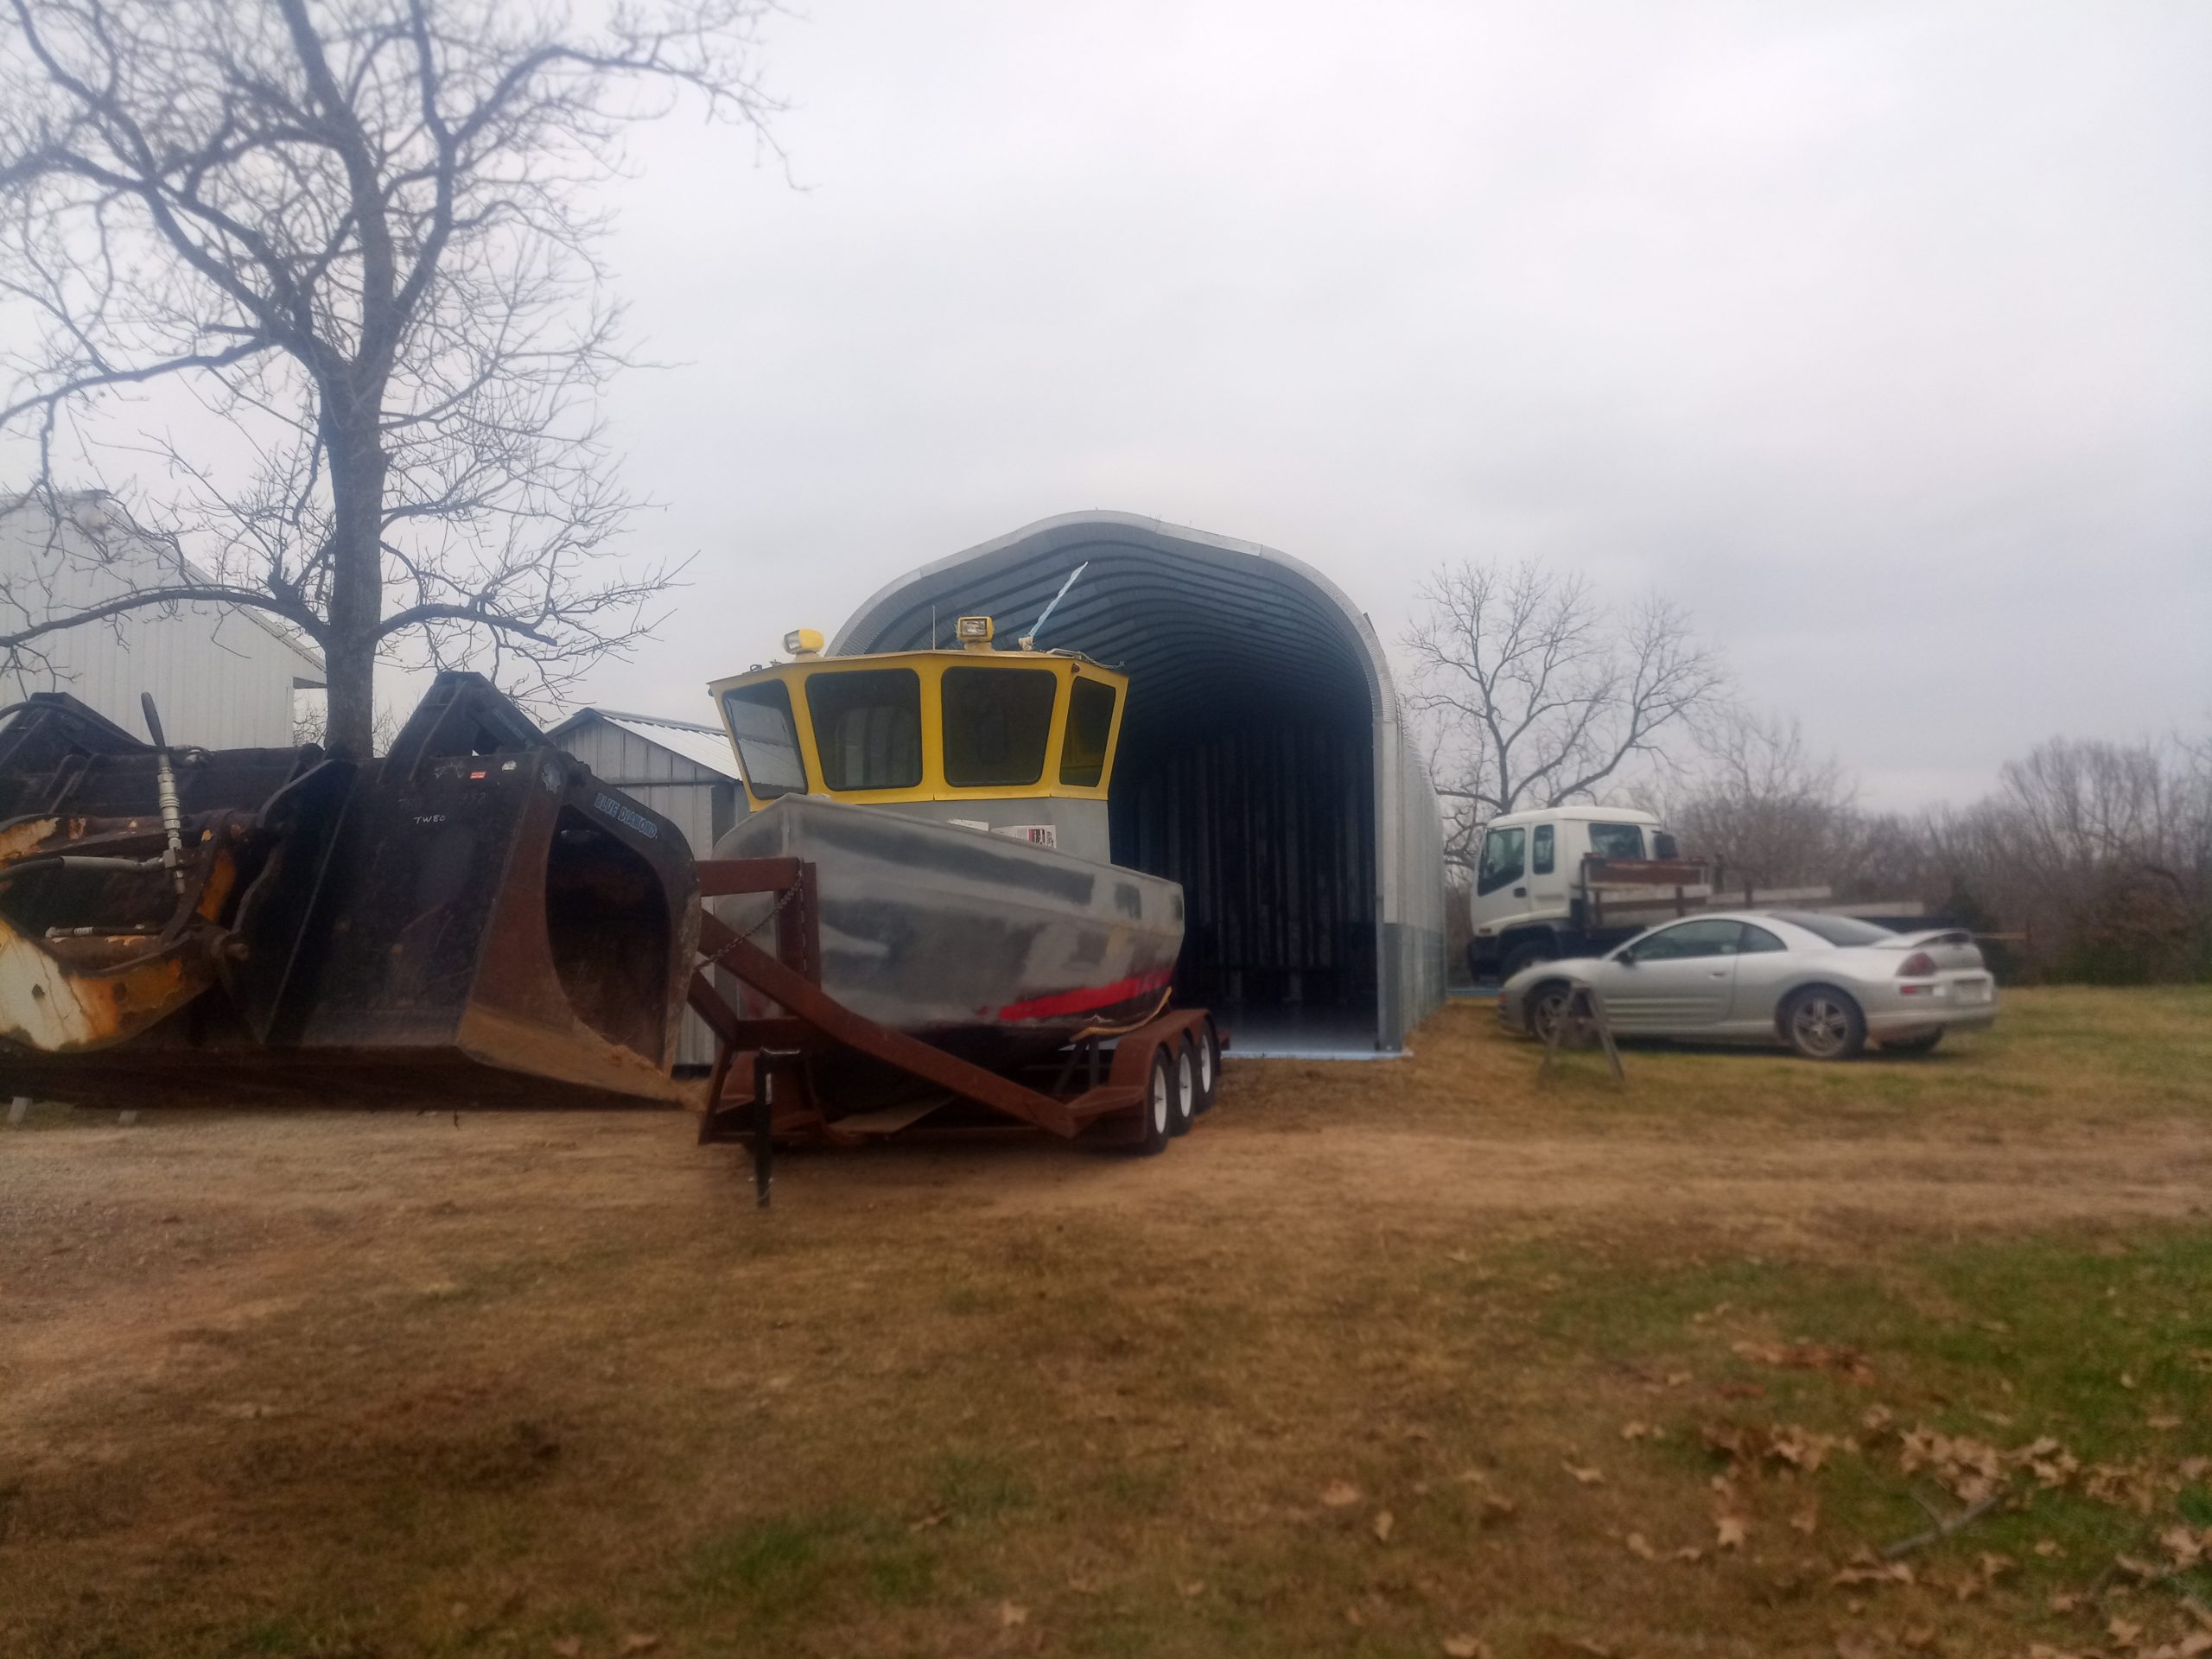
Checked the alignment from the original calculated points. There is sufficient flex in the frame to accommodate the difference, and there will be a 1" neoprene pad that goes between. After confirming the stem and bow alignment, I added 1"x 3" rectangular tubing for capture guides. They will get the neoprene pads after the trailer is sandblasted and painted.Almost done transferring from the stocks to the trailer. And I have to remove those exhaust stacks...Note: The lower units are removed during this process. It gave me a place to put chocking.Building bunk framing to fit the hull. Covers will get installed after painting.Alignment is close enough, I know the owner... and the keel-cover here will get installed after paintingThe "de-pyloned" wheelhouse structure ready to be set.Starting to extricate the tug-laden trailer from the little bay it has been built in...With the guiding assistance of my daughter "she" is half -way out.Fully clear of the internal obstacles. Note there is still a lot of finish work to be done.A friend stopped by to help guide the superstructure onto the wheelhouse base."I know I built this on a matching jig, I sure hope it is still in alignment...""See ma, I told you it would fit... What were you worried about?"
My little excavator was maxed out to reach up that high in the setting process.
They always look so top heavy out of the water.
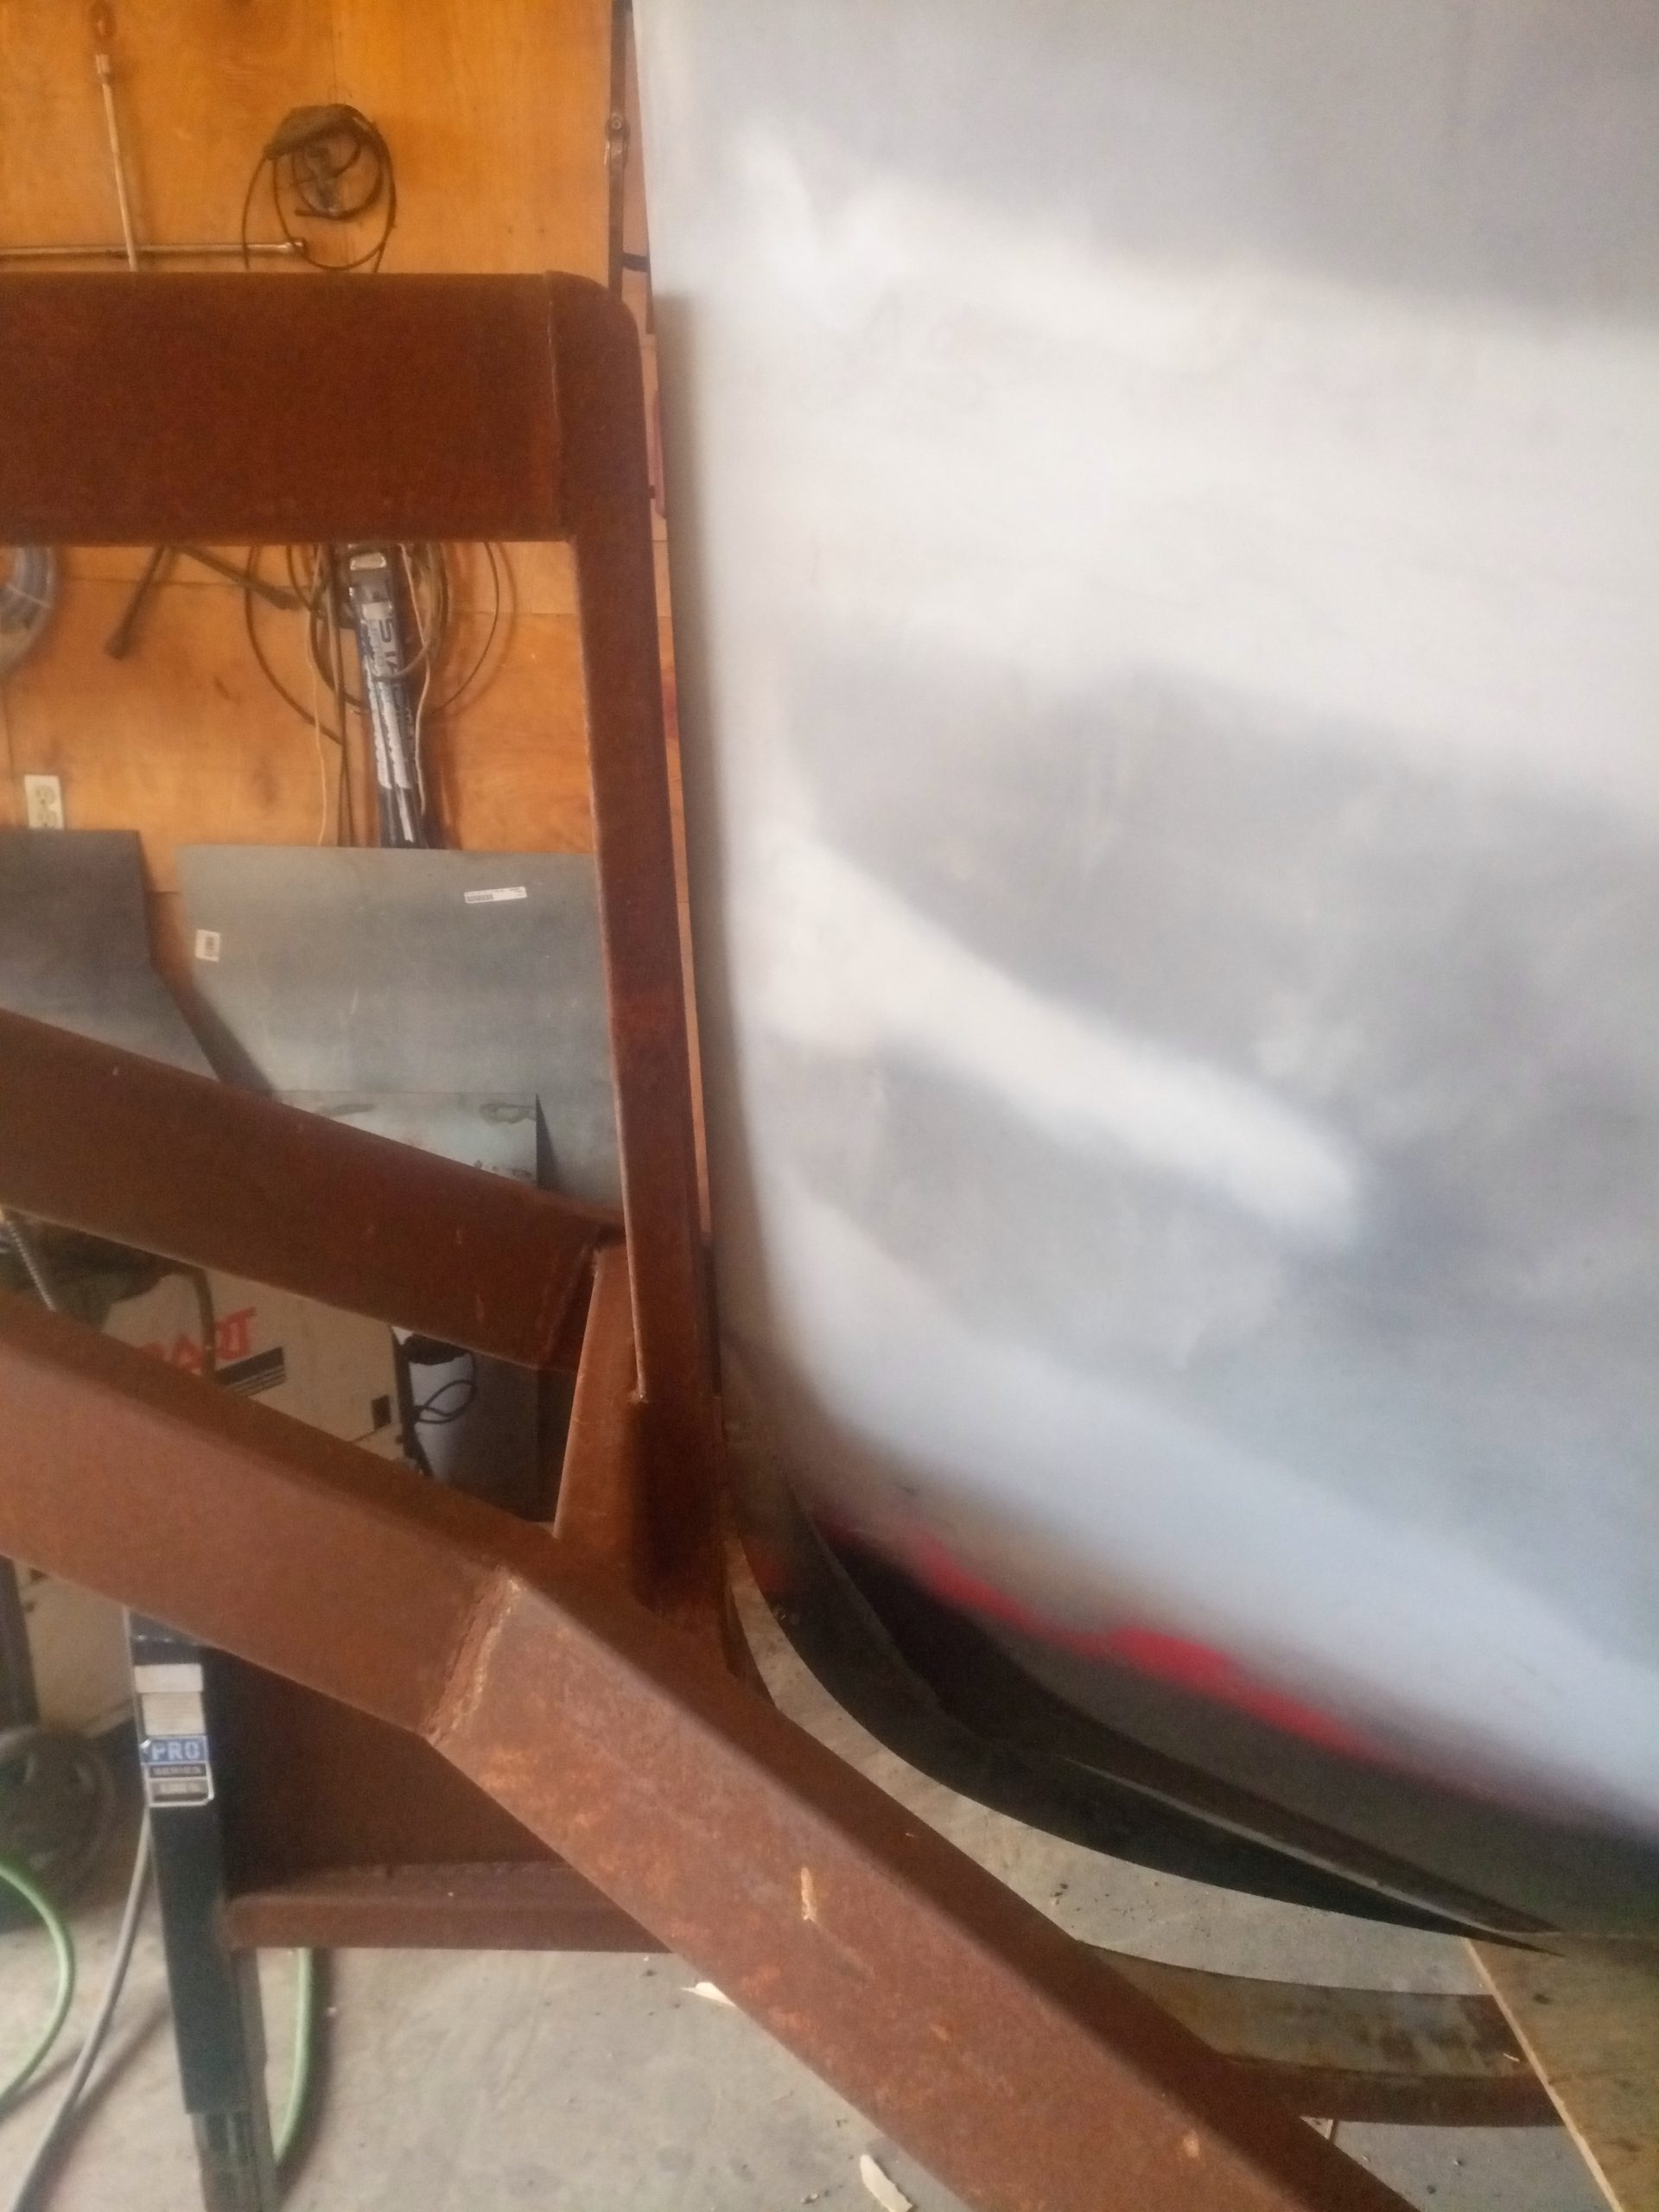
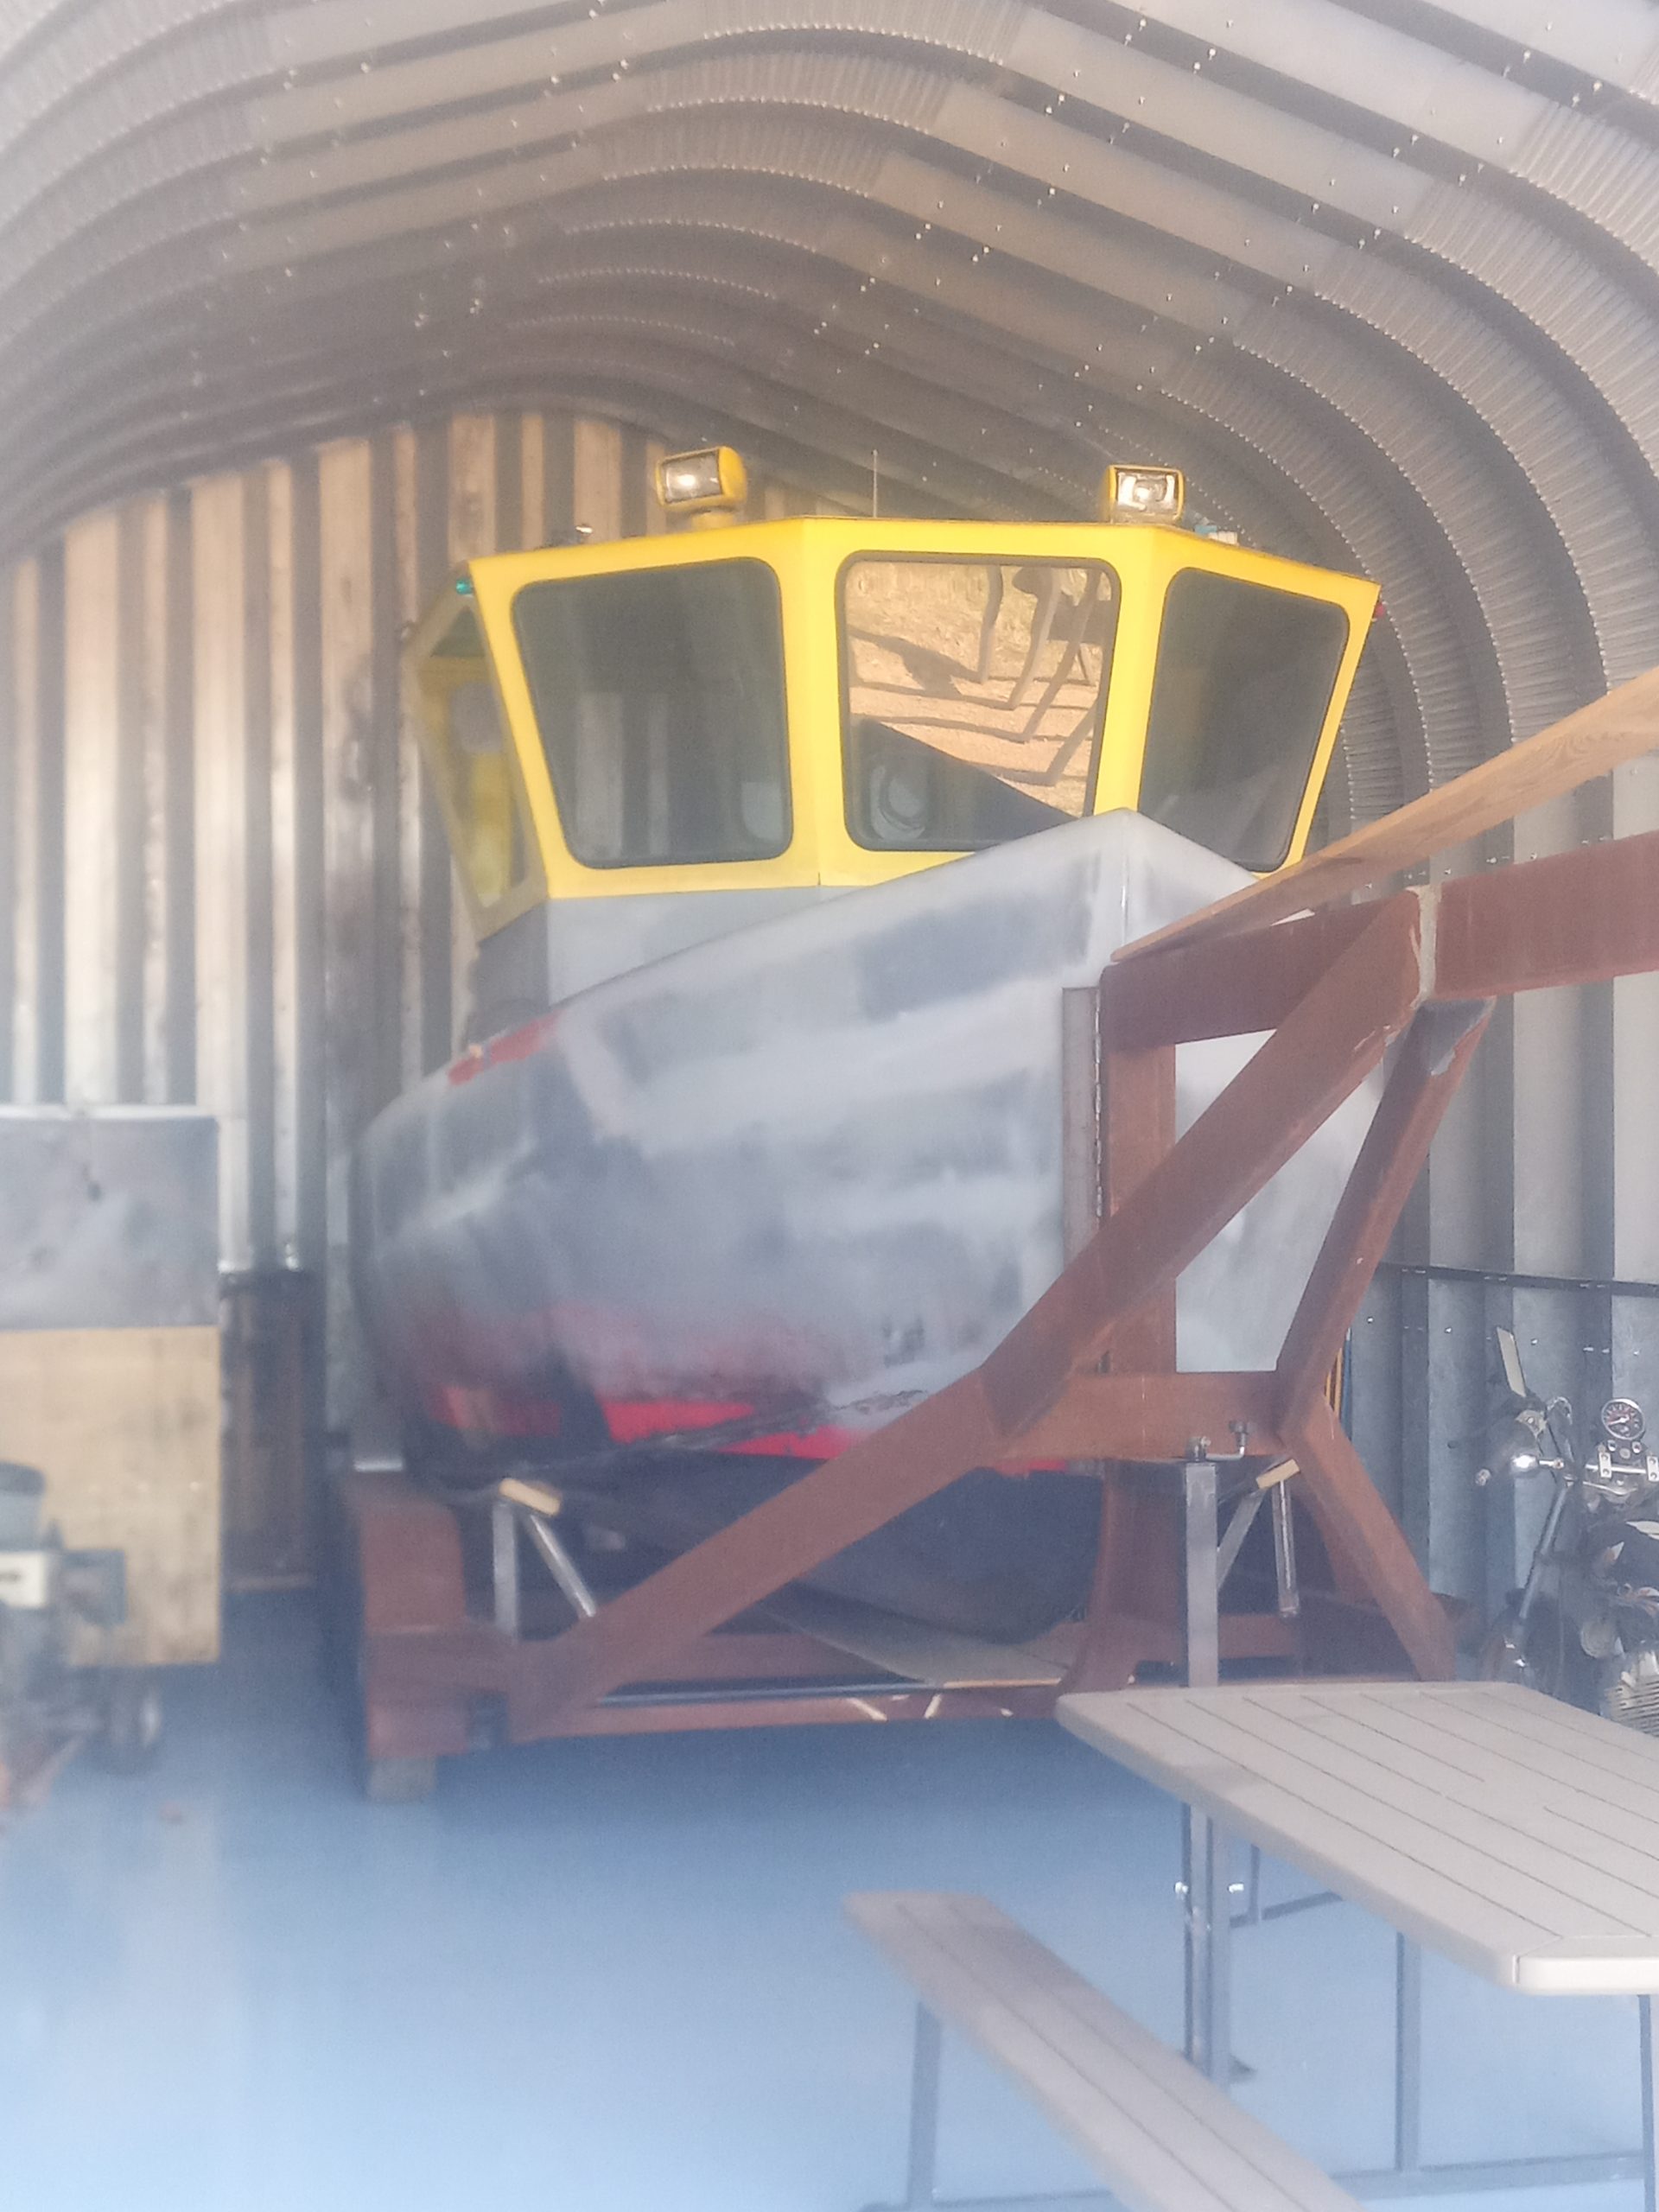
FYI, the white framework leaning up against the back bulkhead of the wheel house, is the hatch cover for the aft battery bank.
"Fun-photo" time- Is it a "selfie" if my wife takes it?"I am so happy since this is such a large transitional step for my creation.And I have to give credit to my dear daughter Faren. Even though she is a major stroke survivor, she was invaluable in guiding me out of Building 1C.And I just had to see for myself, I really am not able to budge 1 1/2 tons of boat even an inch...Ready to pivot 90°and back into the cathedral.I had to use my loader because I still have not finished the telescoping part of the hitch and the loader was more agile.At rest in the back of her new home.started rigging temp power, air and lighting to get back to work on her.And as all good things do, work went on into the night. Super structure brace cut out of the hatchway, and bolted down.
One of the next jobs will be to cut off the extra foot at the top of the pylon to make it more functional and aesthetically pleasing, (as well as make it able to fit in the cathedral). Then there will be the exhaust cover, etc.
The lower back part of the pylon also houses the dual genset exhaust stacks.
So, before I can make much more progress, I intend to hang shop lights in the cathedral and some of those clear vinyl strips for a flexible front door.
With the ramping up of building our home, the tug will be taking a bit longer than previously planned. But I am tired of camping in my barn these last plenty years. Time to make some changes. So stay tuned. I hope to make another update in the Spring.