


Boat Plans, Patterns and Supplies For the Amateur Boat Builder!
Every year, thousands of amateurs much like yourself build their own boats the proven Glen-L way. Many builders save 50% or more over the price of a factory-built boat. It’s easier than you might think, and it can be a rewarding experience.
-
Industry experts
-
Established in 1953
-
300+ Models
-
International shipping
Plans & Patterns
-
 Human Powered
-
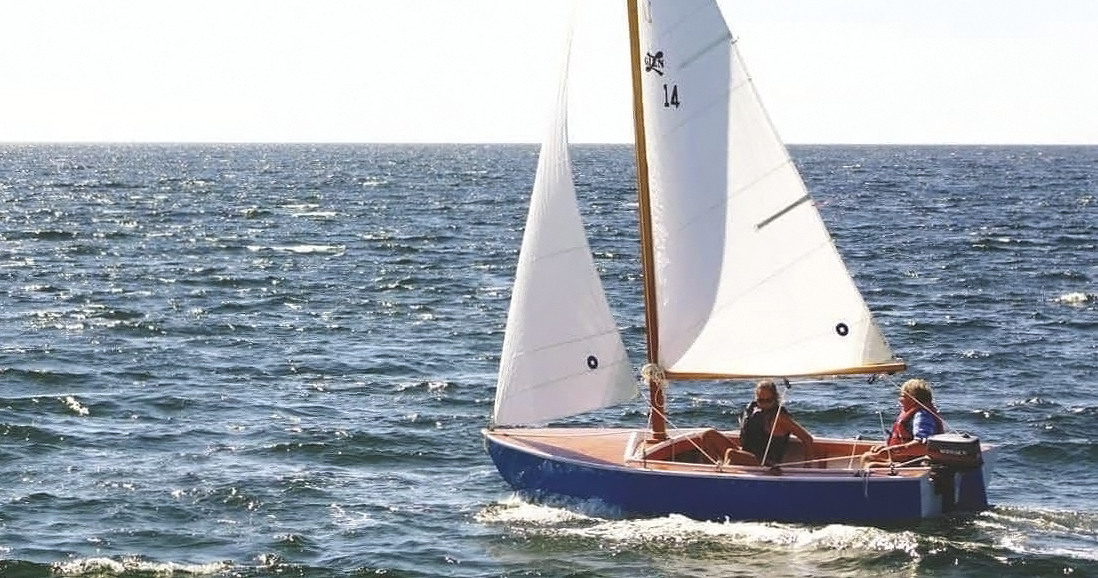
Sailboats
-
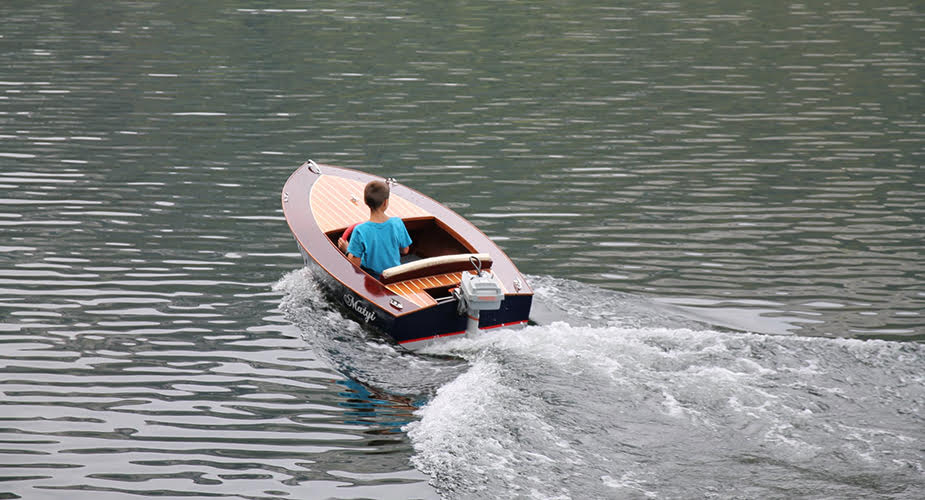
Inboards
-
Outboards
-
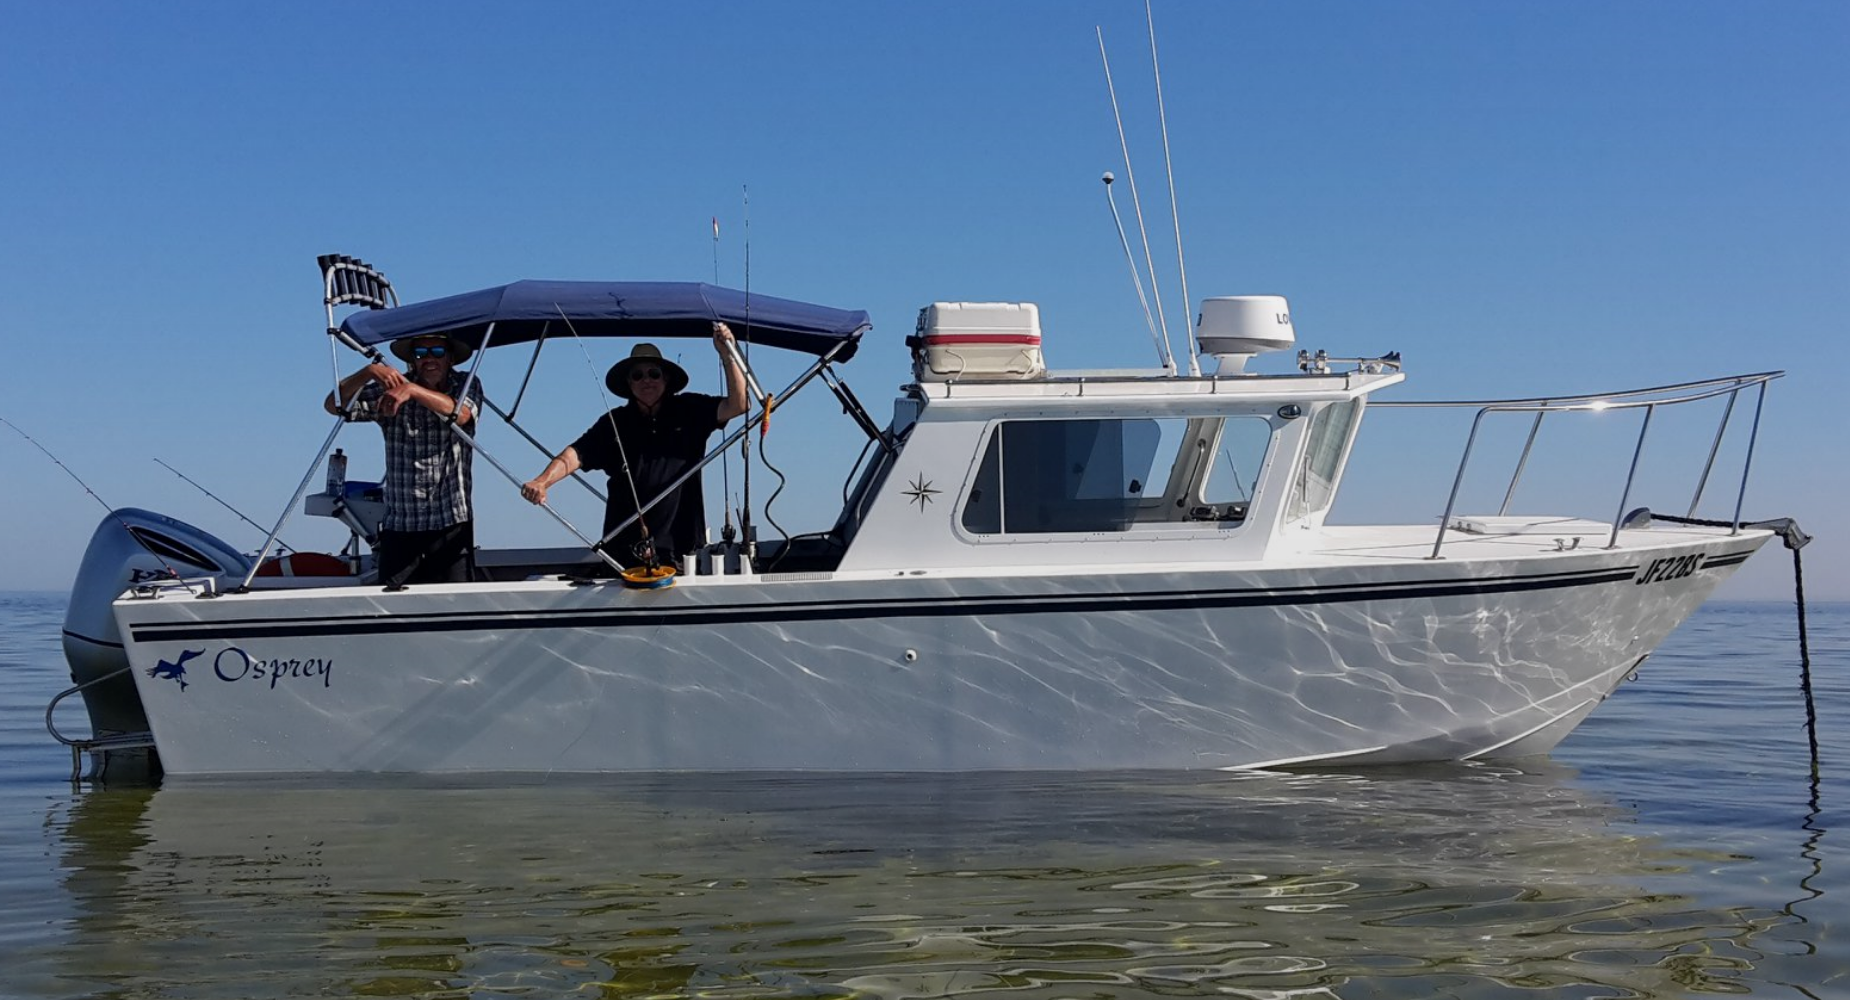
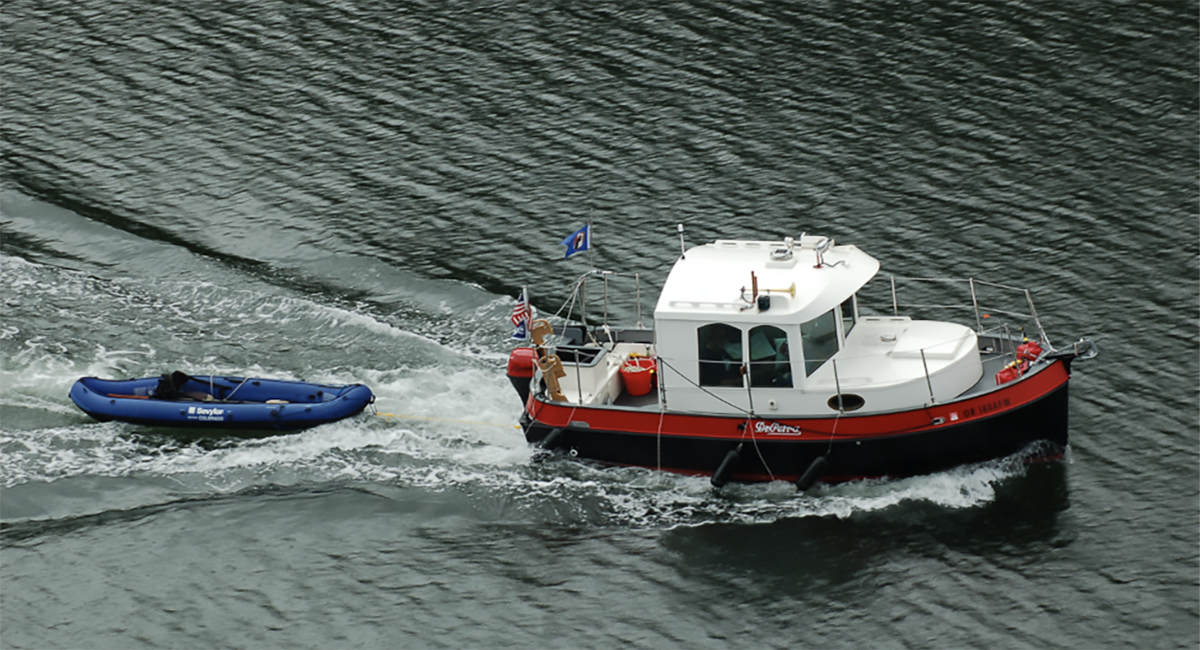
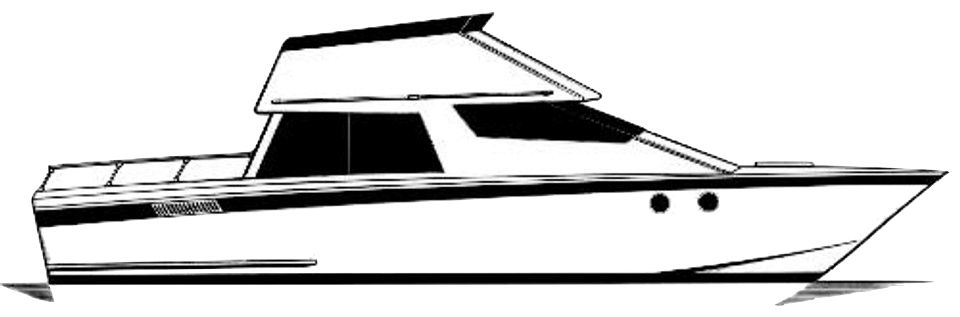
Power Cruisers
-
Houseboats
-
Workboats
-
Campers / rv
-
Special Purpose
-
Boat Trailers
-
Non-Boat Designs
-
Alternative Construction


All plans come with a 30-Day money back guarantee.

Providing boat Plans & memories Since 1953
For more than 60 years Glen-L has been the world’s premier supplier of boat plans and patterns designed for the amatuer builder. We make it even simpler by offering associated supplies and hardware kits for each design.
About Us


