
Sea Knight build
Posted by Adriaan on Apr 5th 2021
Hi All,
I recently bought/acquired the Sea Knight plans and decided to document and post some of my progress, although I am not sure if the build will be a speedy process as I have too many hobbies and things going on but I really enjoy it so far so let's see.
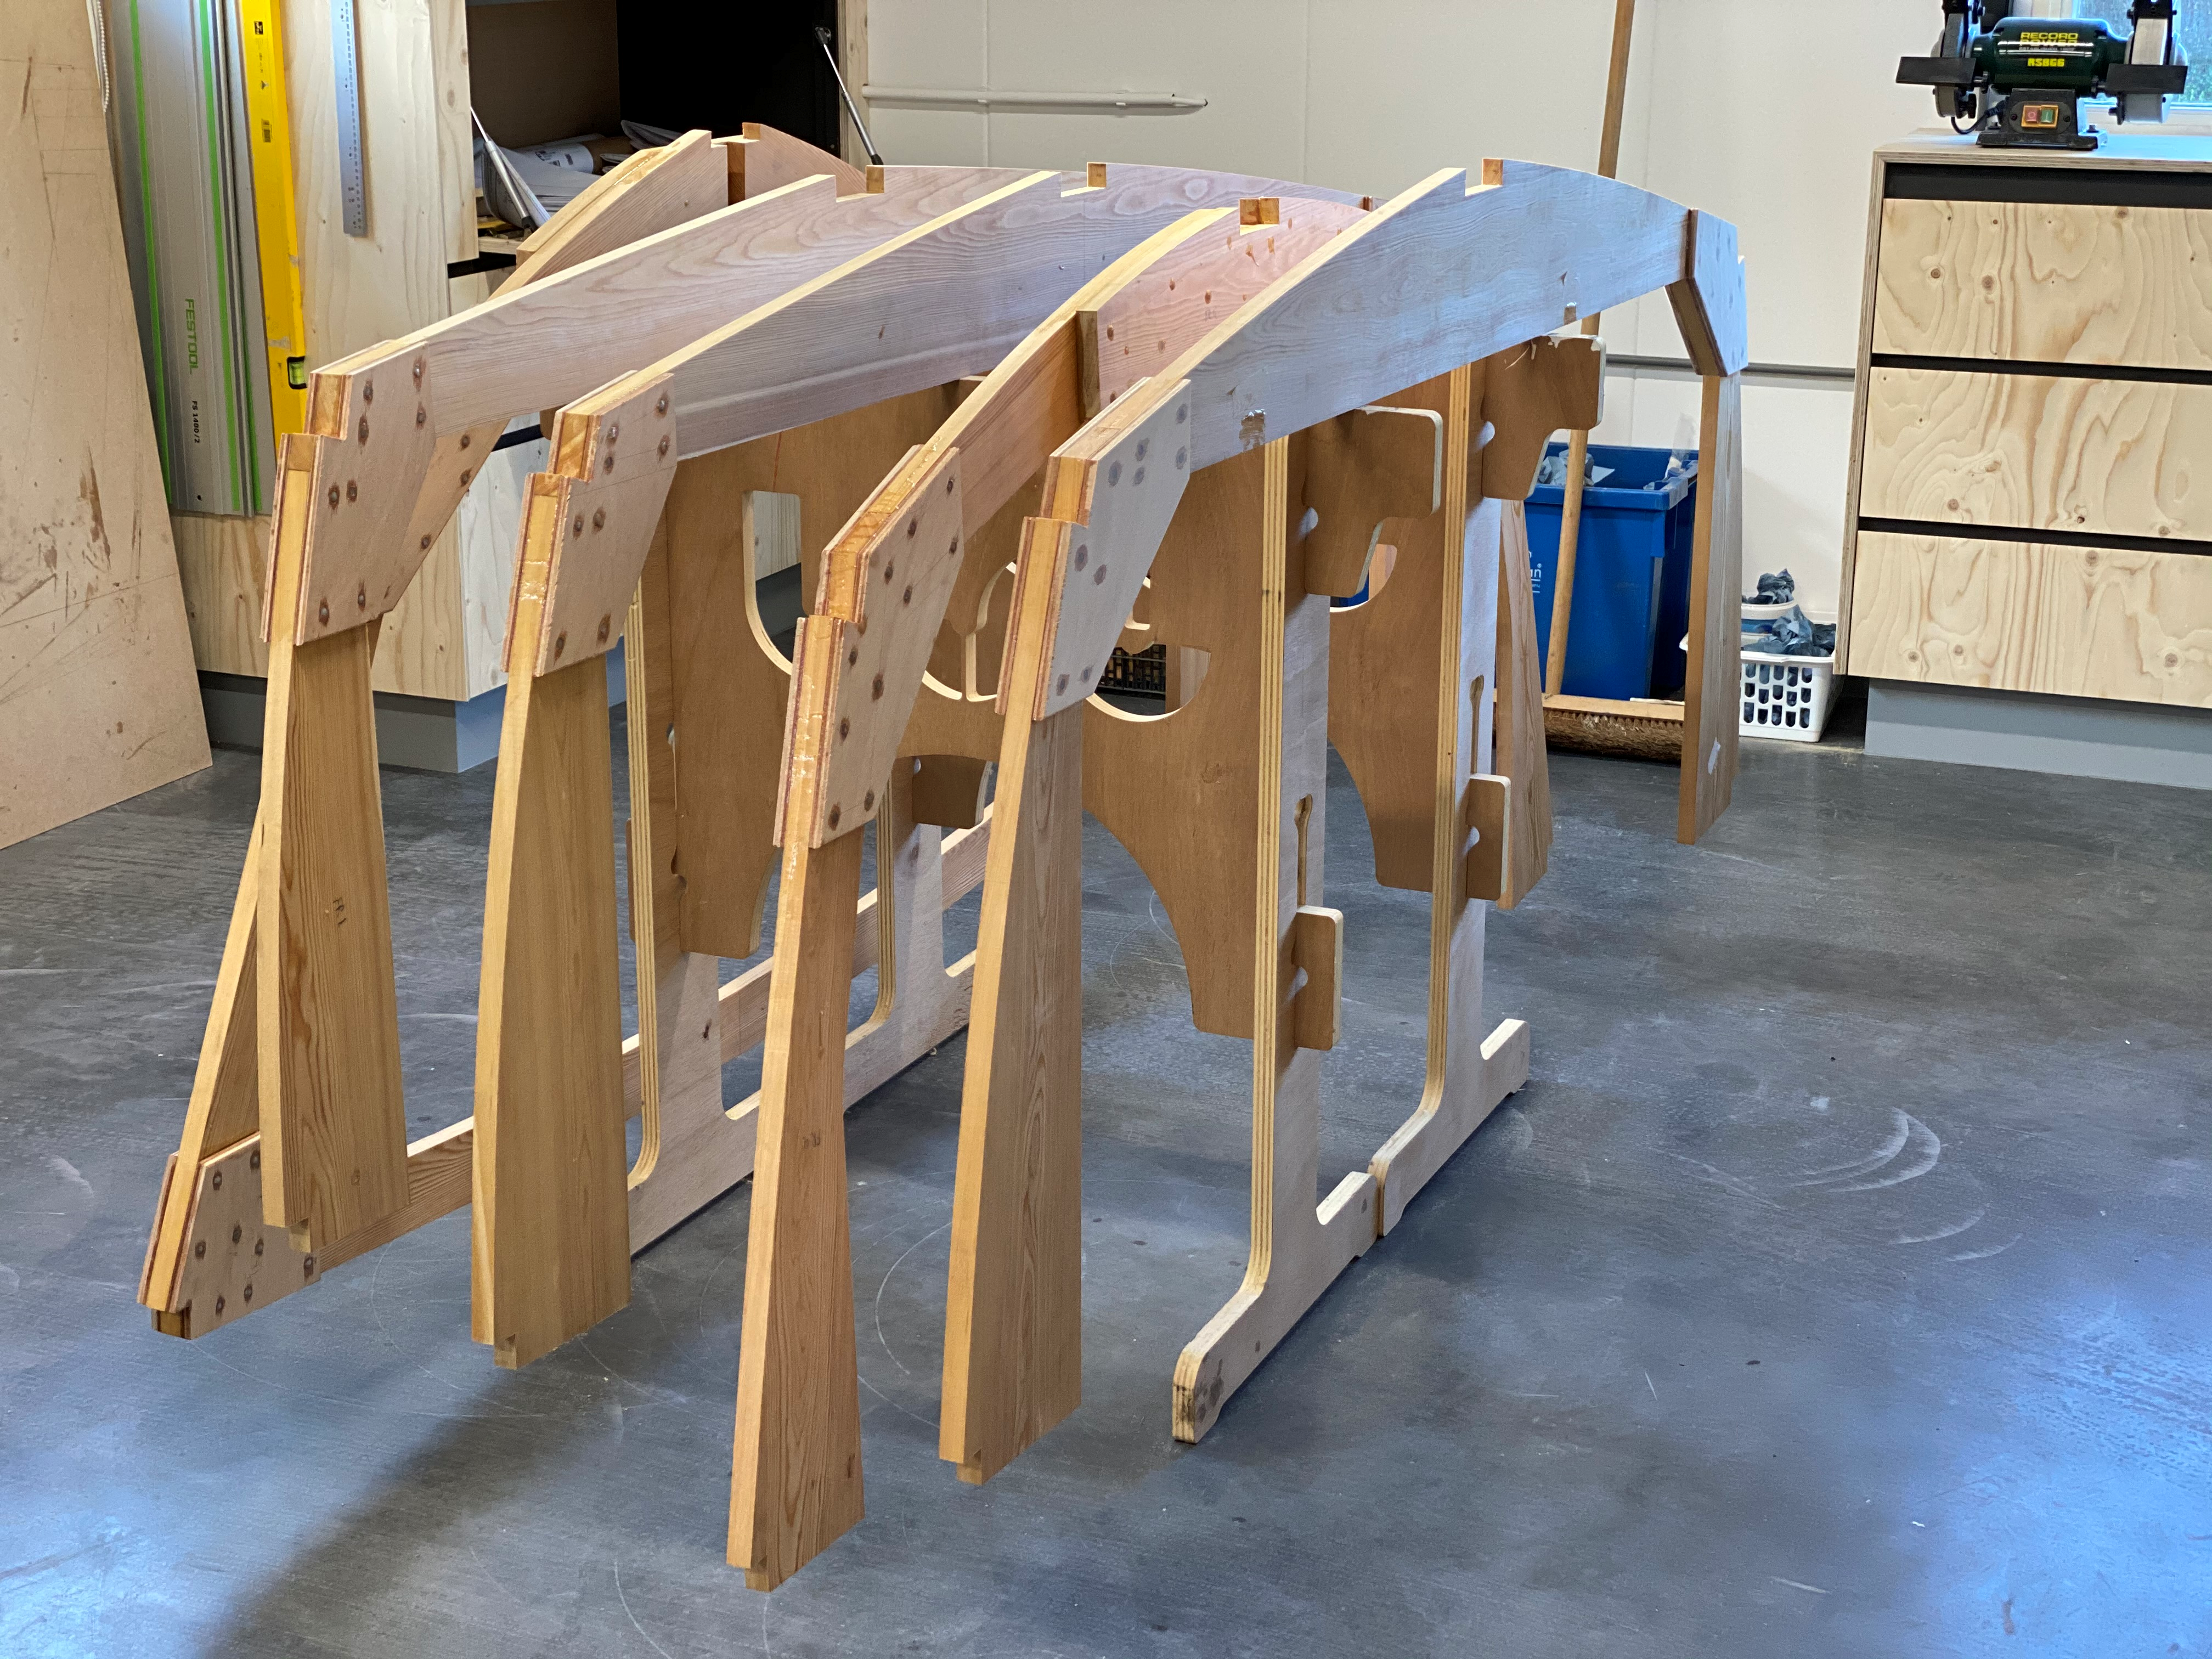
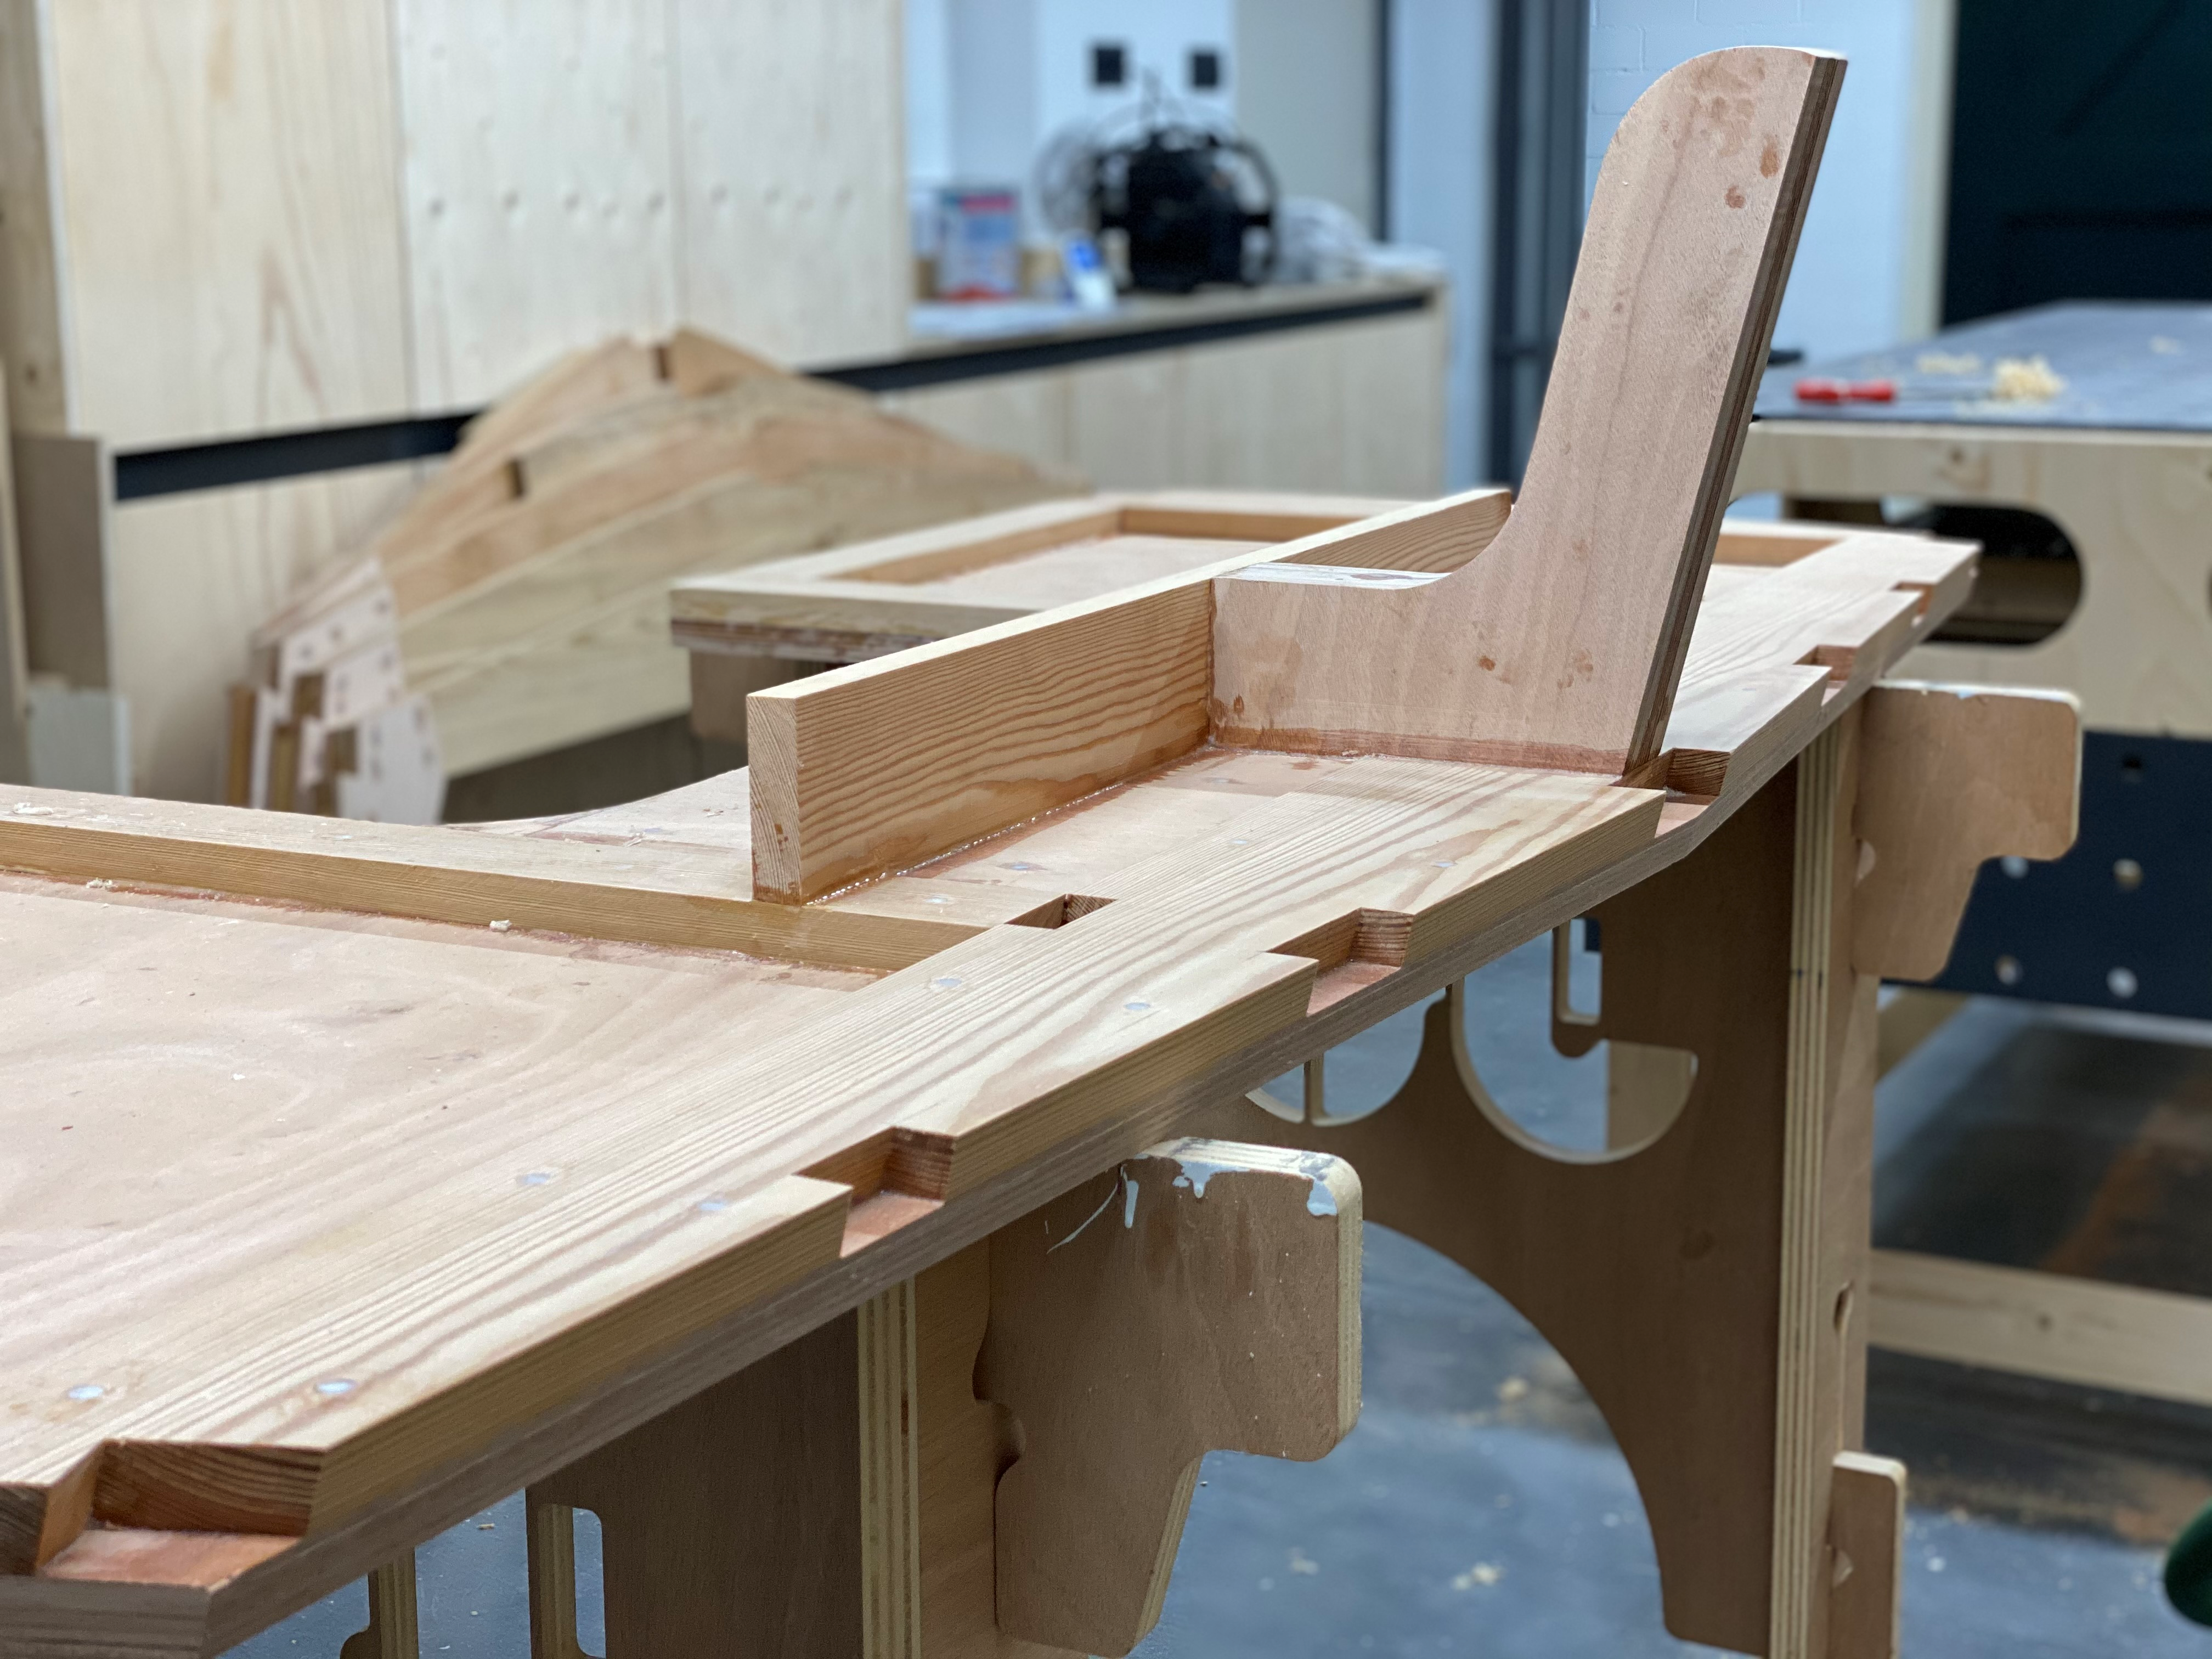
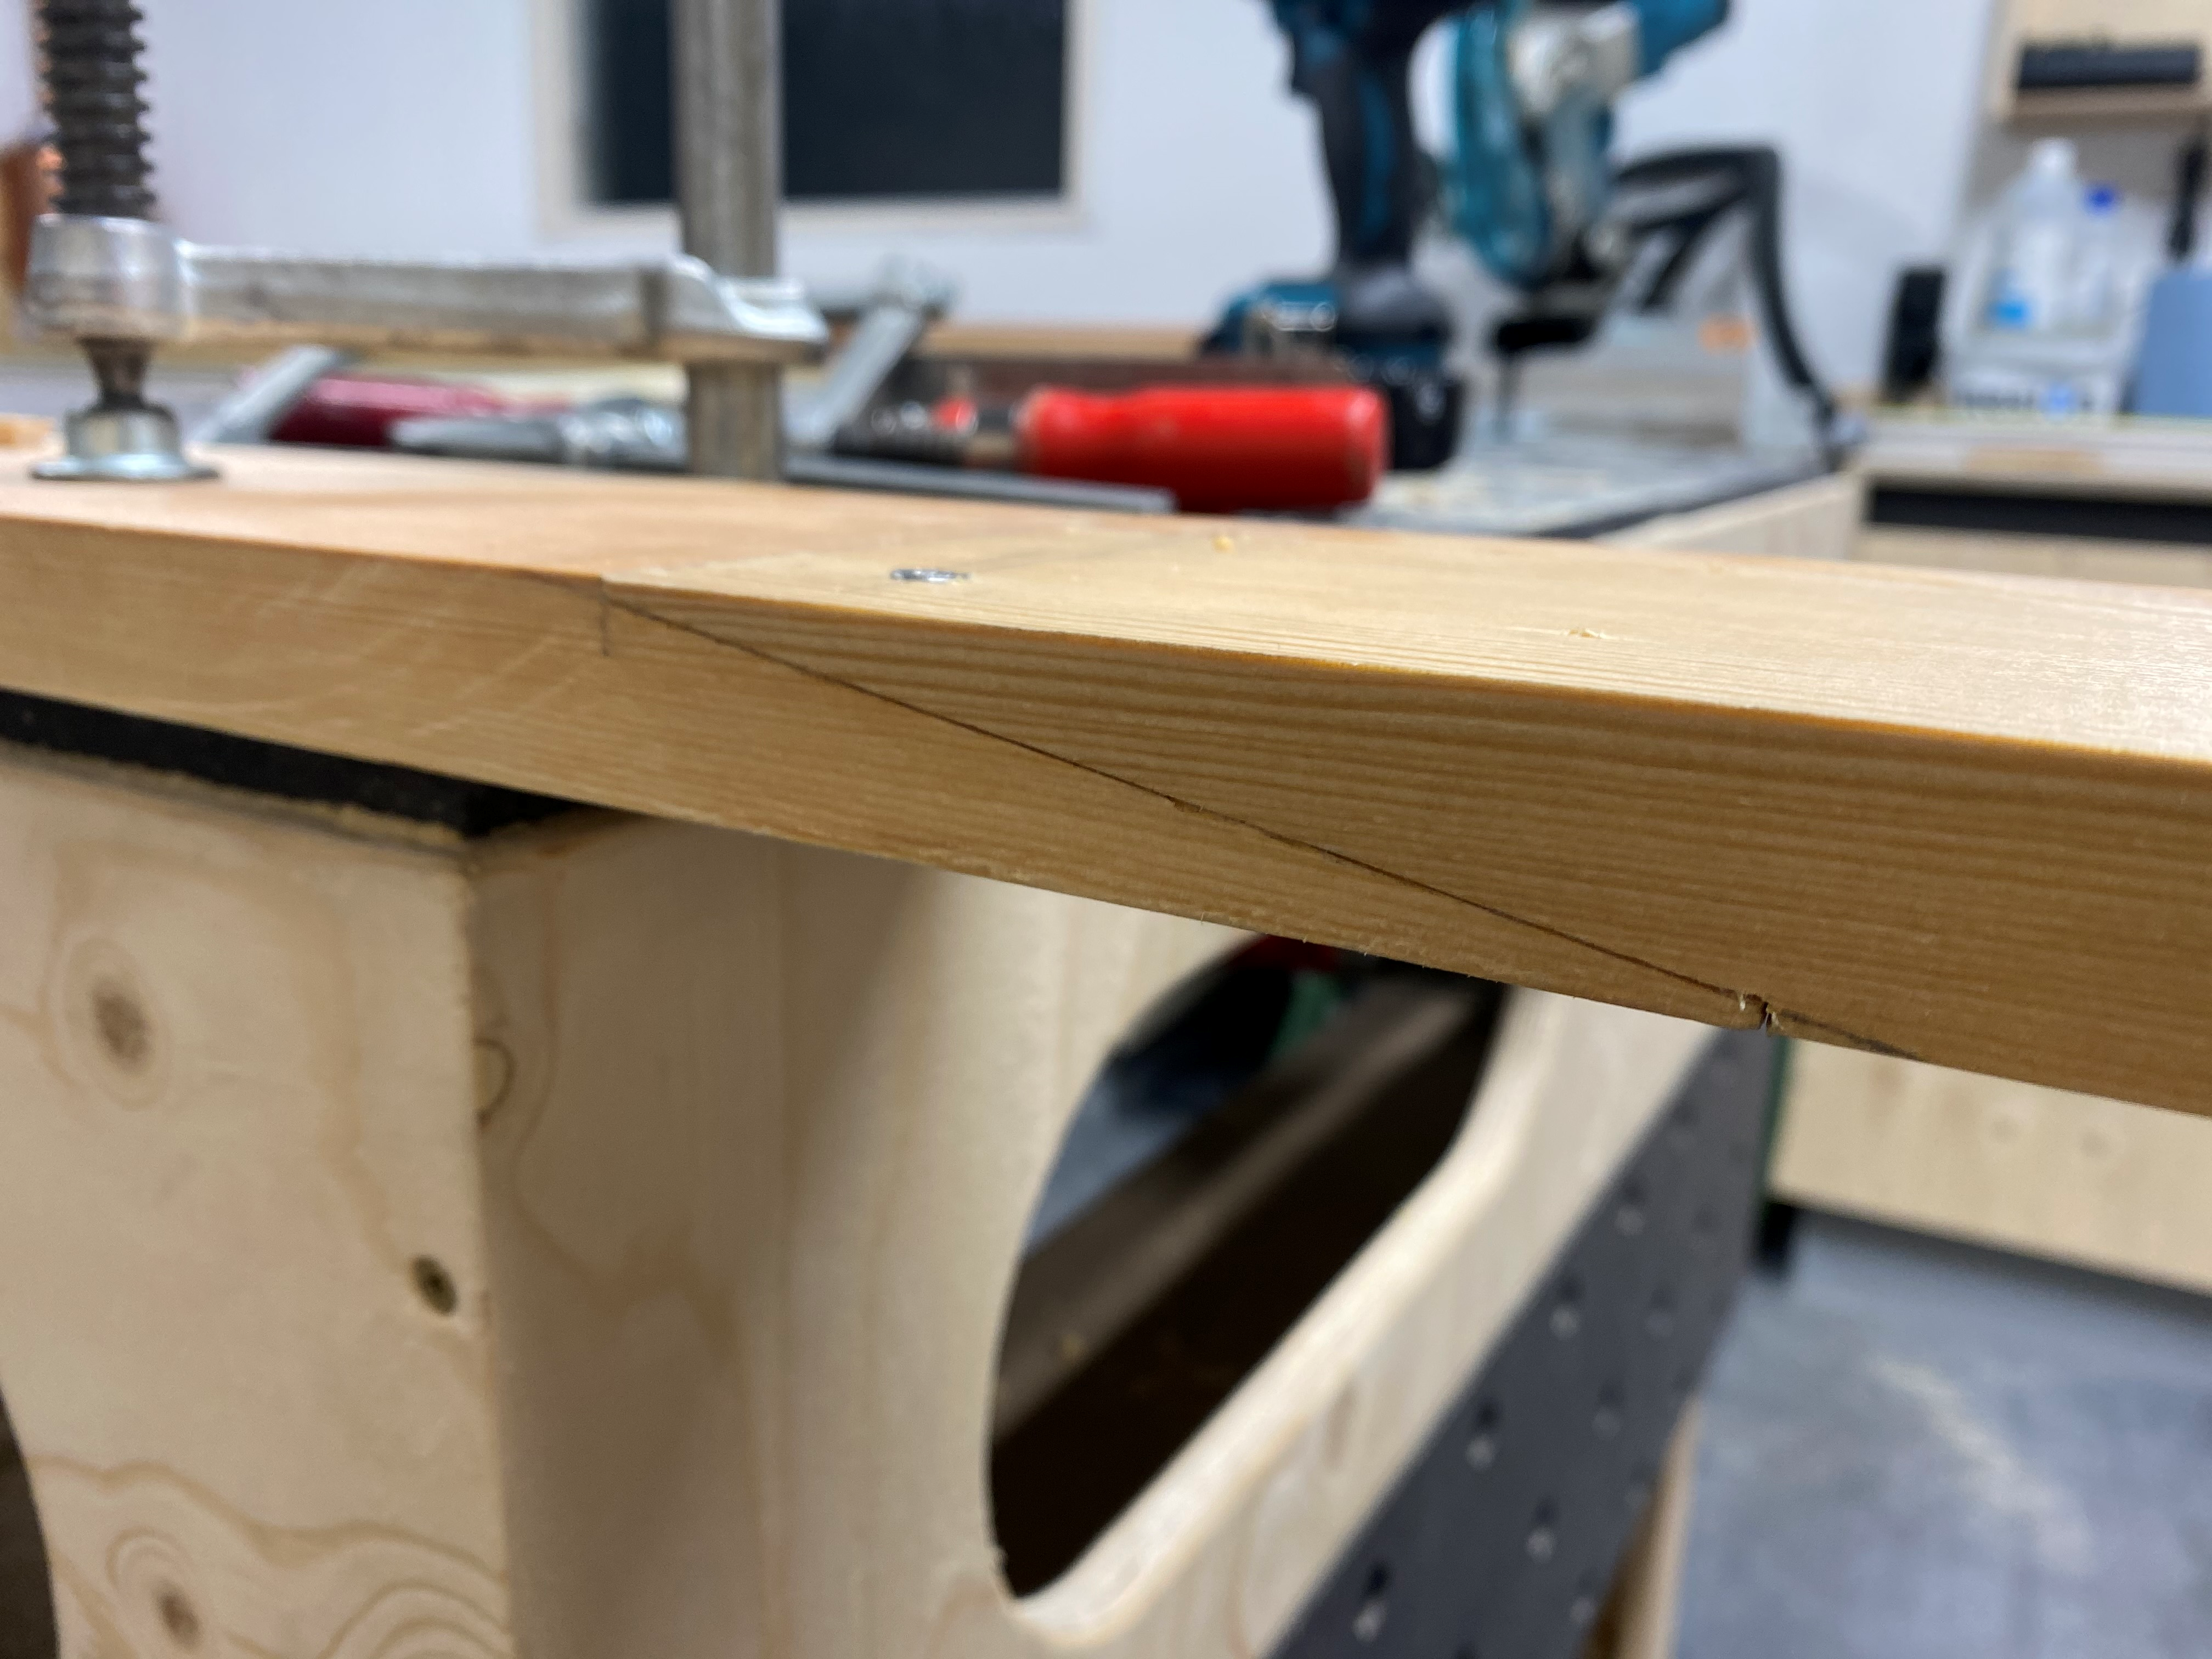
I just finished my first frame (no.5) constructed out of Siberian Larch and okume plywood.
More to follow soon!
So I have been a bit lazy on the posting side of things, luckily Dan was so kind to remind me of my duties.
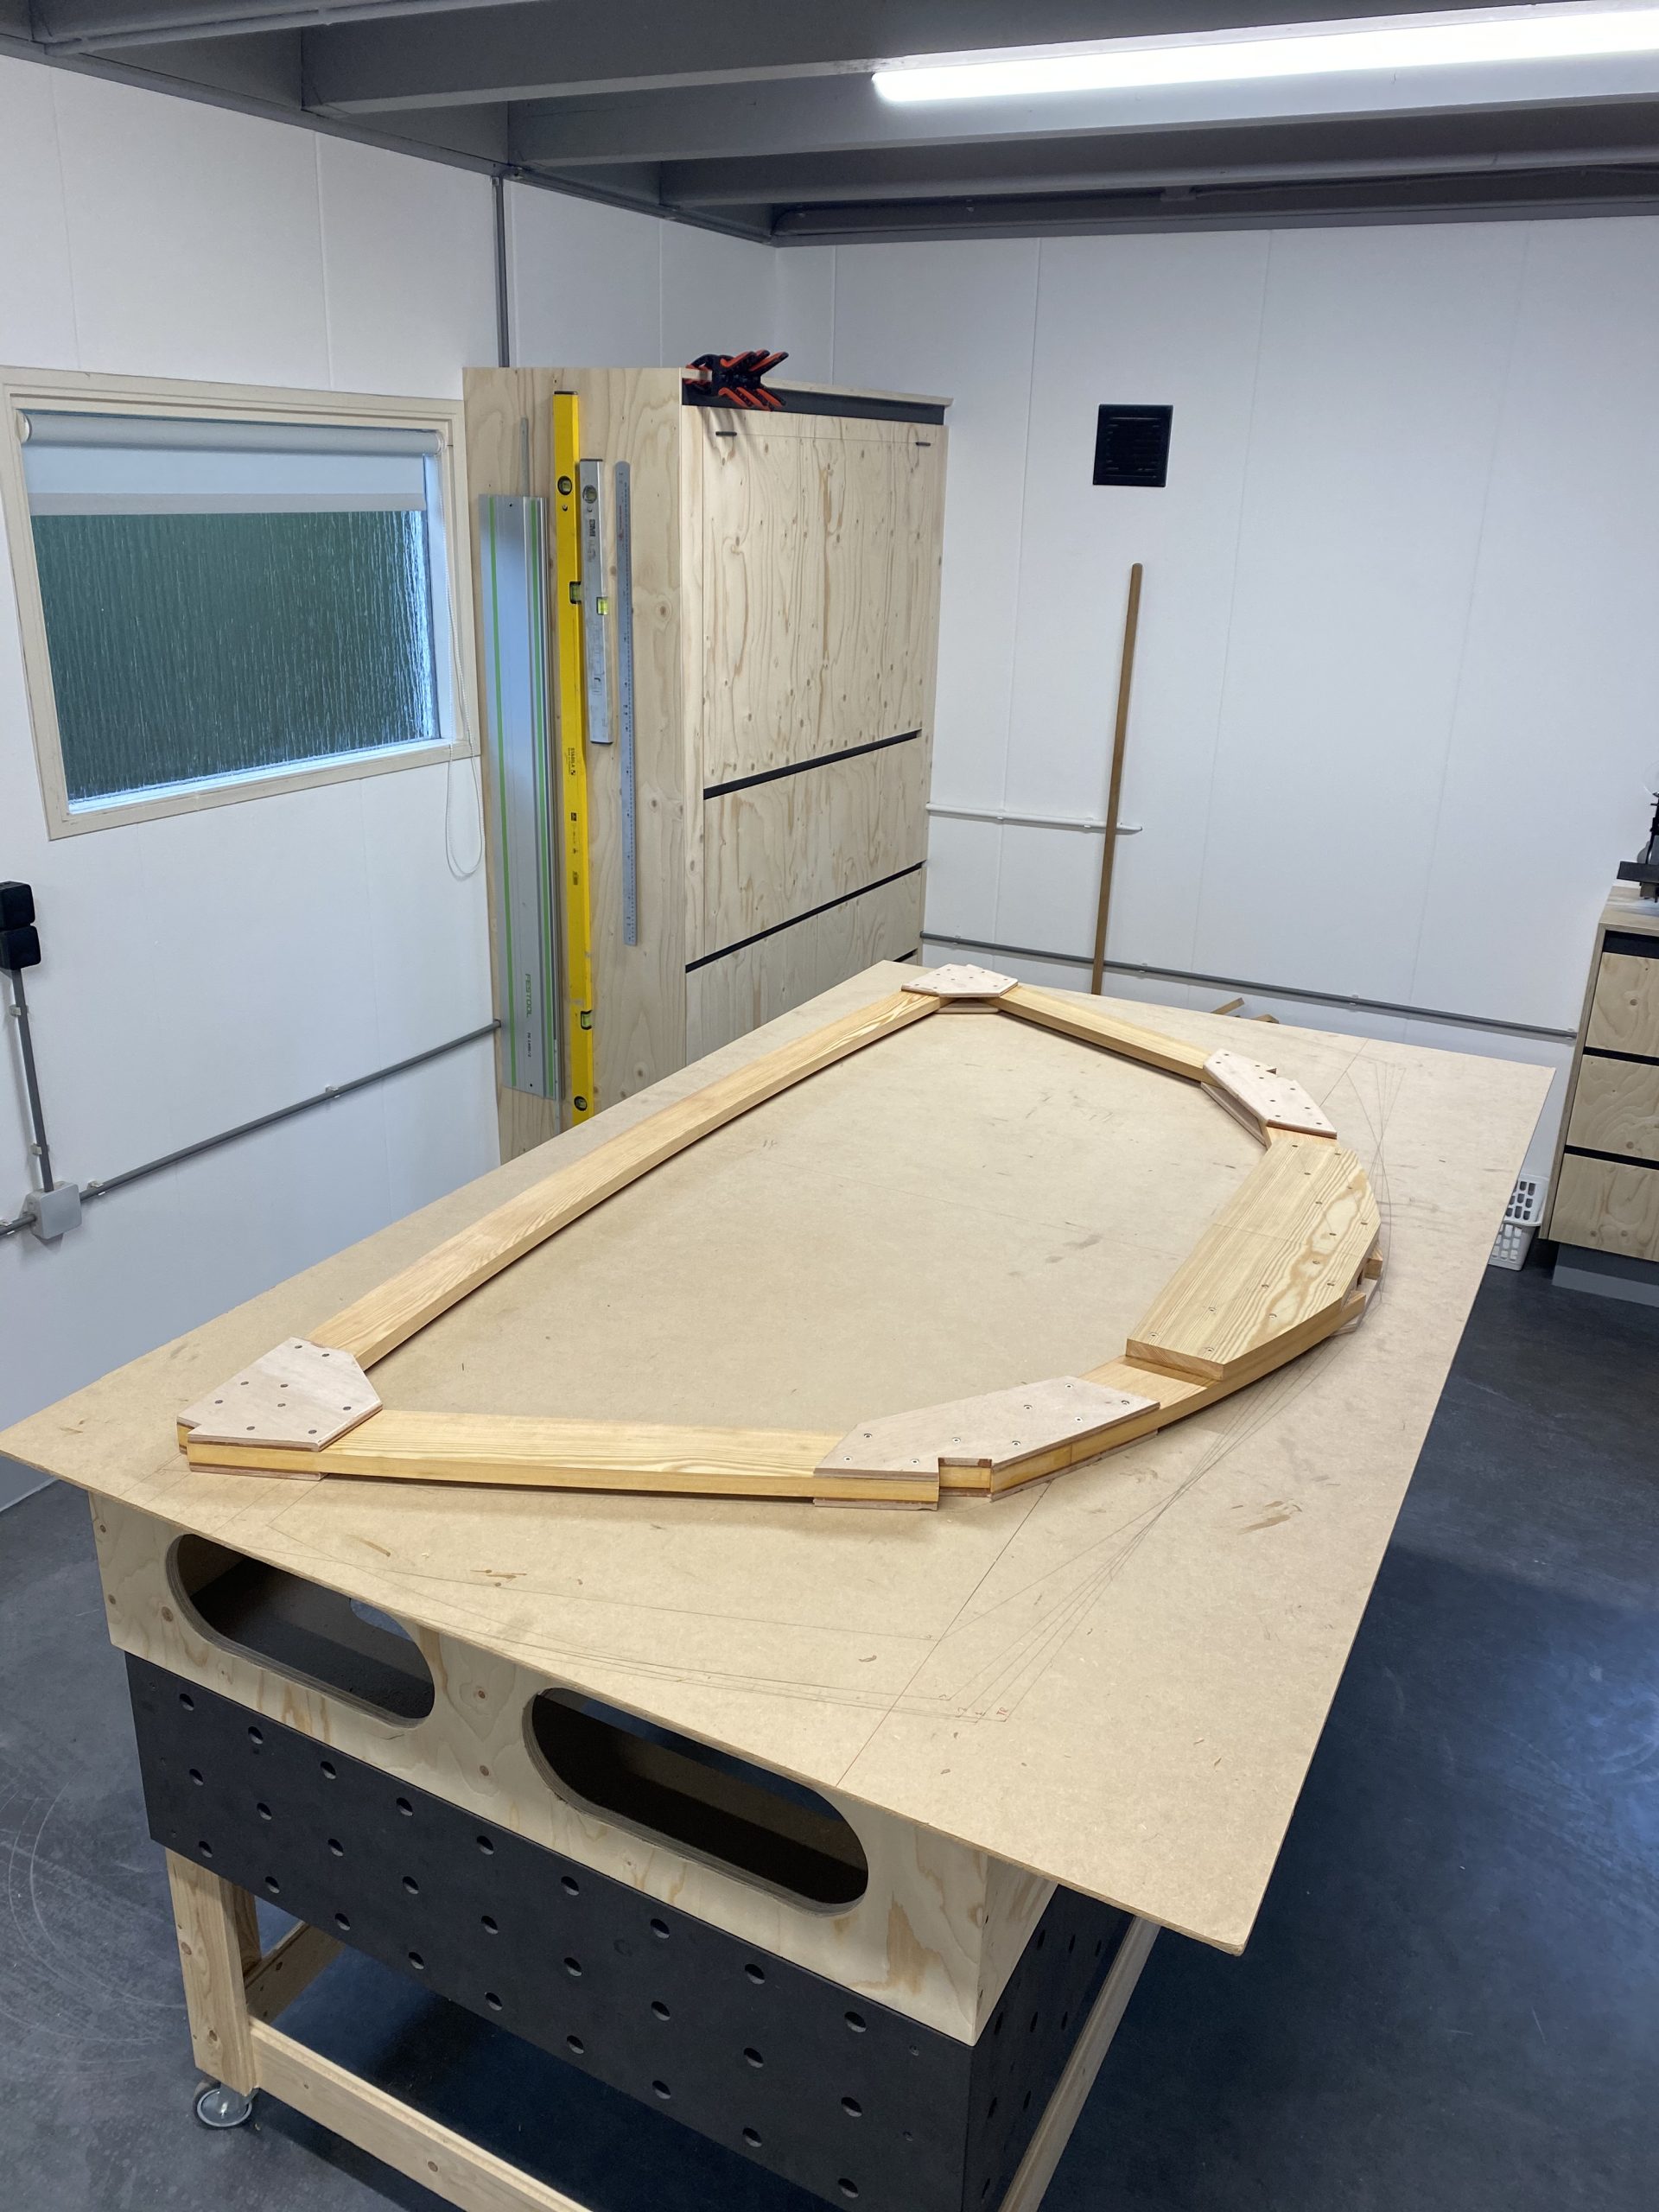
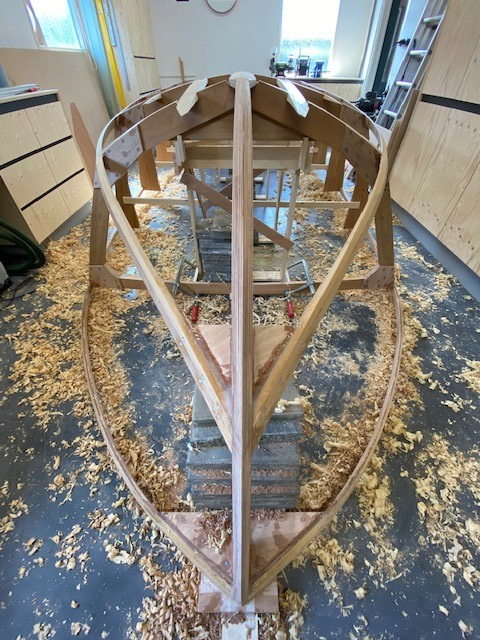
I have been busy the last weeks with the production of the loose parts like all the frames and keel and the chines and sheers etc before setting up the strongback as the space in my workshop is limited.
Funny thing to mention, all the while I was busy producing my parts and having loads of fun while doing so, I found out that the lovely boat doesn't fit through my access door... at least not in a level position. I should have thought this through. On the other hand, overthinking things is just not my cup of tea. Let's just wing it and see what happens, it will be fine, otherwise my entrance will be upgraded...
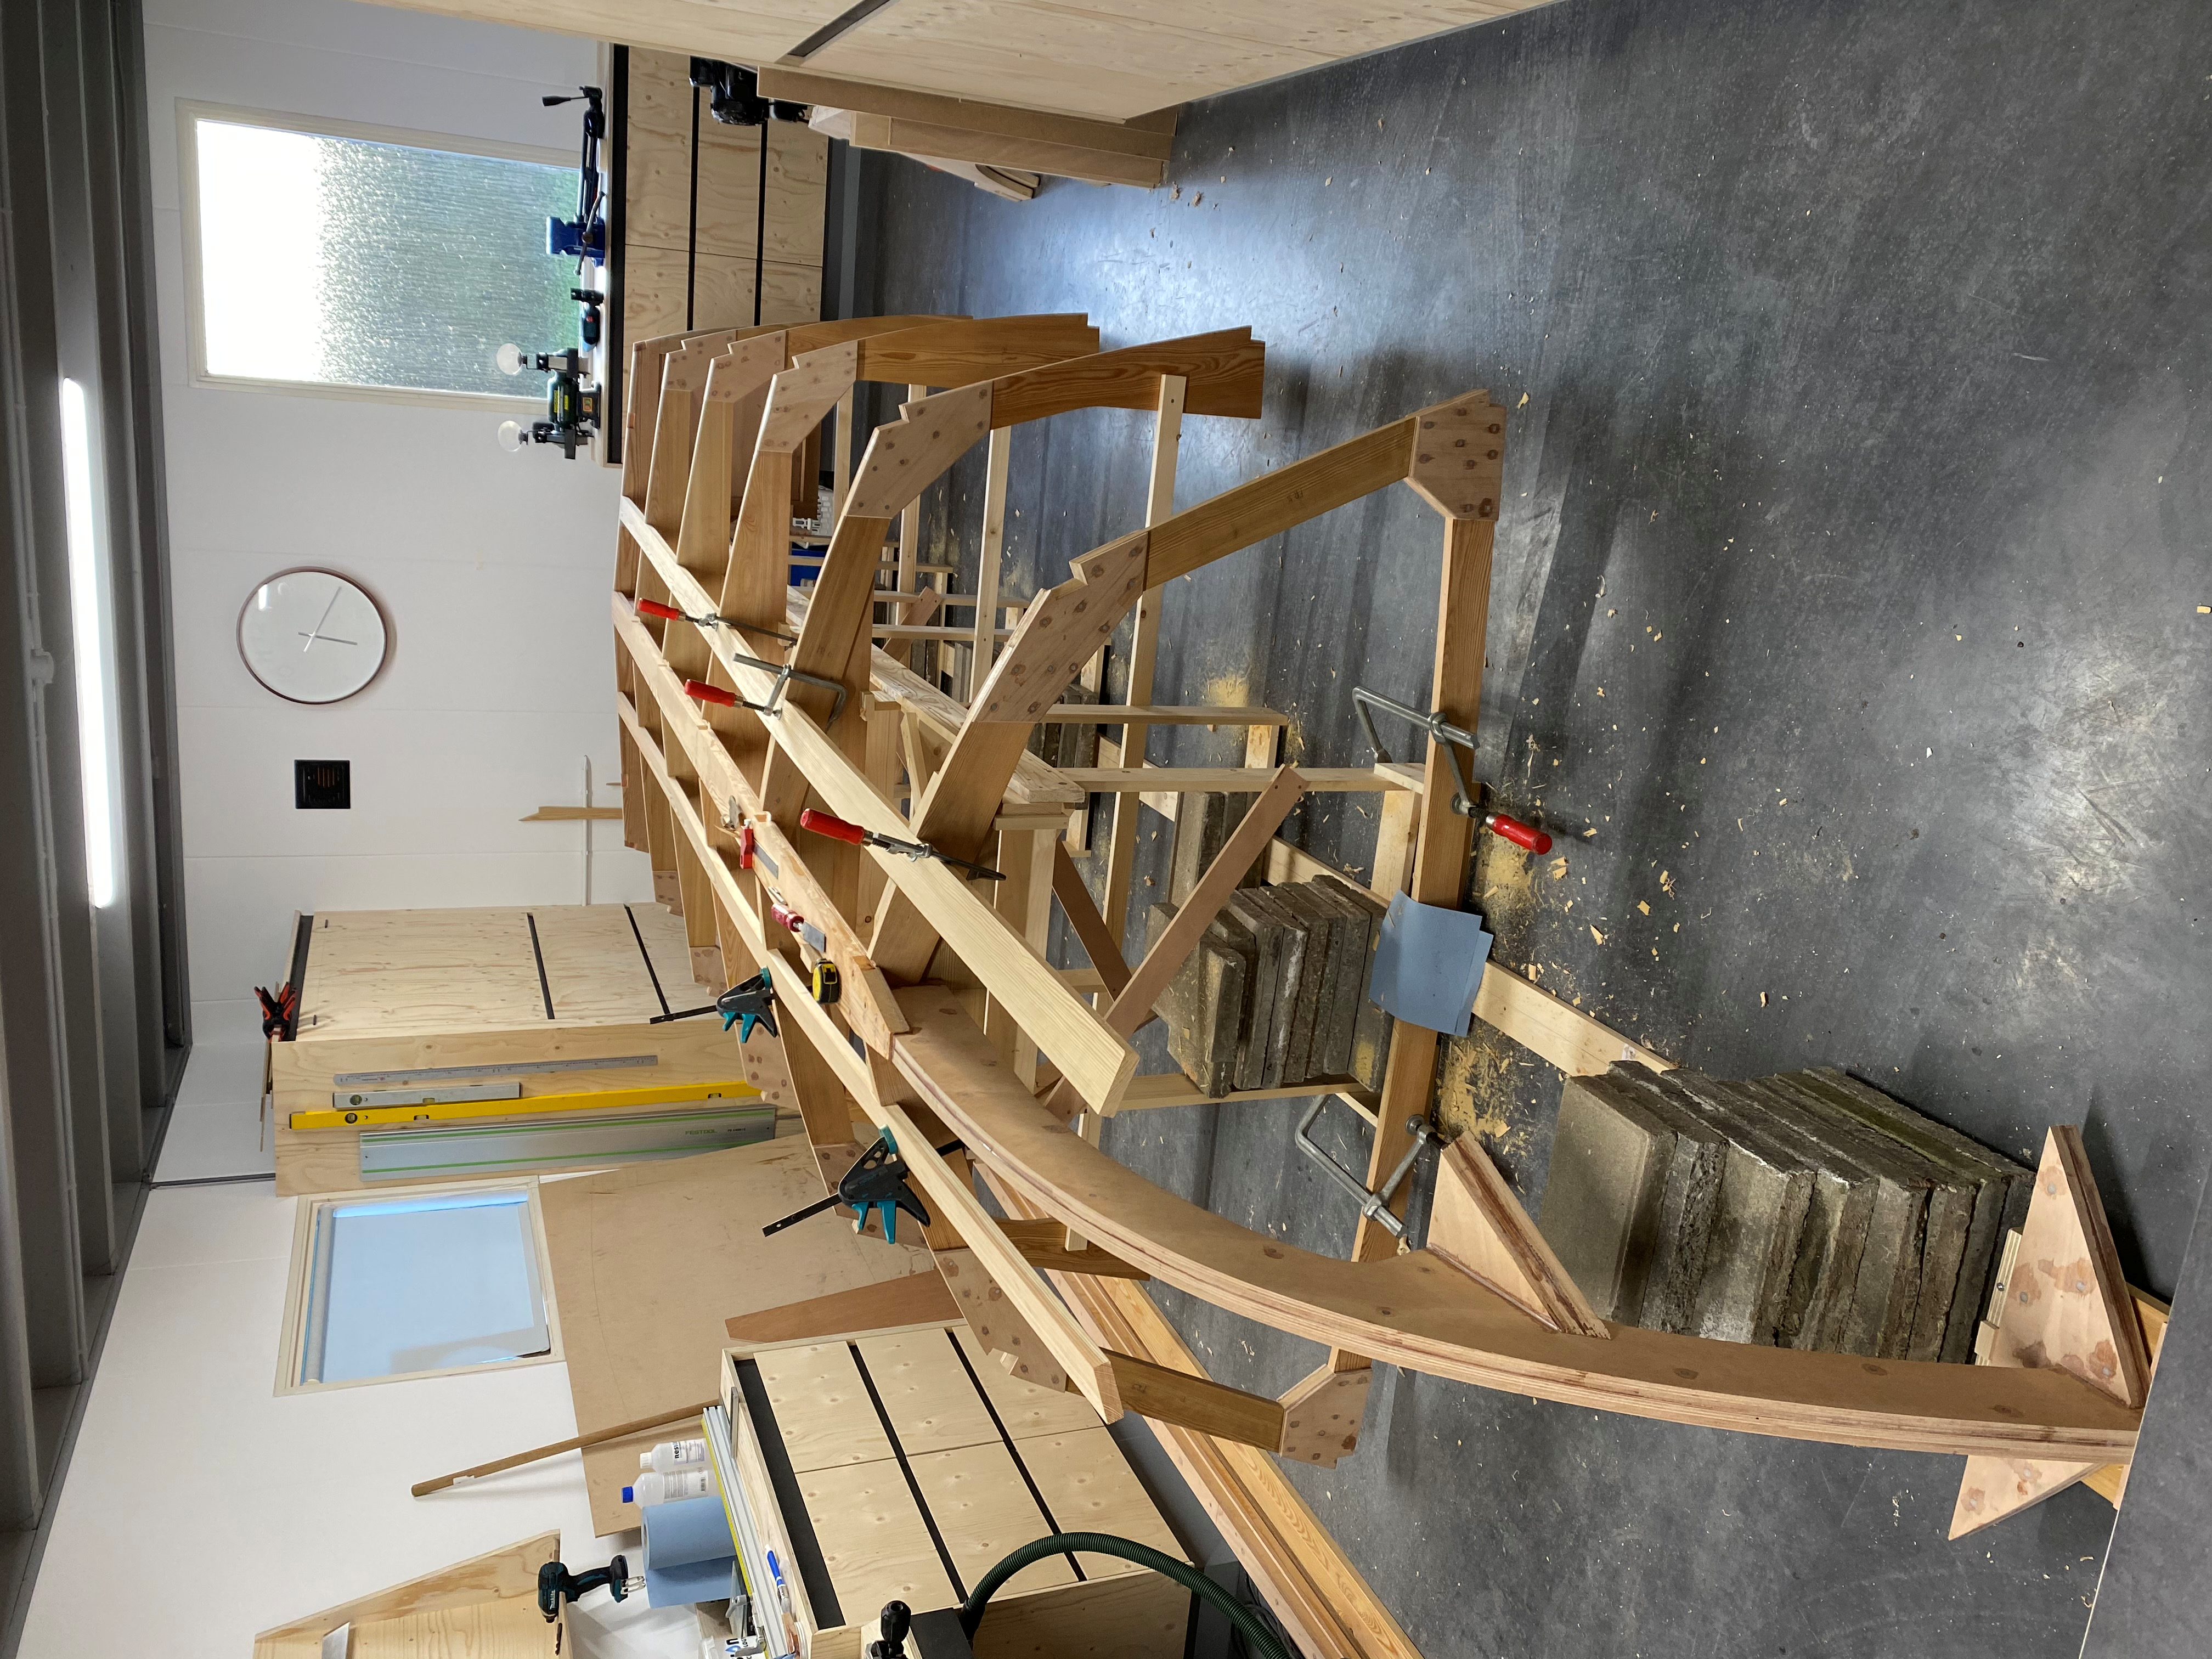
The strongback should be hard fixed to the floor, but as my floor has been poored recently I just couldn't bear putting holes in it, so thats why it's weighted down with concrete tiles instead which I had laying around the house anyways. I hope it will hold up well when the bending of the sheer and chine will commence, fingers crossed.
More to follow soon!
back at it again, for some reason the motivation to post my progress is quite low, this is possibly due to the fact that I have absolutely no clue if this is actually being read. as I have never built a boat I am stunned that I have recieved no tips or tricks on the work done so far. but anyway moving on..
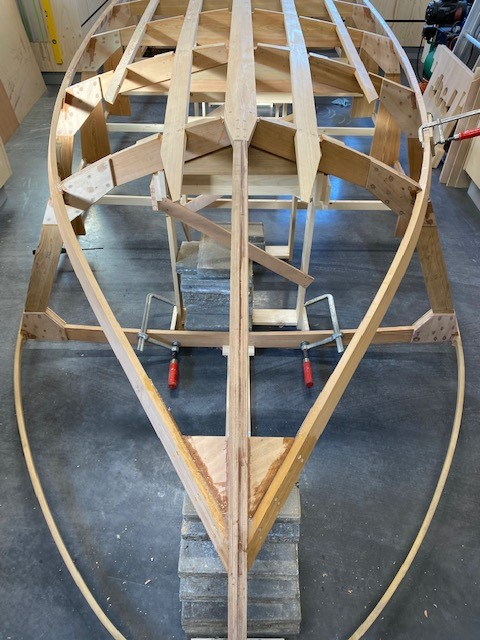
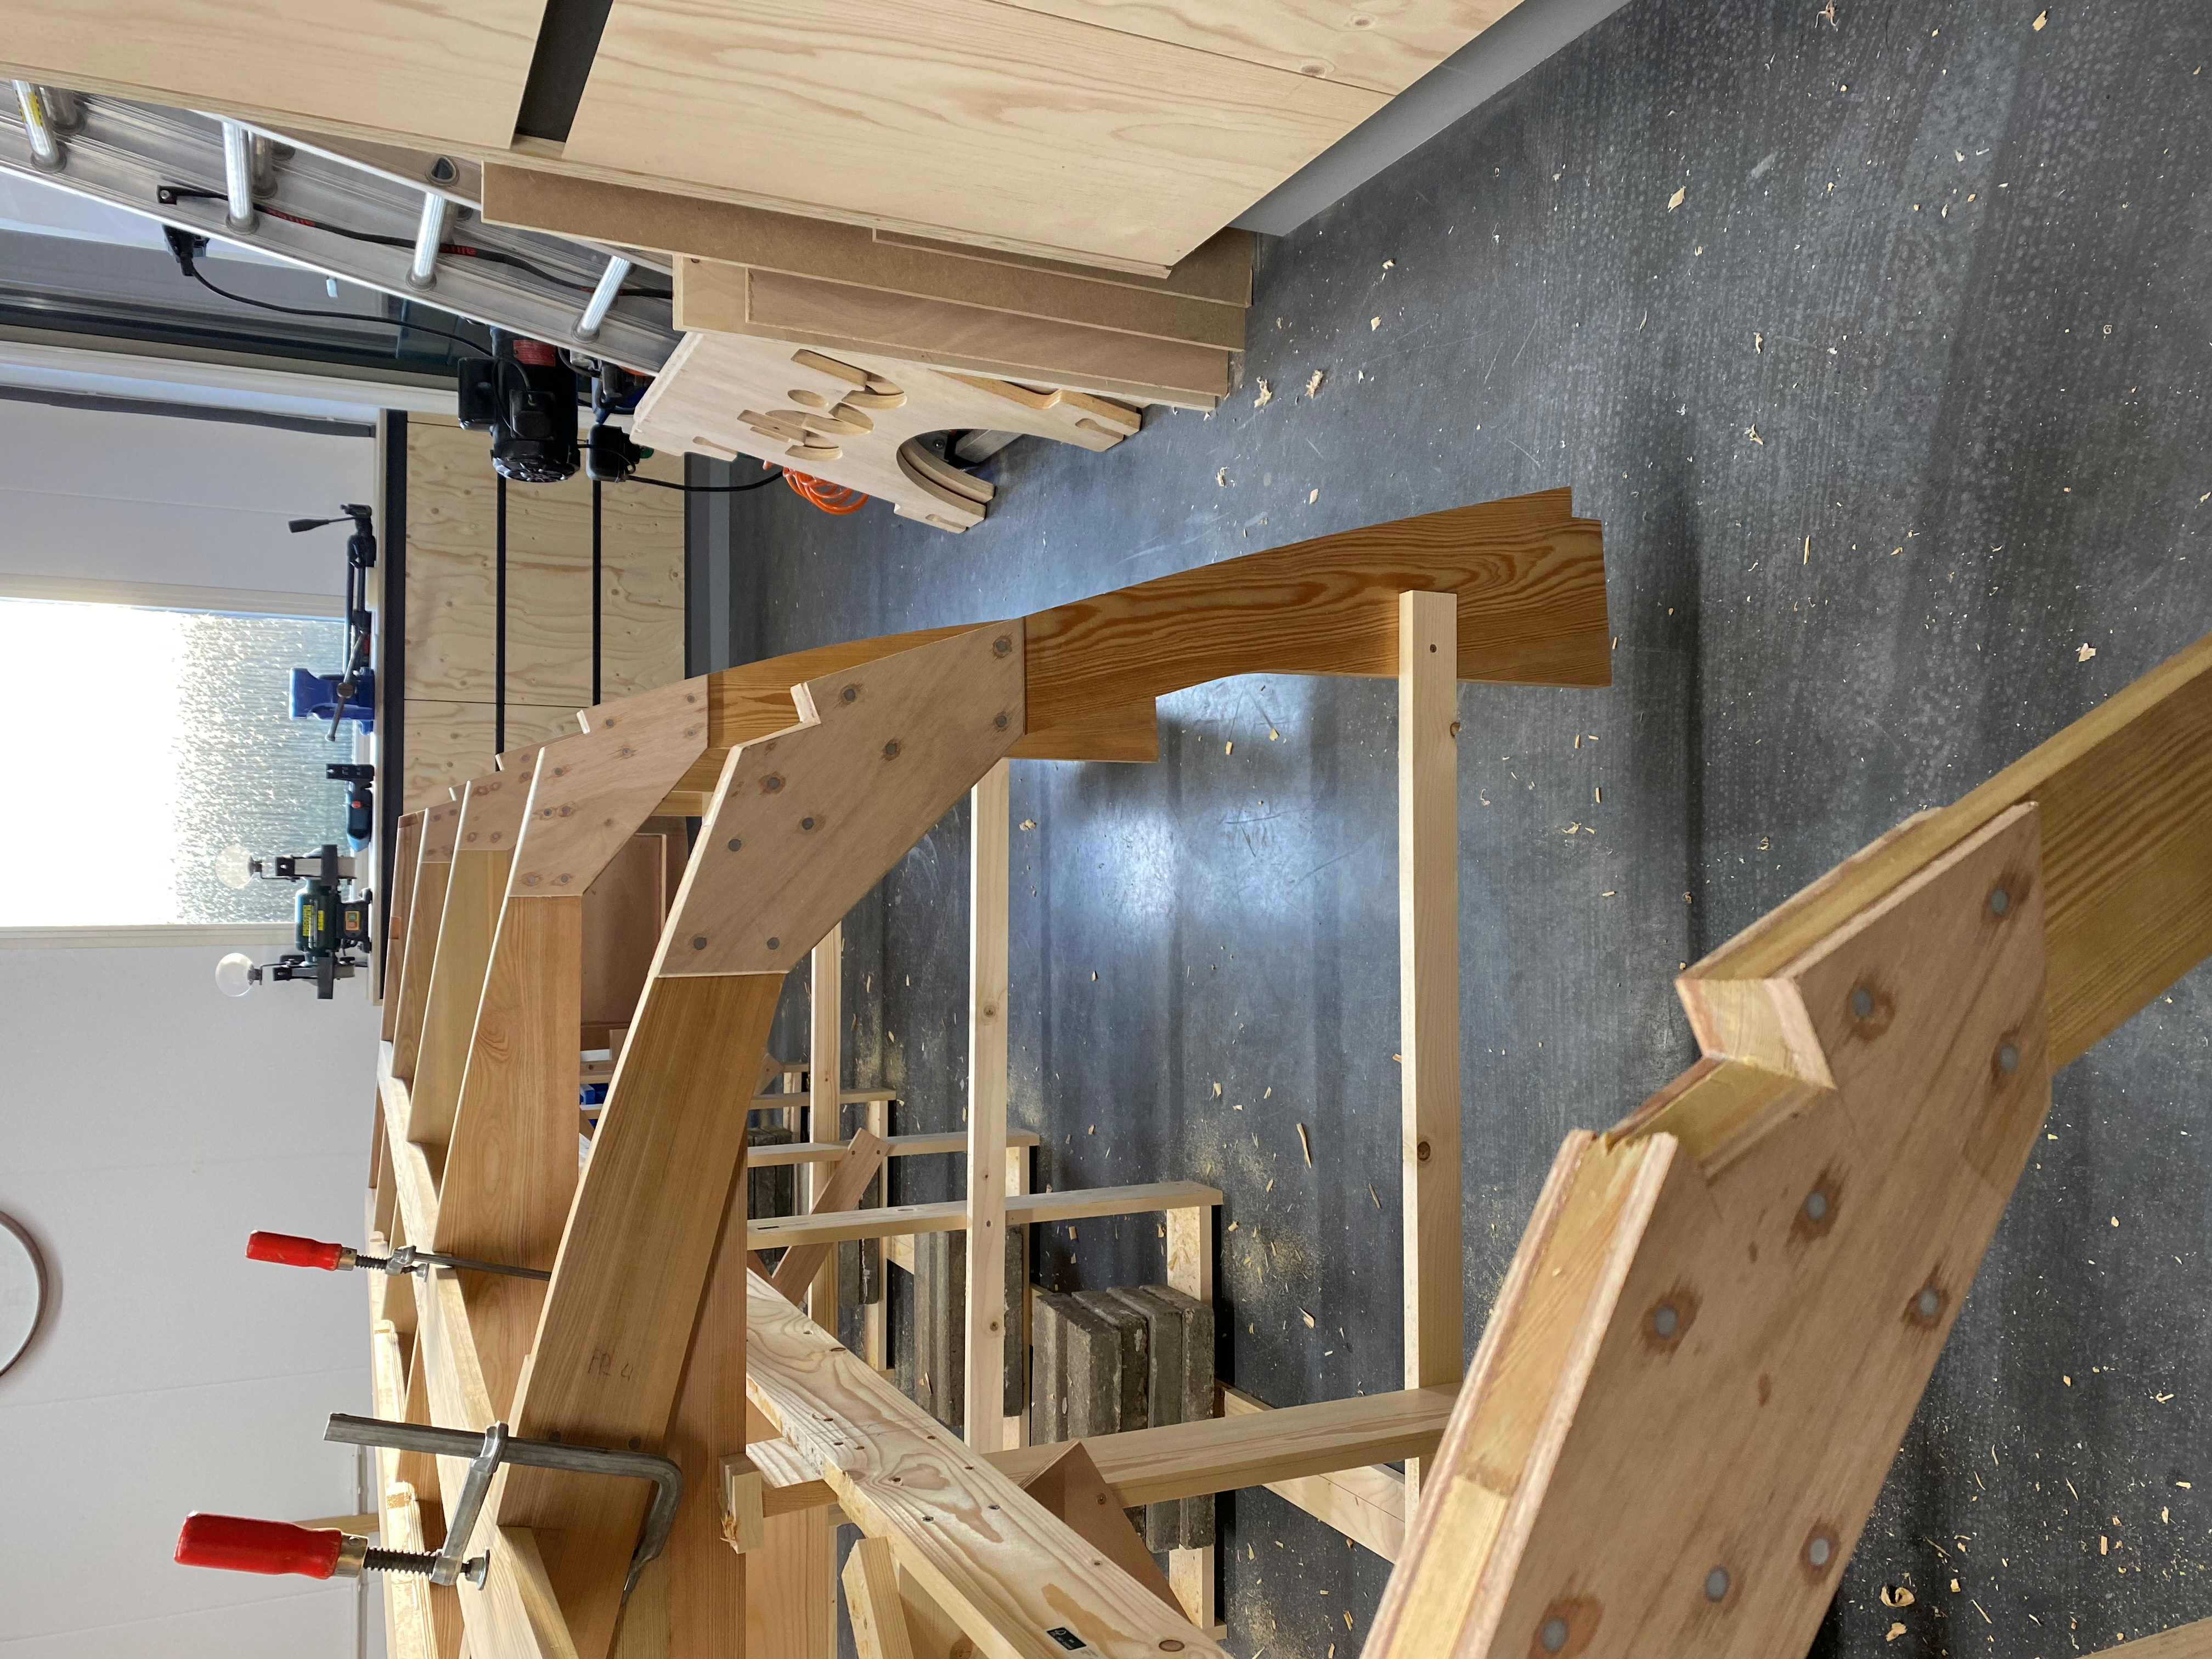
The fixation of the sheers & chines was quite the struggle to be honest, the tension was substantial to say the least. I had to thin out the sheers otherwise these would defenitely break without steaming them, I eventually made it work by wetting them out.
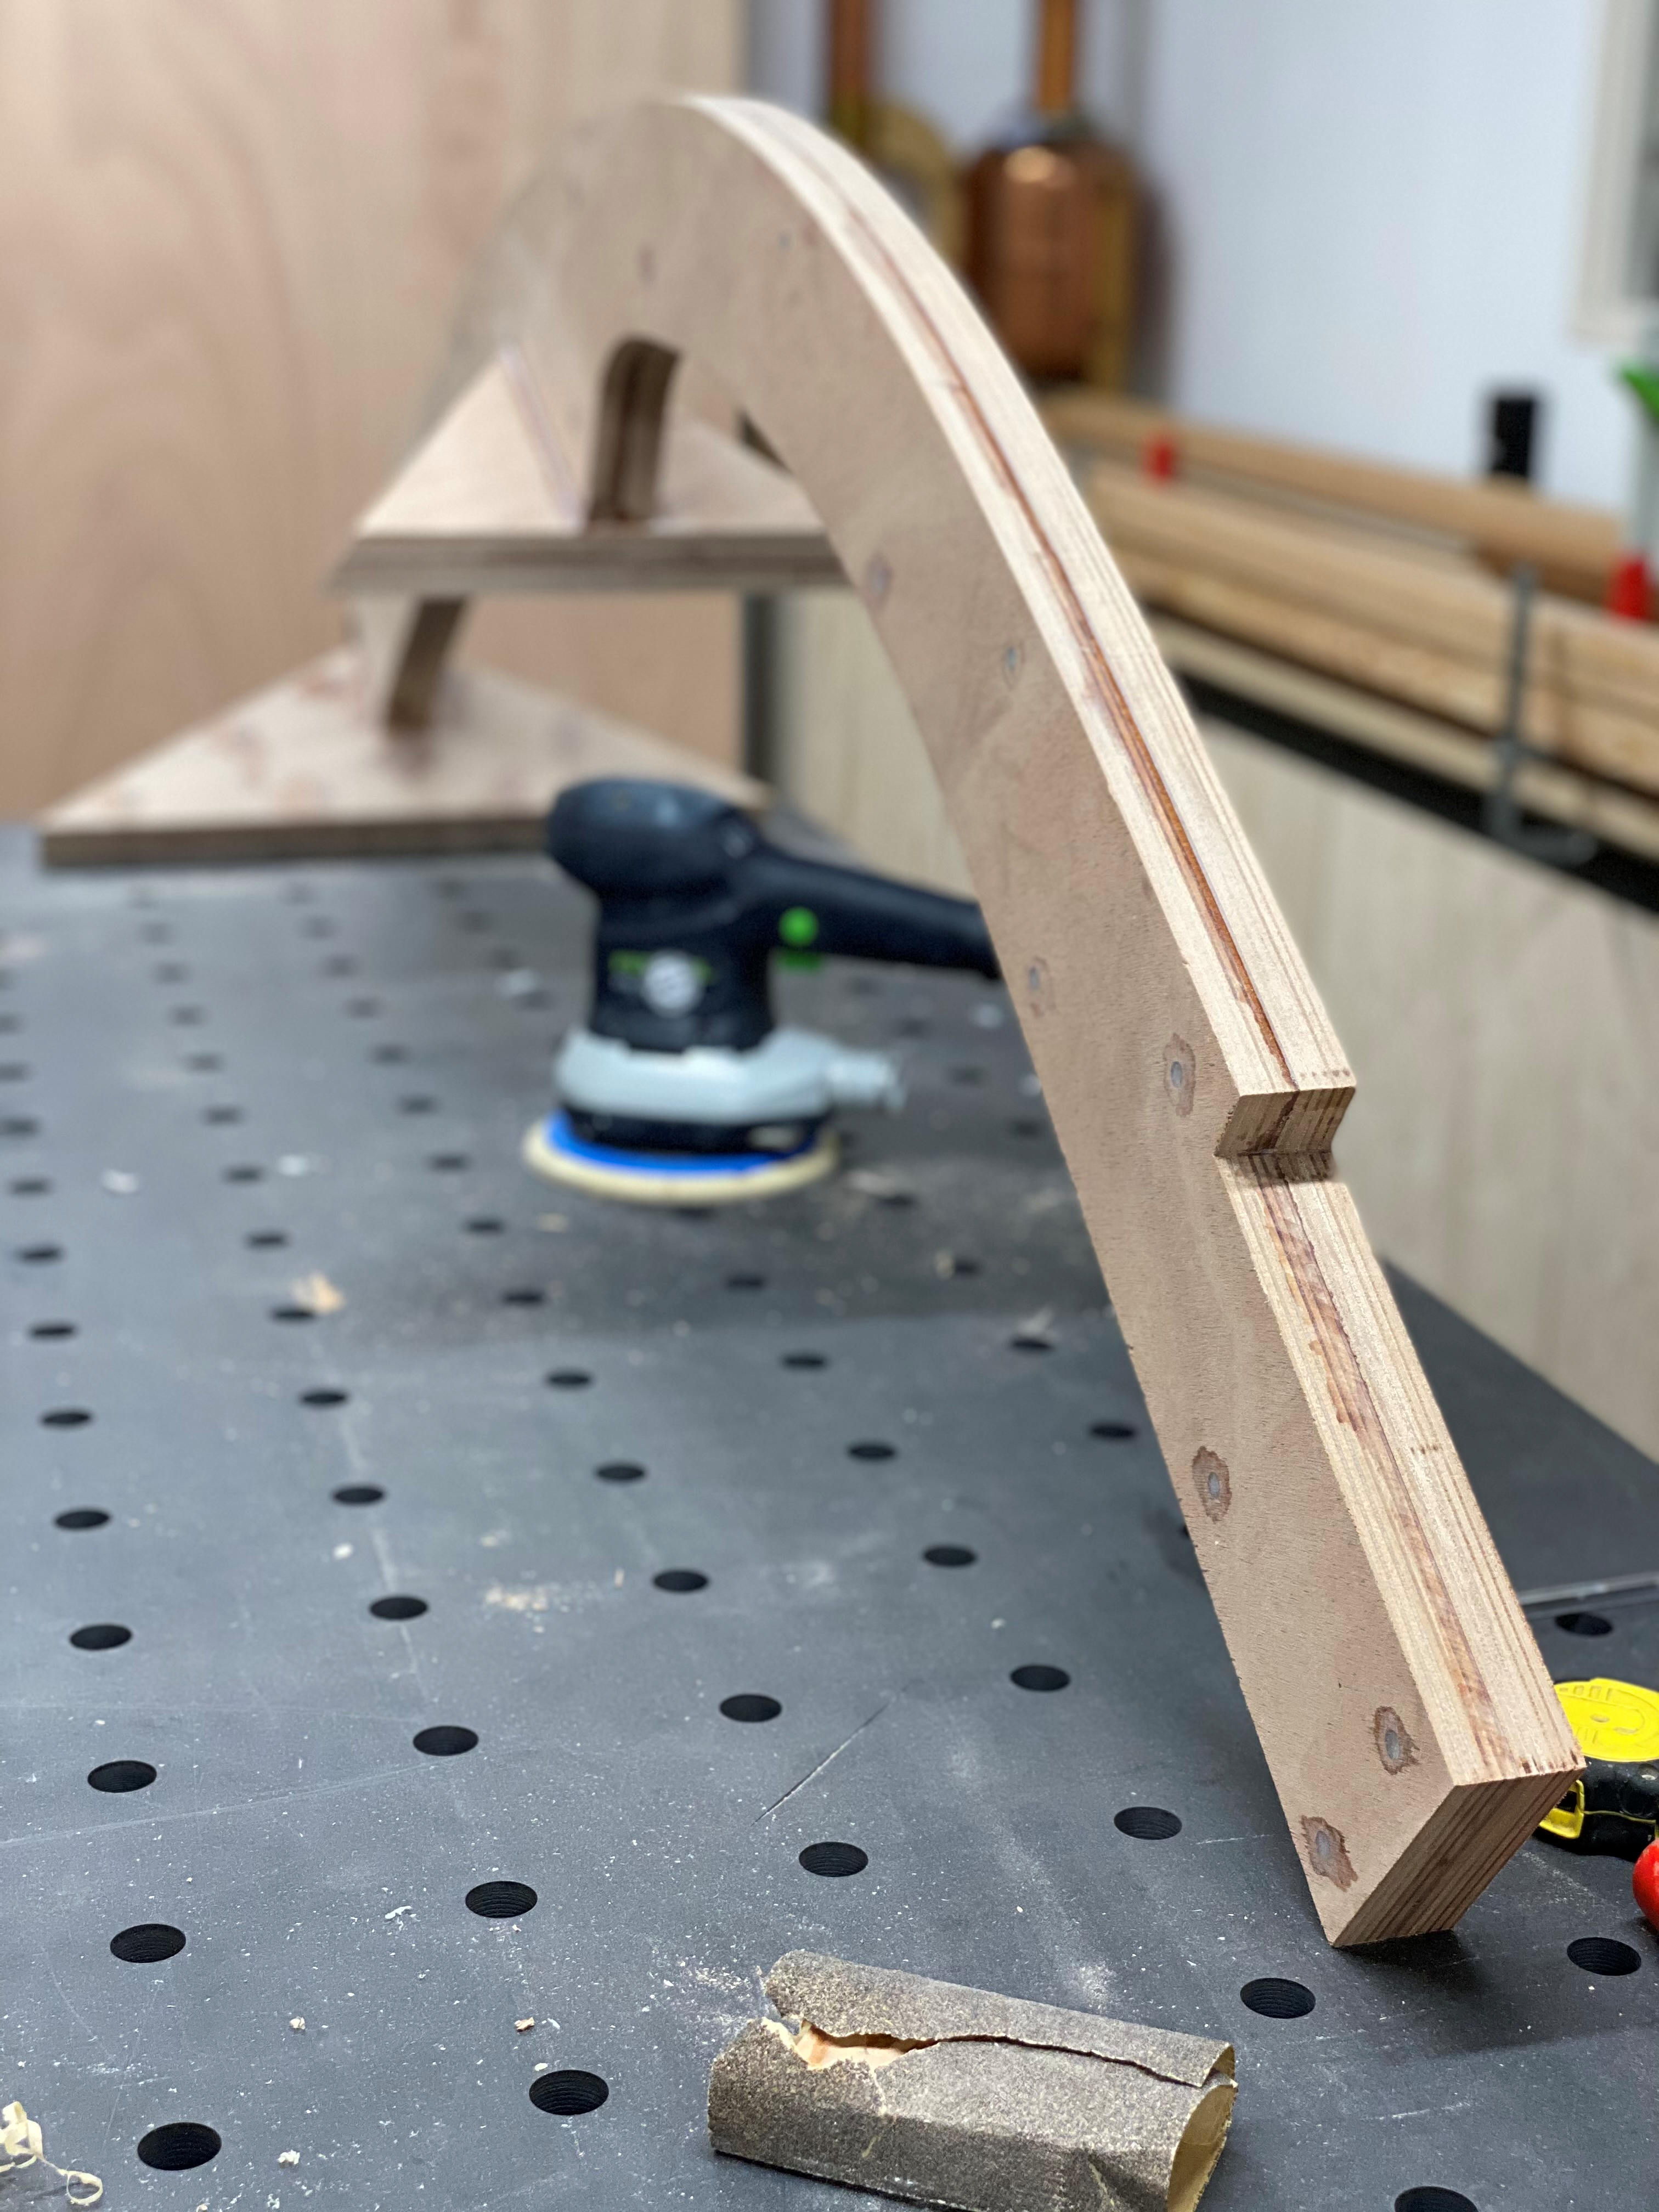
The fairing works was a pretty meditating process, I initially bought a battery operated electric planer but found myself doing all the work with my manual planers.
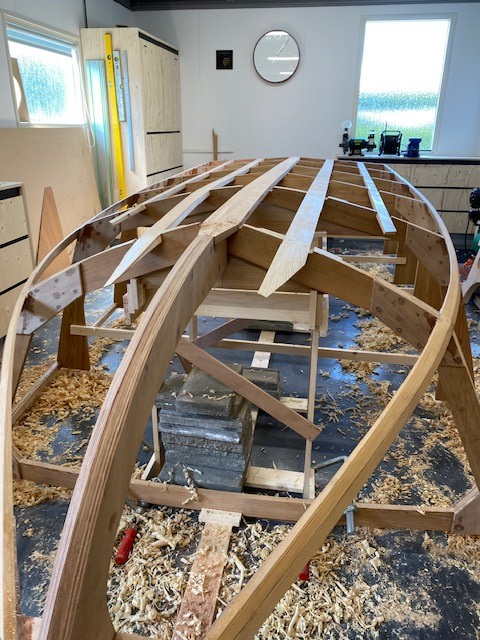
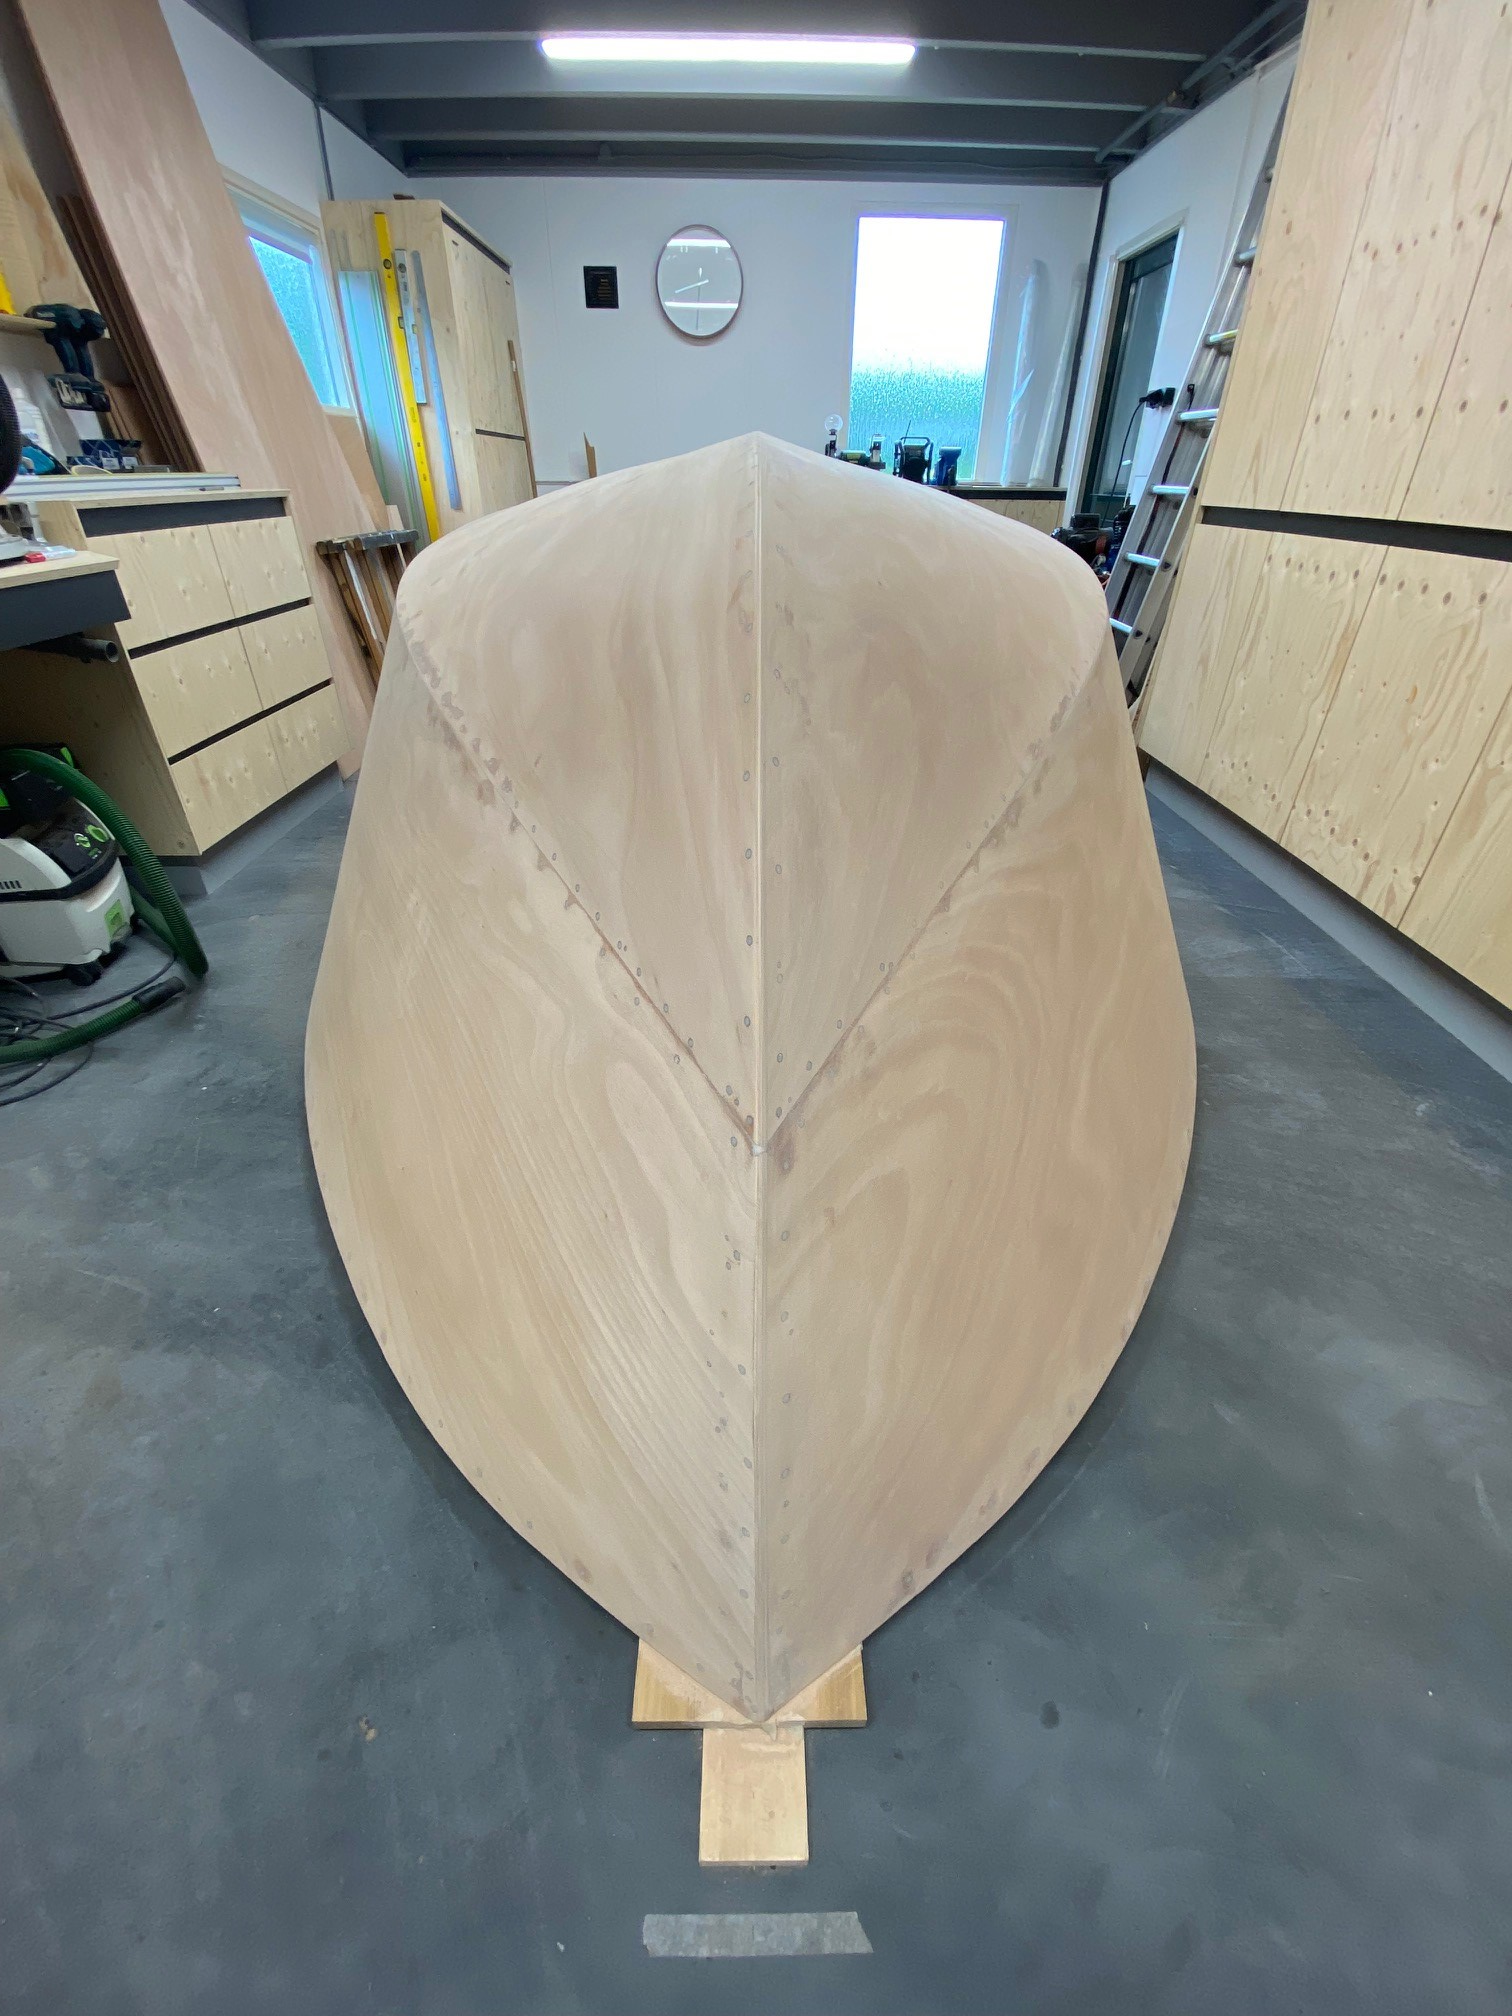
Fairing completed for 90%, next stop dry fitting (final touch ups on the fairing) the plywood and glue-ing/screwing them in place.
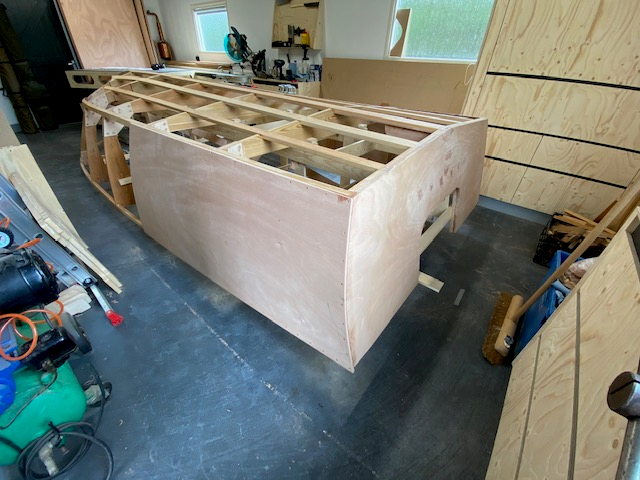
The plywood thickness here in europe (netherlands) is respectively 10mm, the 3/8 inch plywood as specified is actually a little bit thinner, so the tension on the plywood was substantial, I found that wetting out the panel helped a bit.
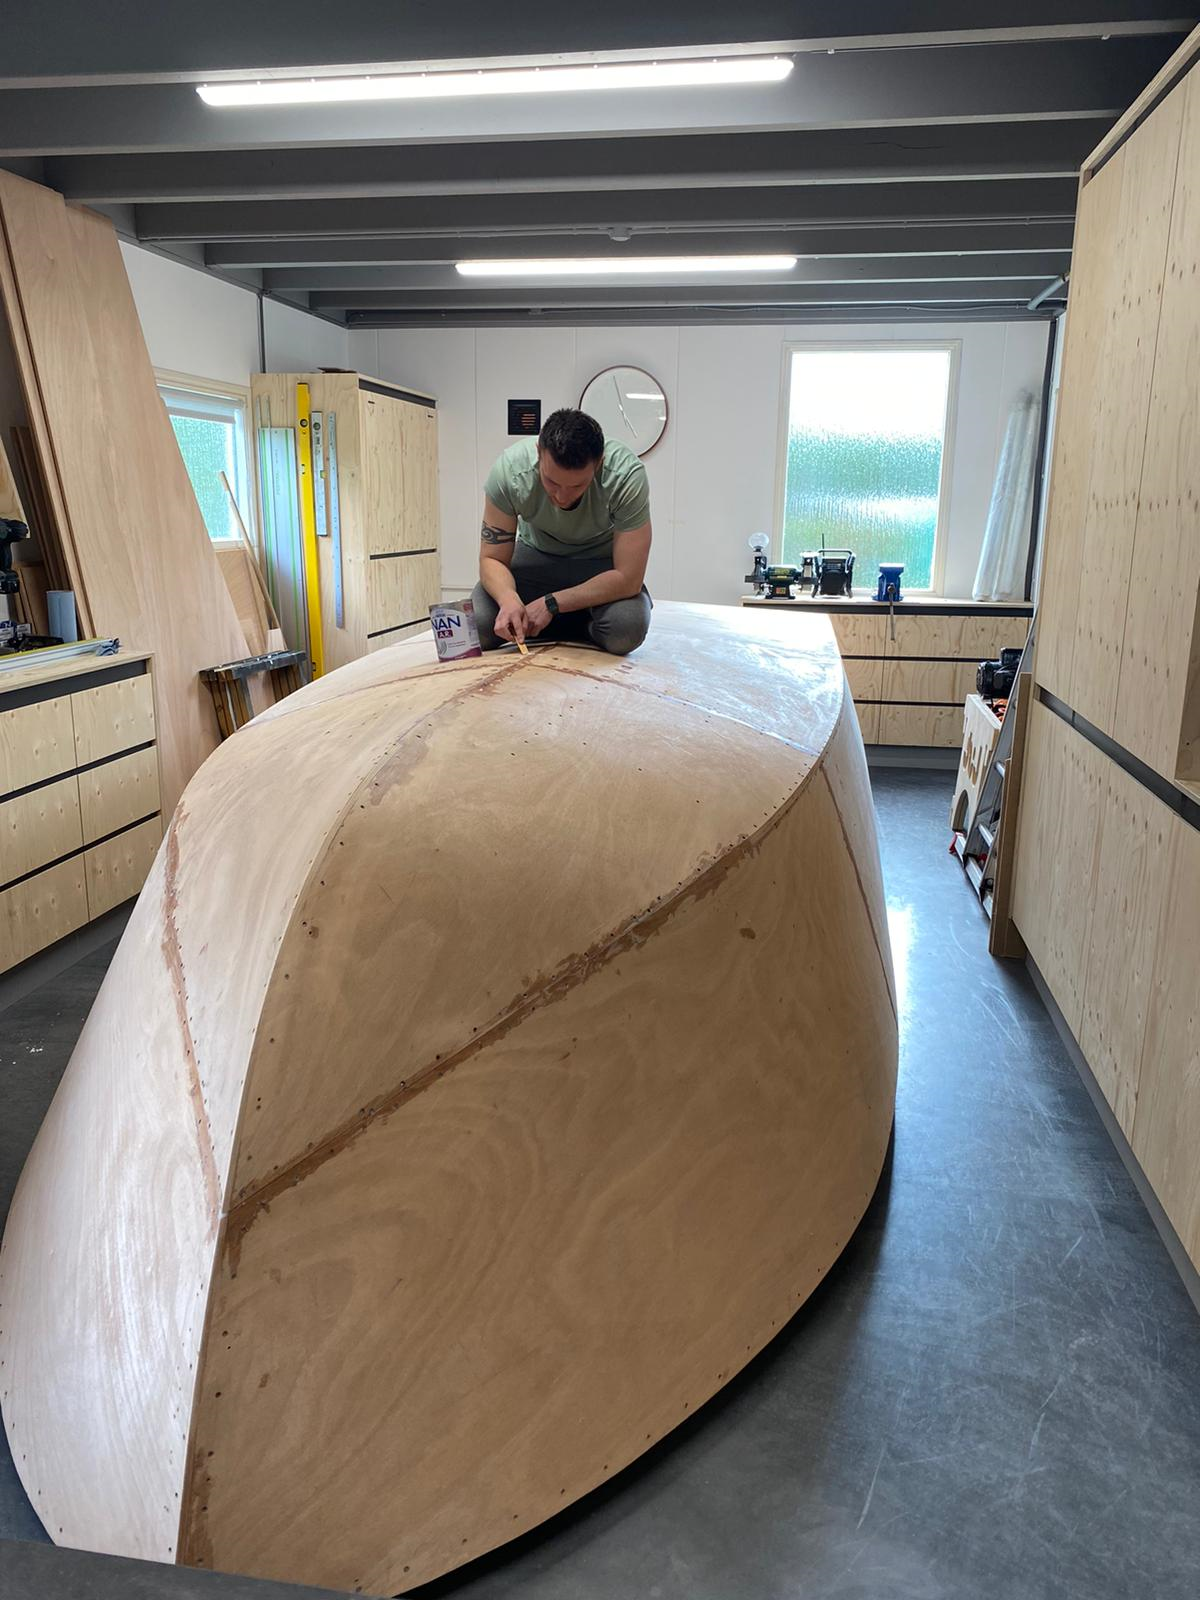
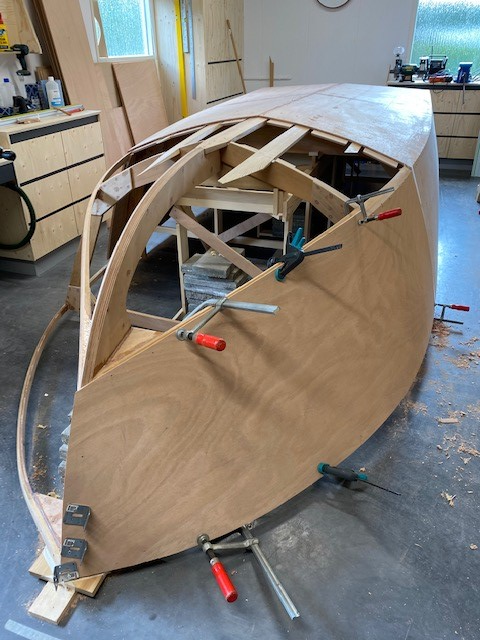
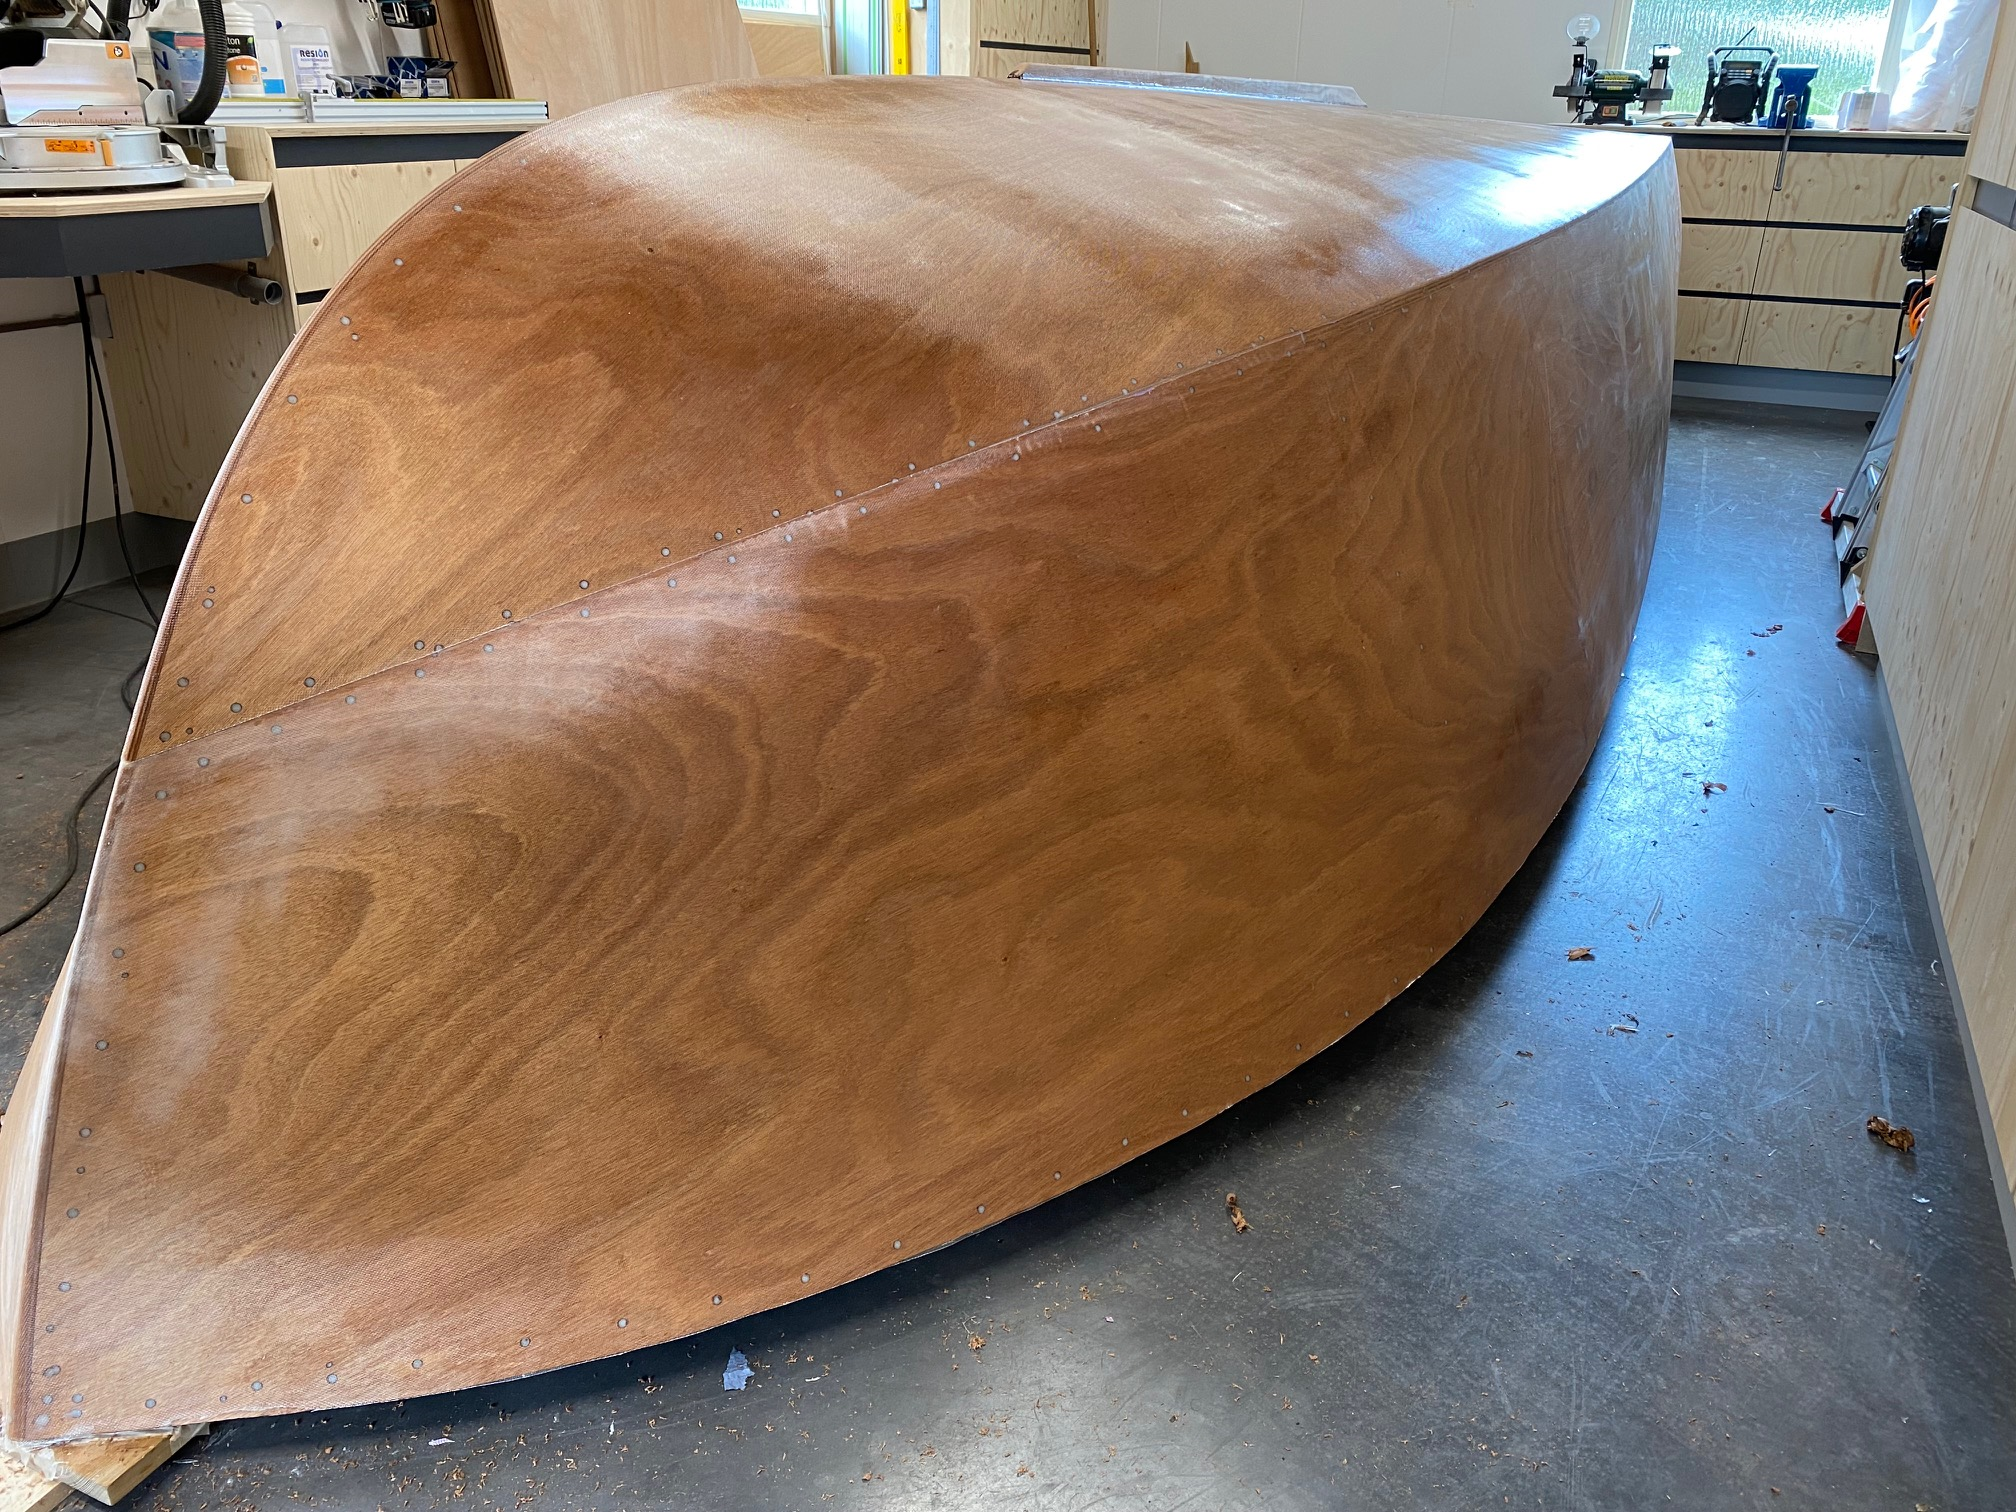
Filling up all the holes with thickened epoxy, there are probably better materials for this, but I choose to use this.
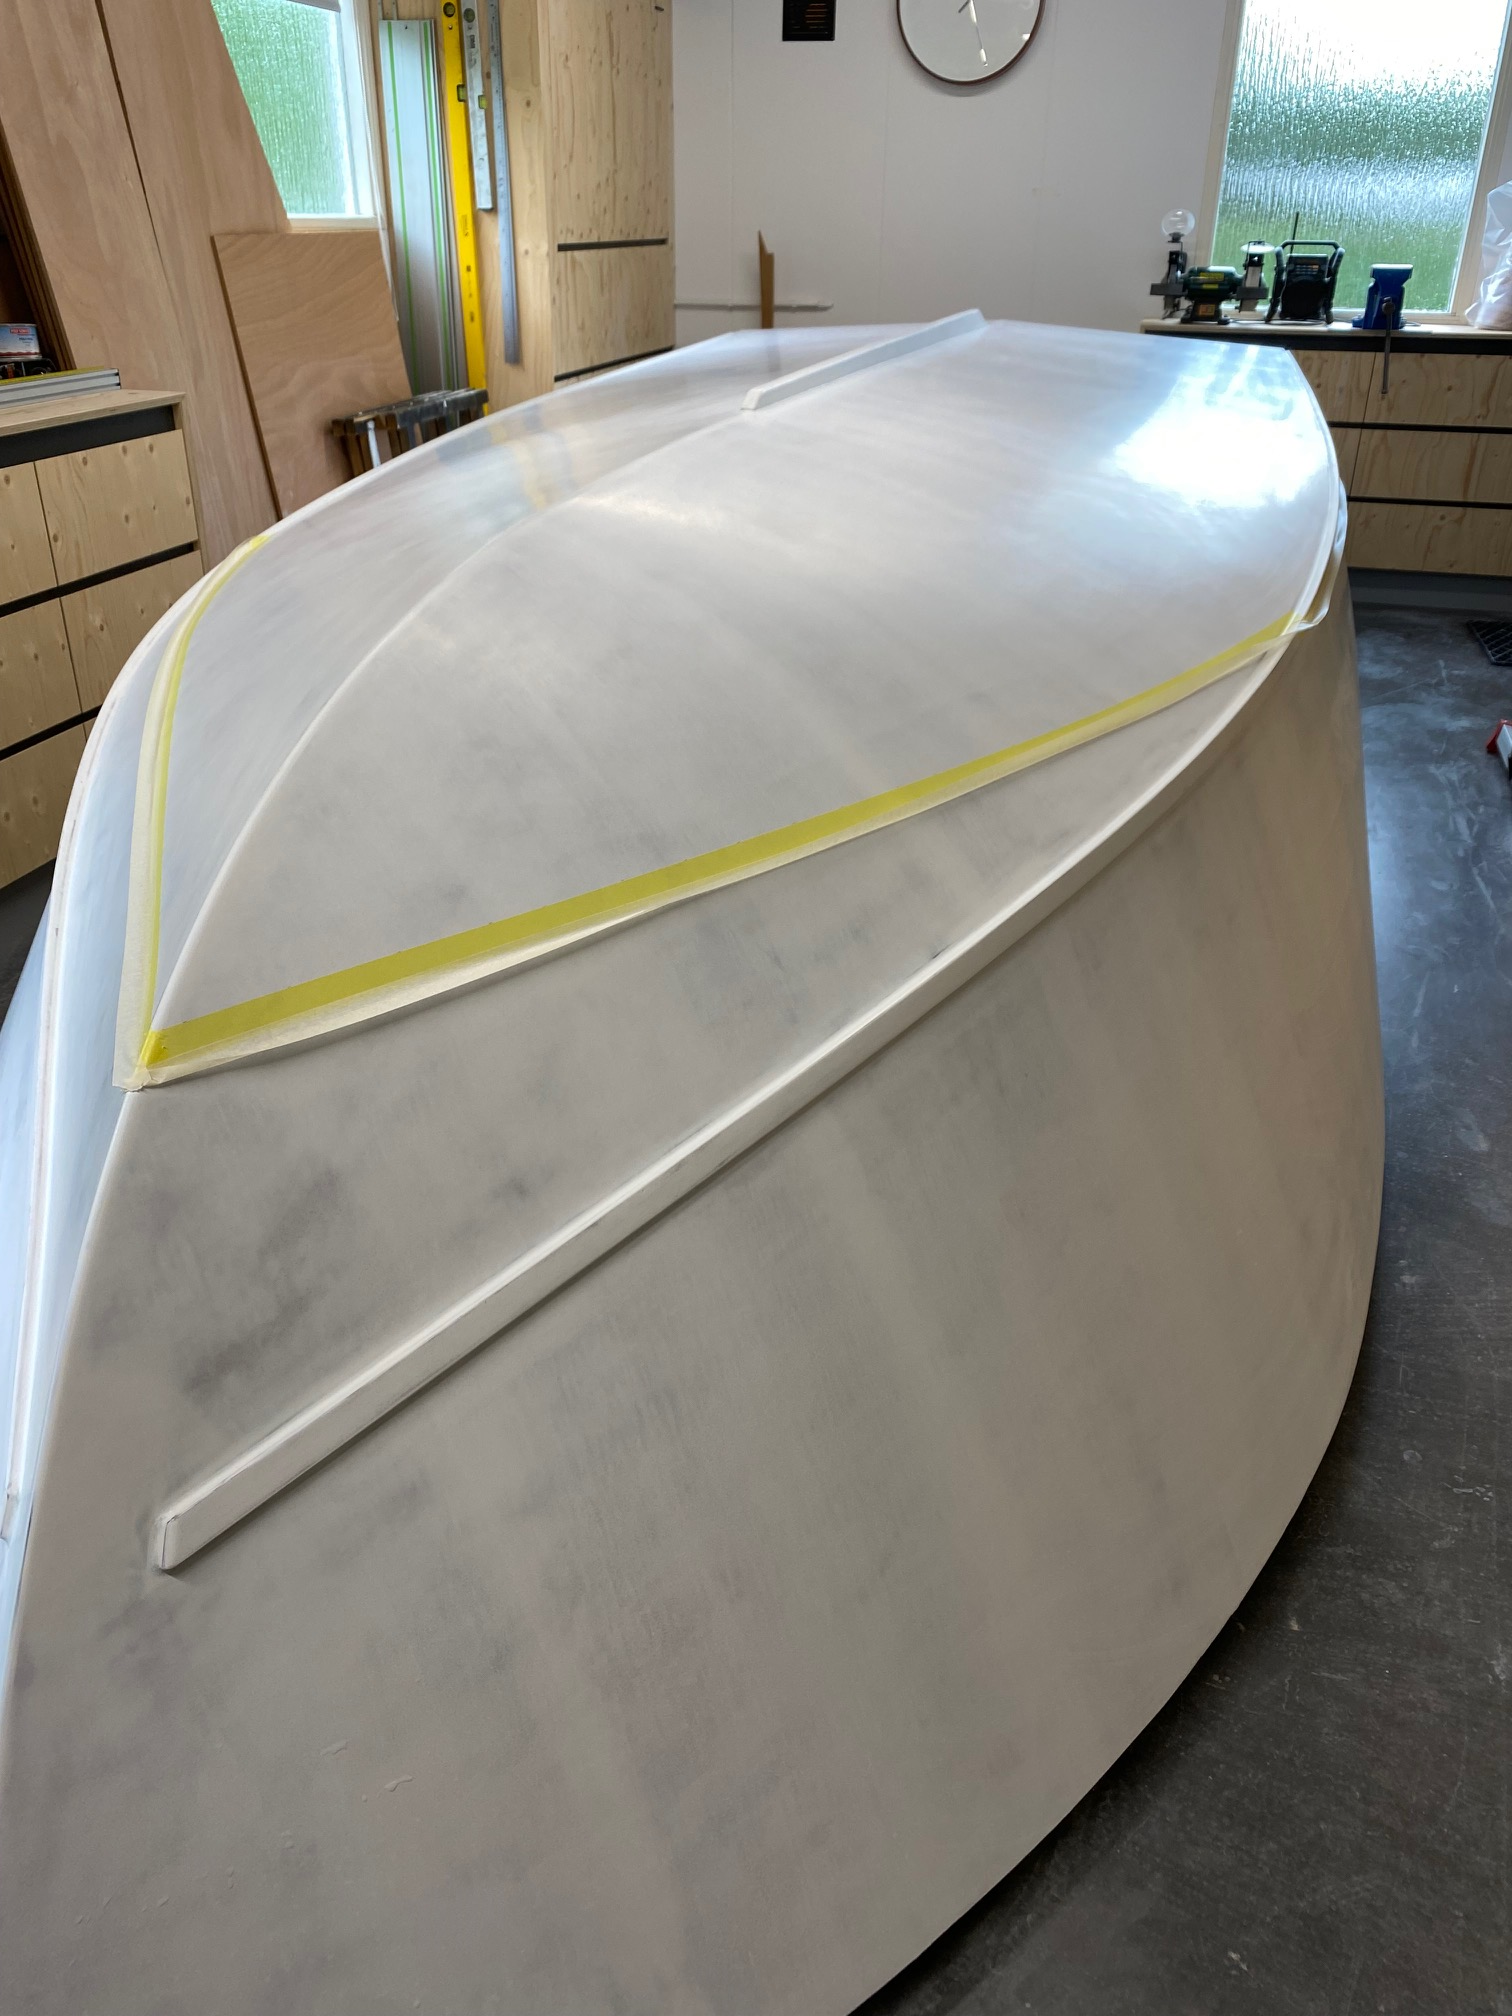
Currently busy with prepping the hull for the fiberglass, still not sure if I should make use of peel-ply or just do it without...
More to follow soon!
Alright, back again!
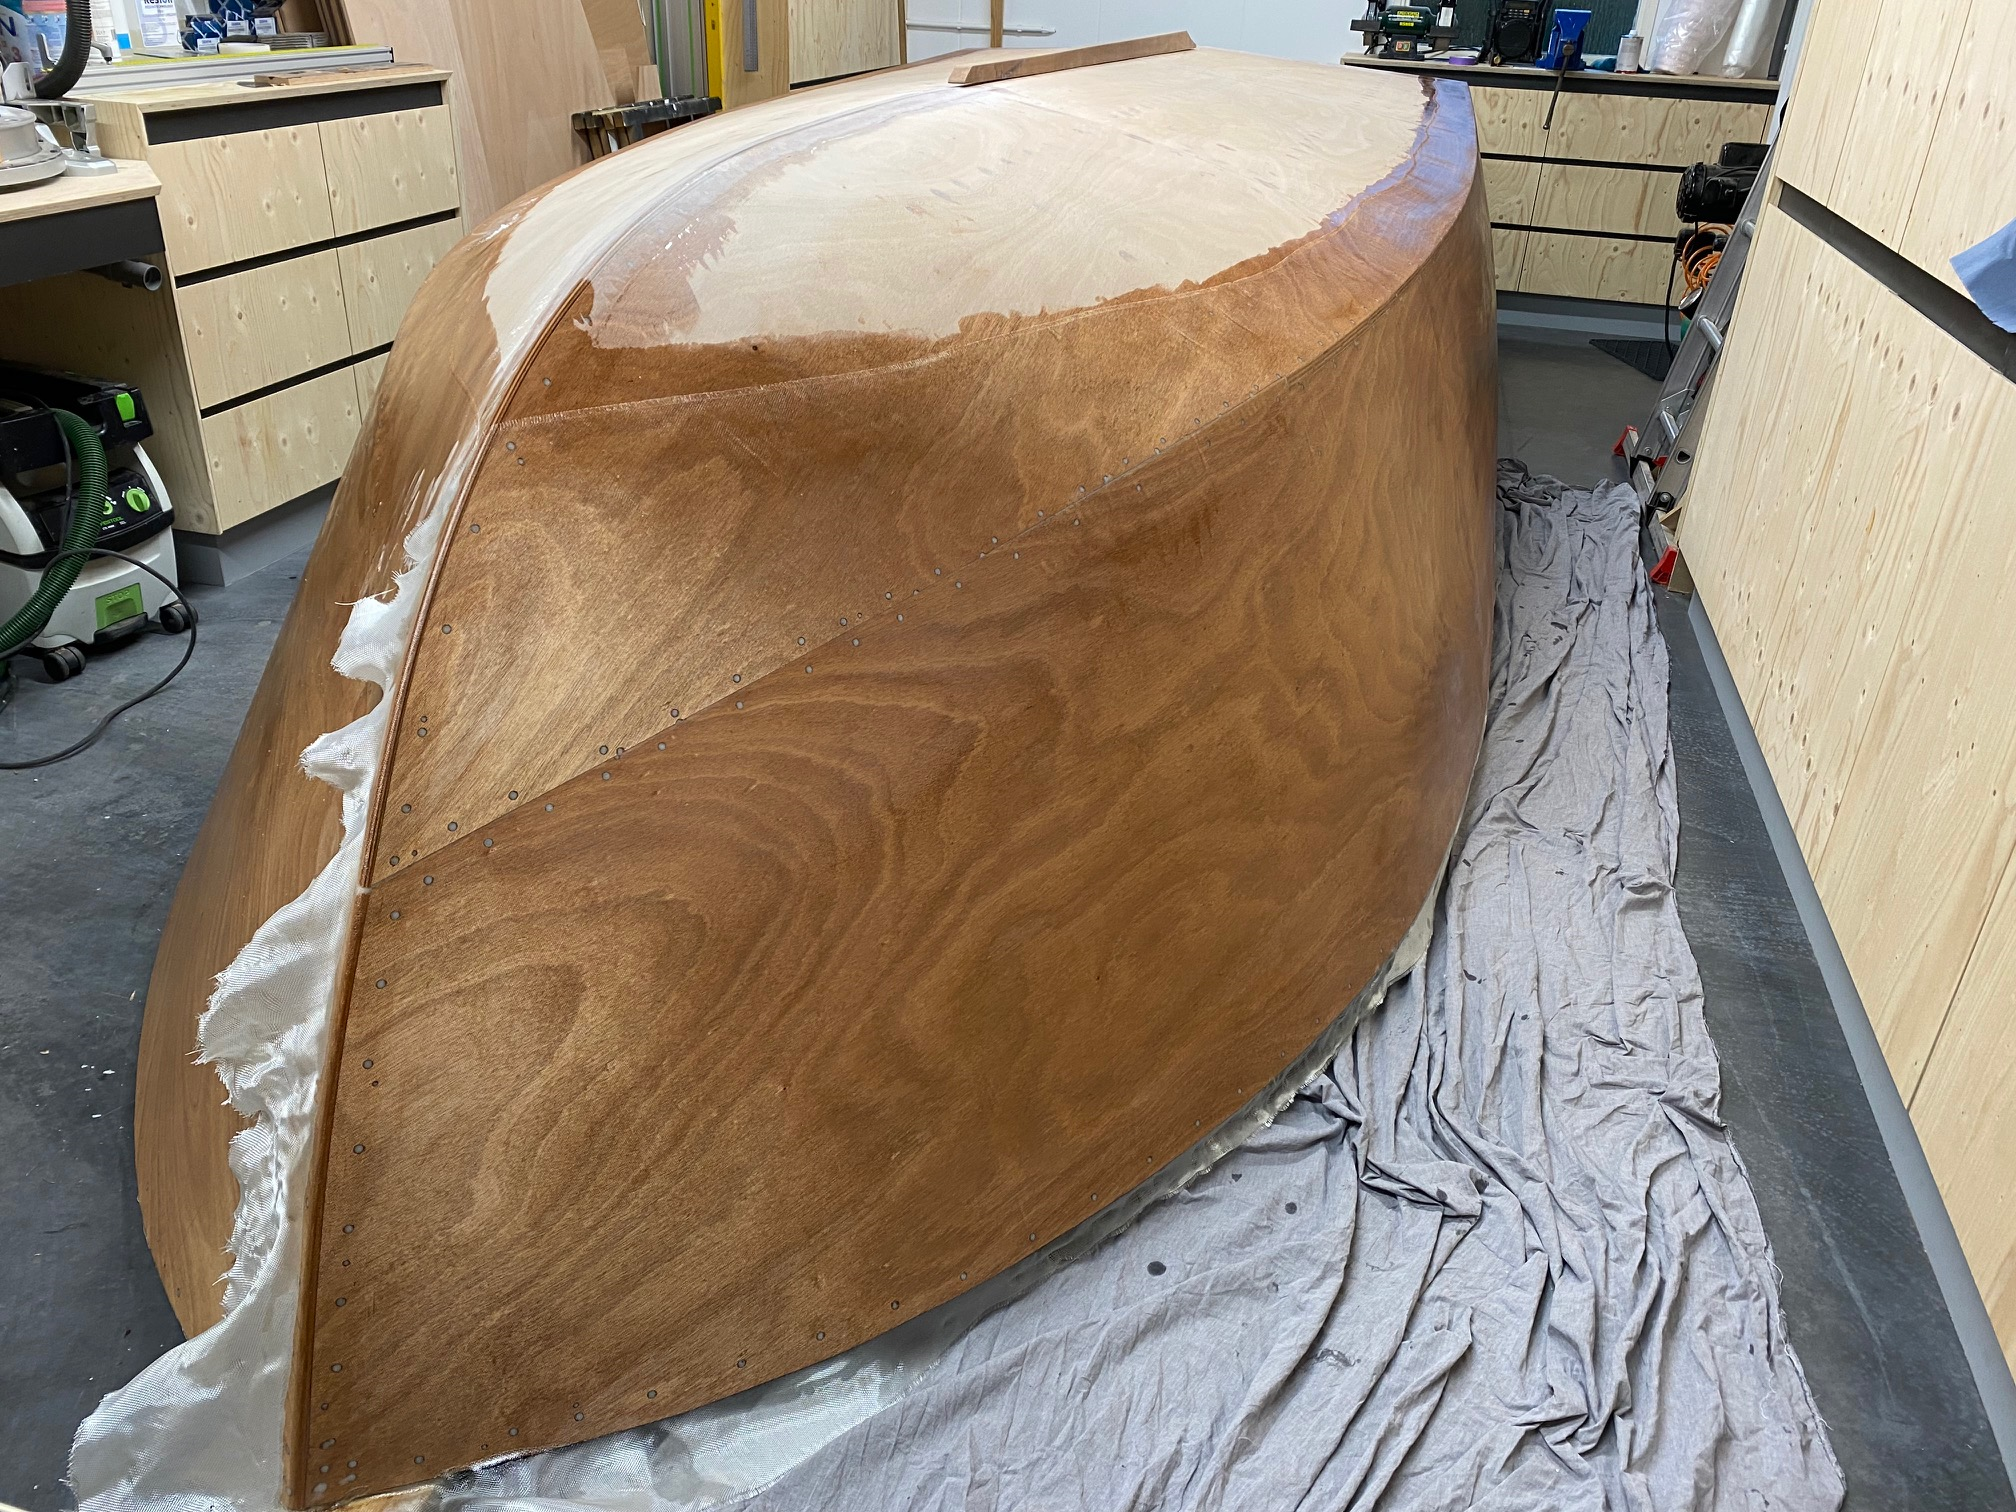
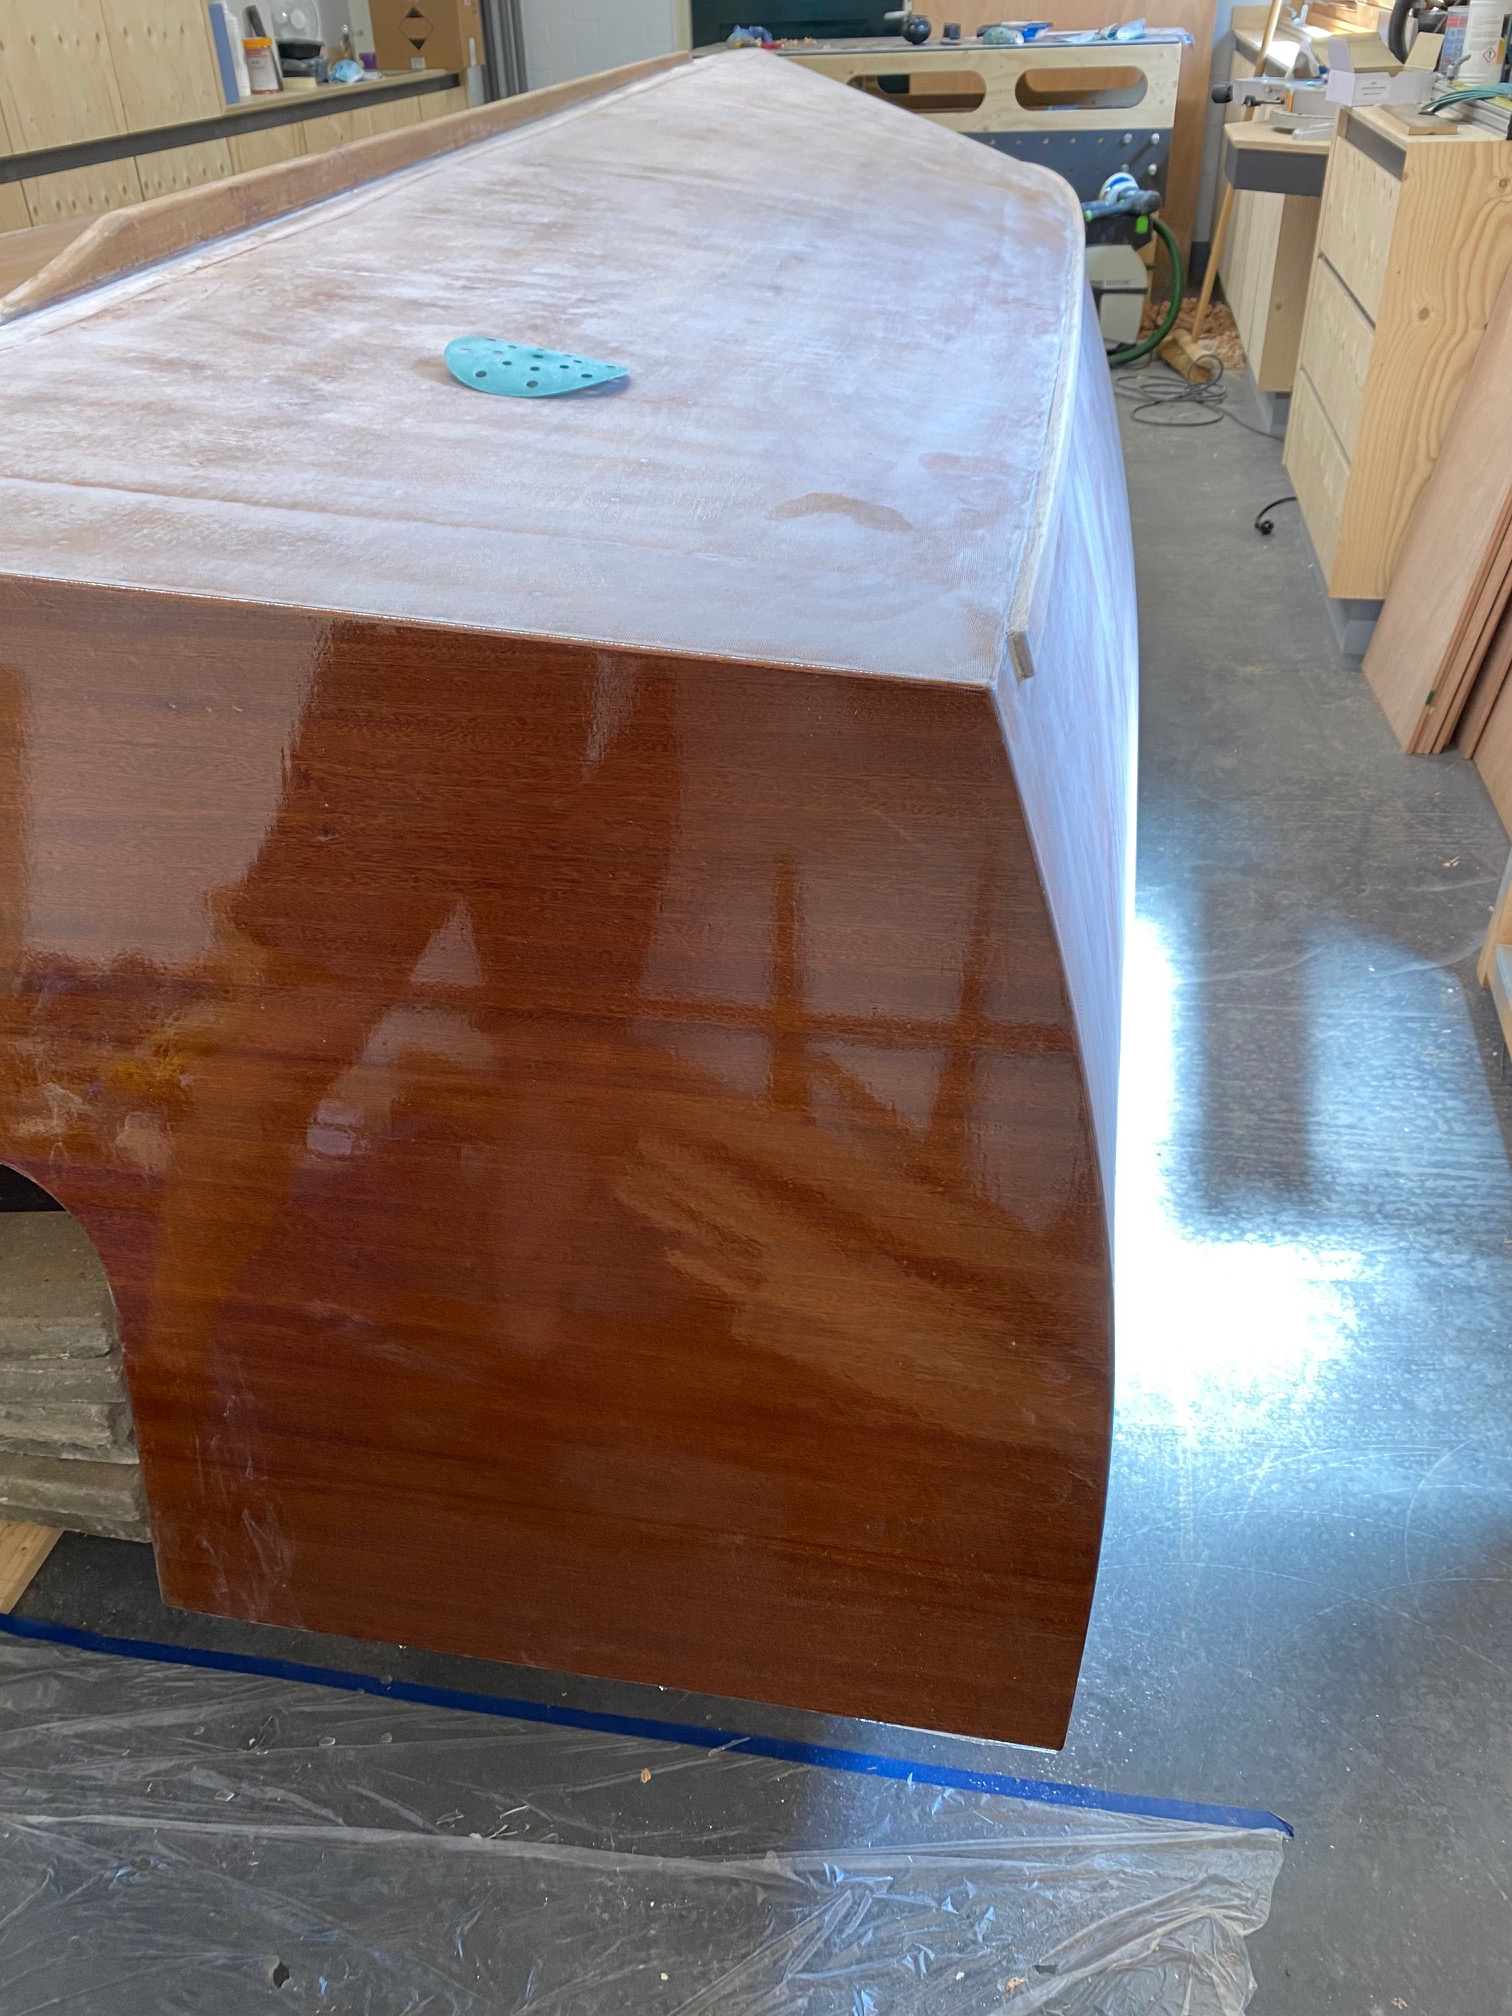
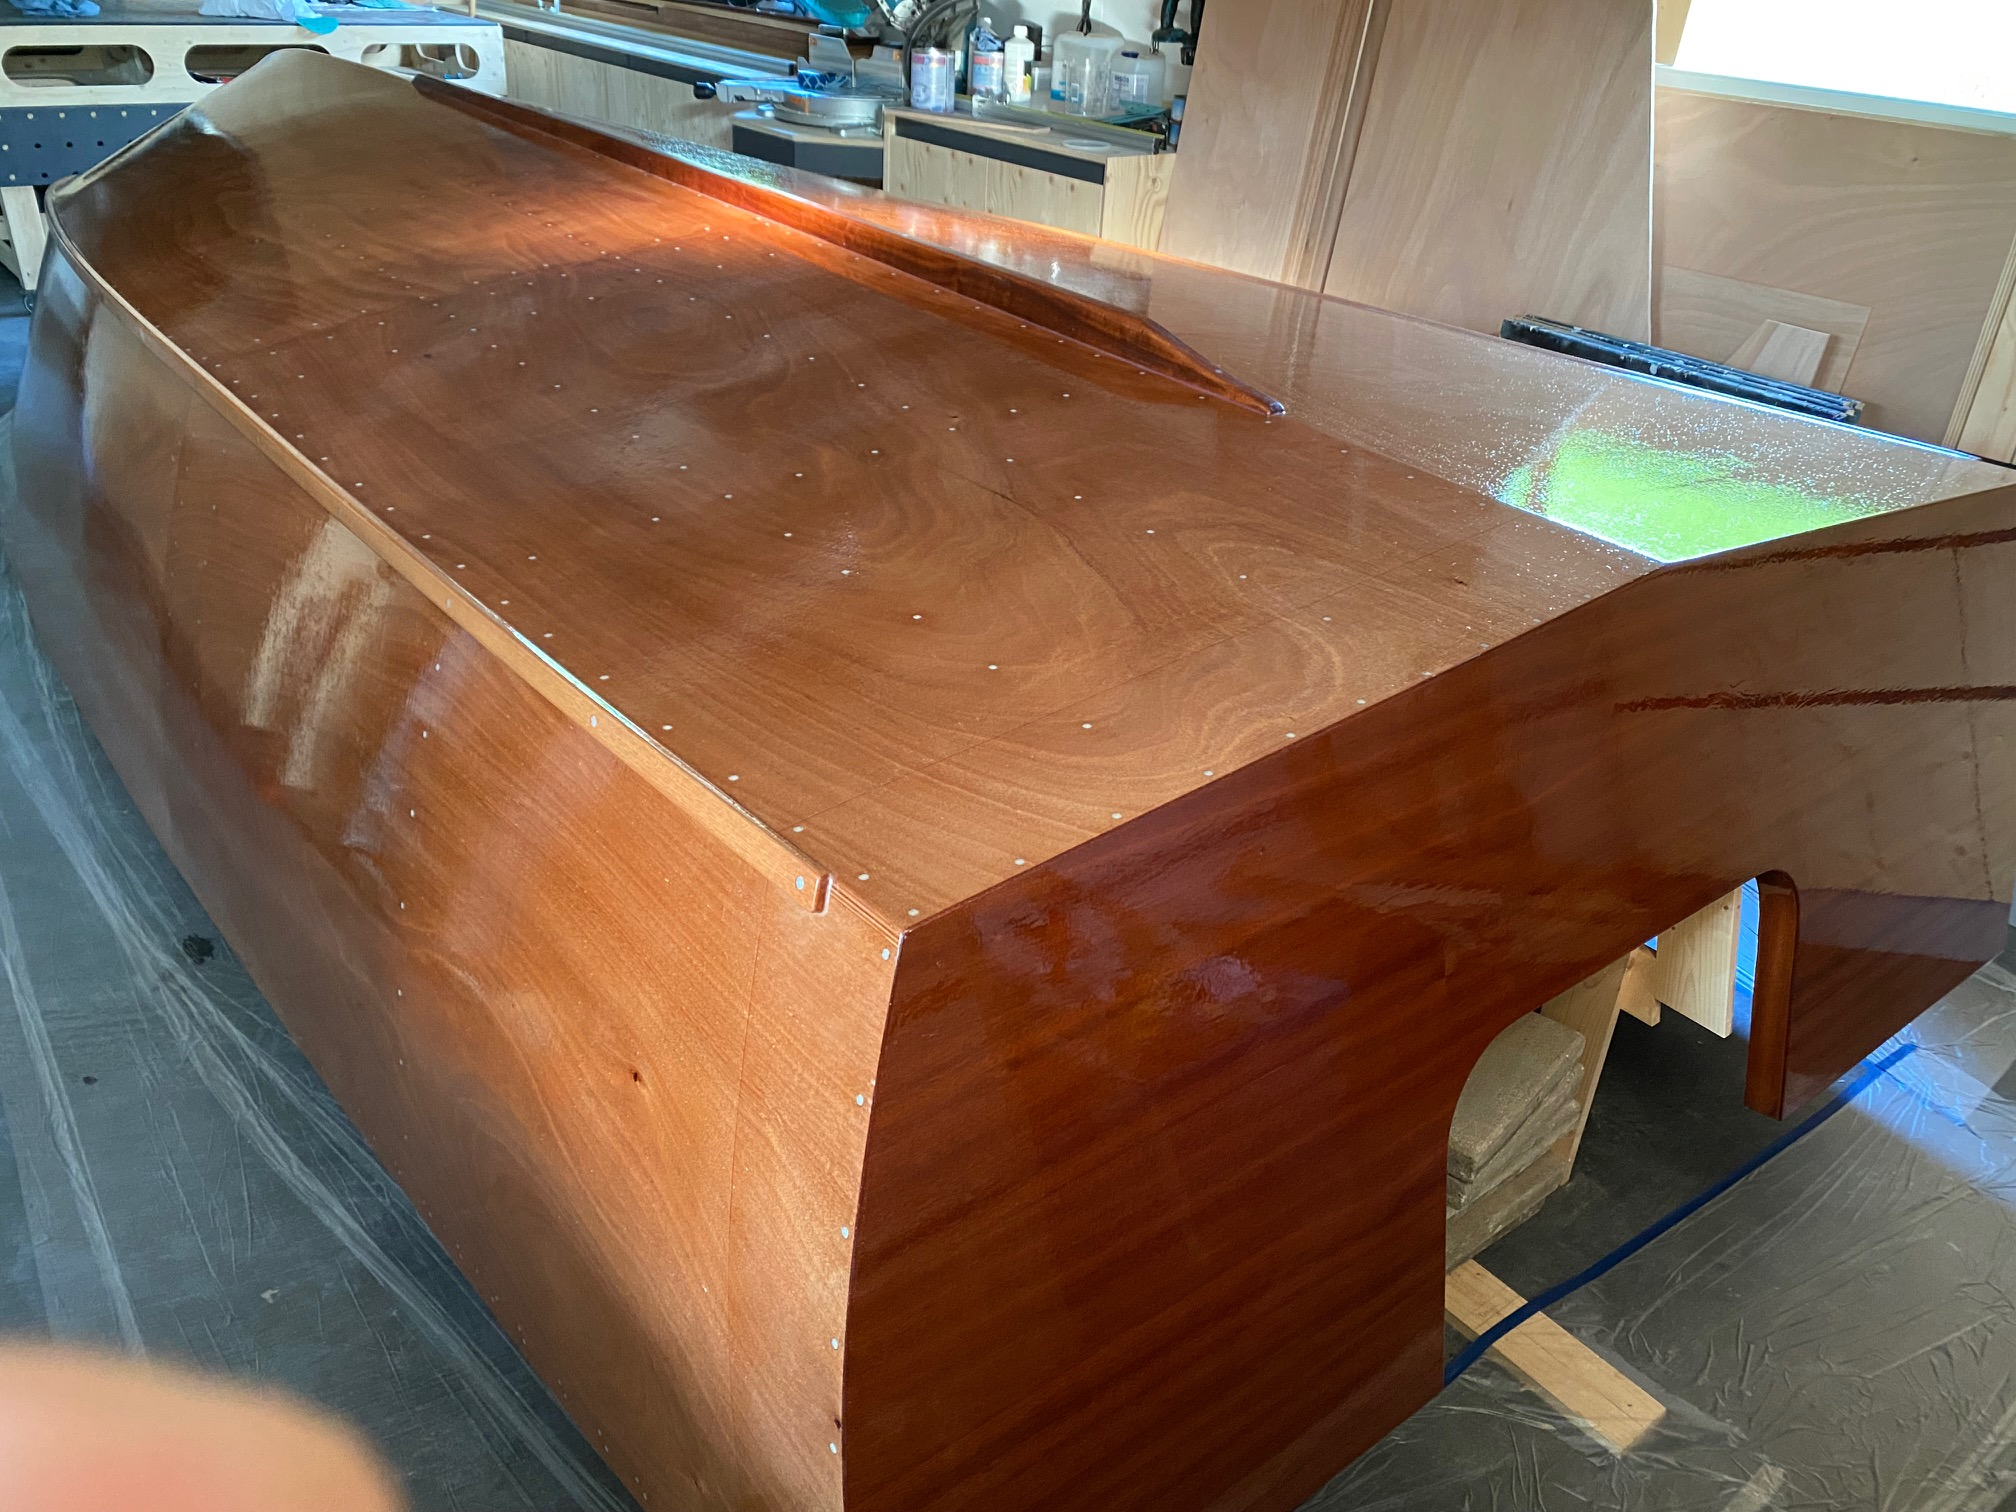
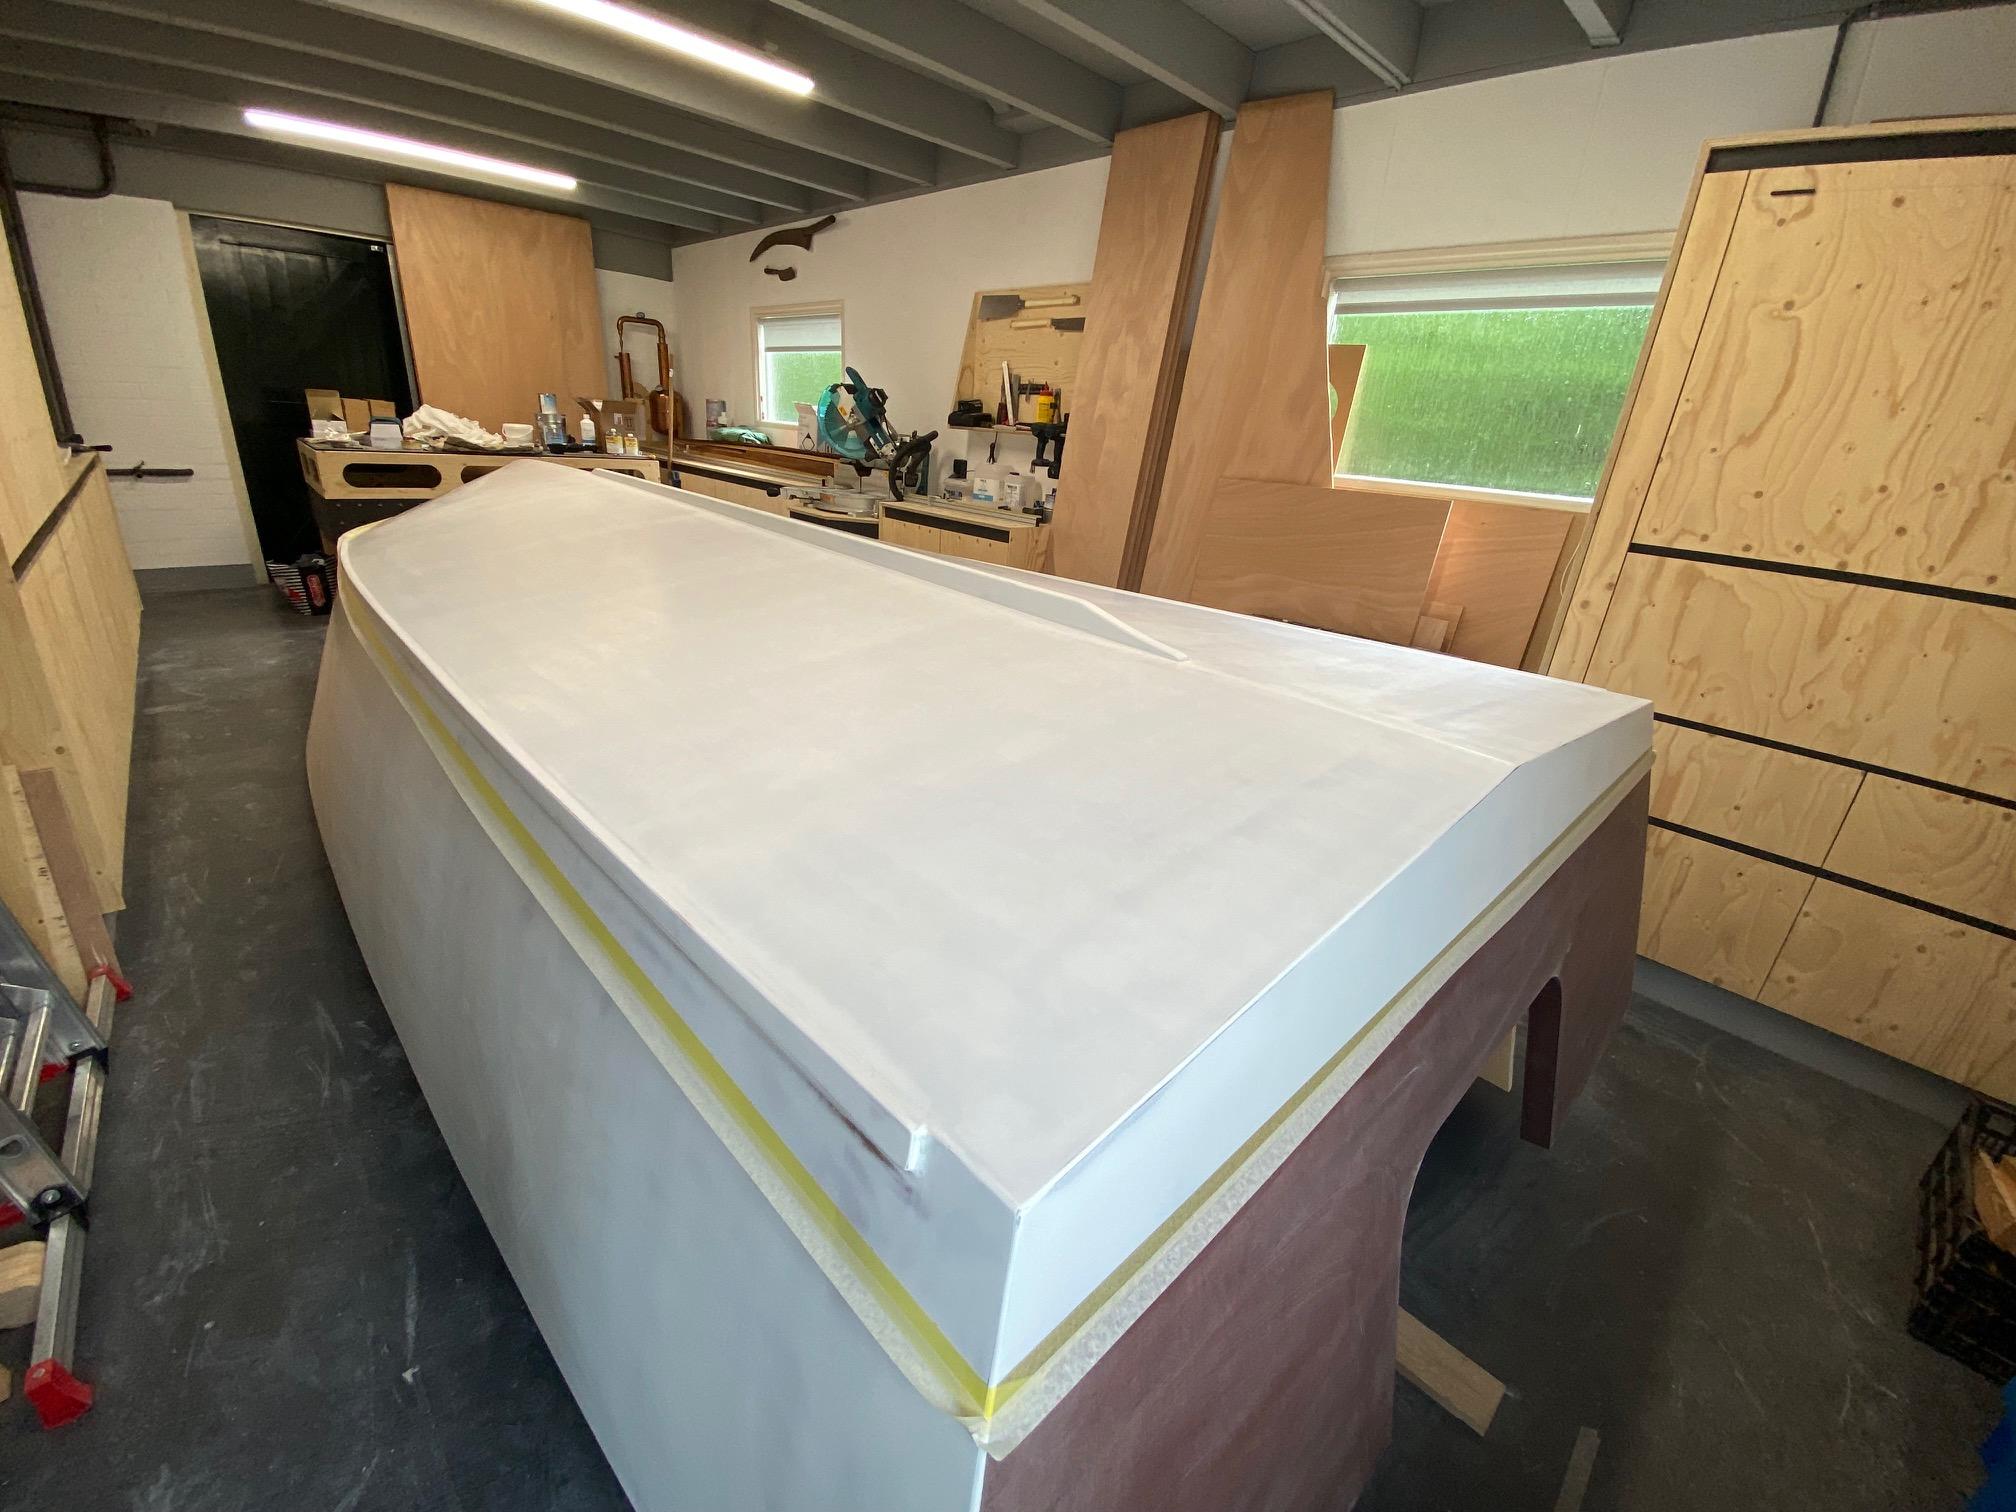
so last minute before glassing up the hull I decided to epoxy glue mahogany veneer on the transom, was playing with the idea earlier but let it go because of all the extra work, but as this has to be a multi-generational boat I thought I shouldn't be cutting corners and make it awesome, or at least try..
I found the glassing process to be quite hard to be honest, I started with the transom and made use of peel ply, as I like to do these (pretty much everything) kind of things on my own I skipped the peel ply process after the transom, It is just to much work to do on your own. and sanding her up after the epoxy cured took me only a couple of hours.

So currently I'm thinking about final paint colours, leaning towards off white for above the waterline, and bleu-ish below, and a red stripe marking the waterline, but this selection changes on a daily basis... not sure yet.
Keep you posted!
Back at it!
It has been quite busy period with holidays, children entertainment etc. but I did managed to get some stuff done.
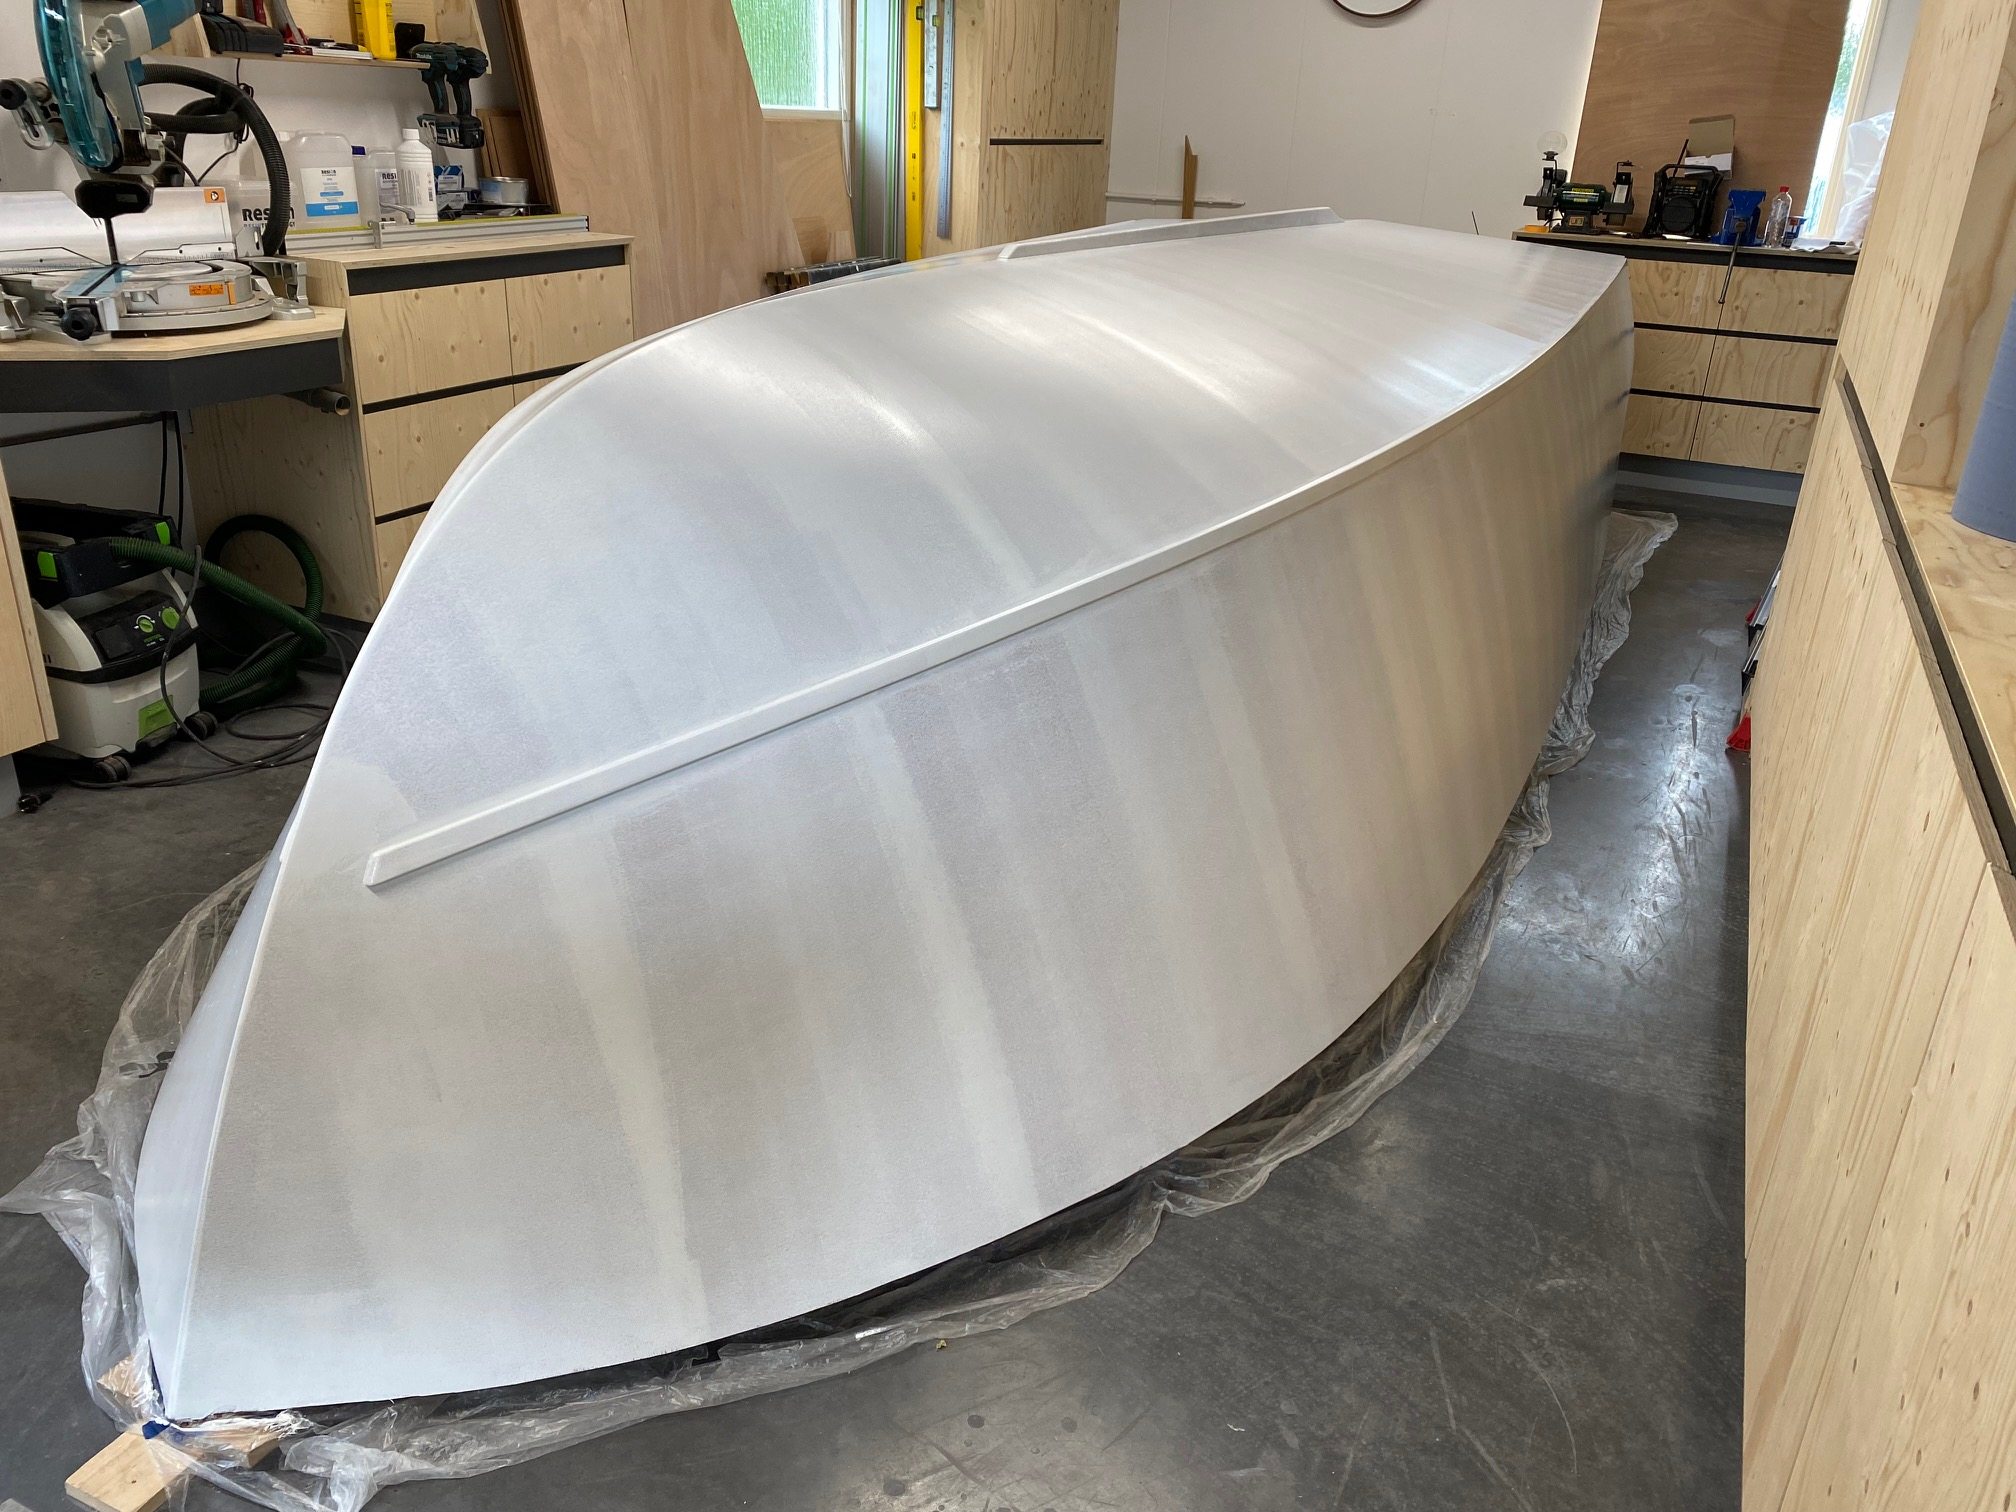
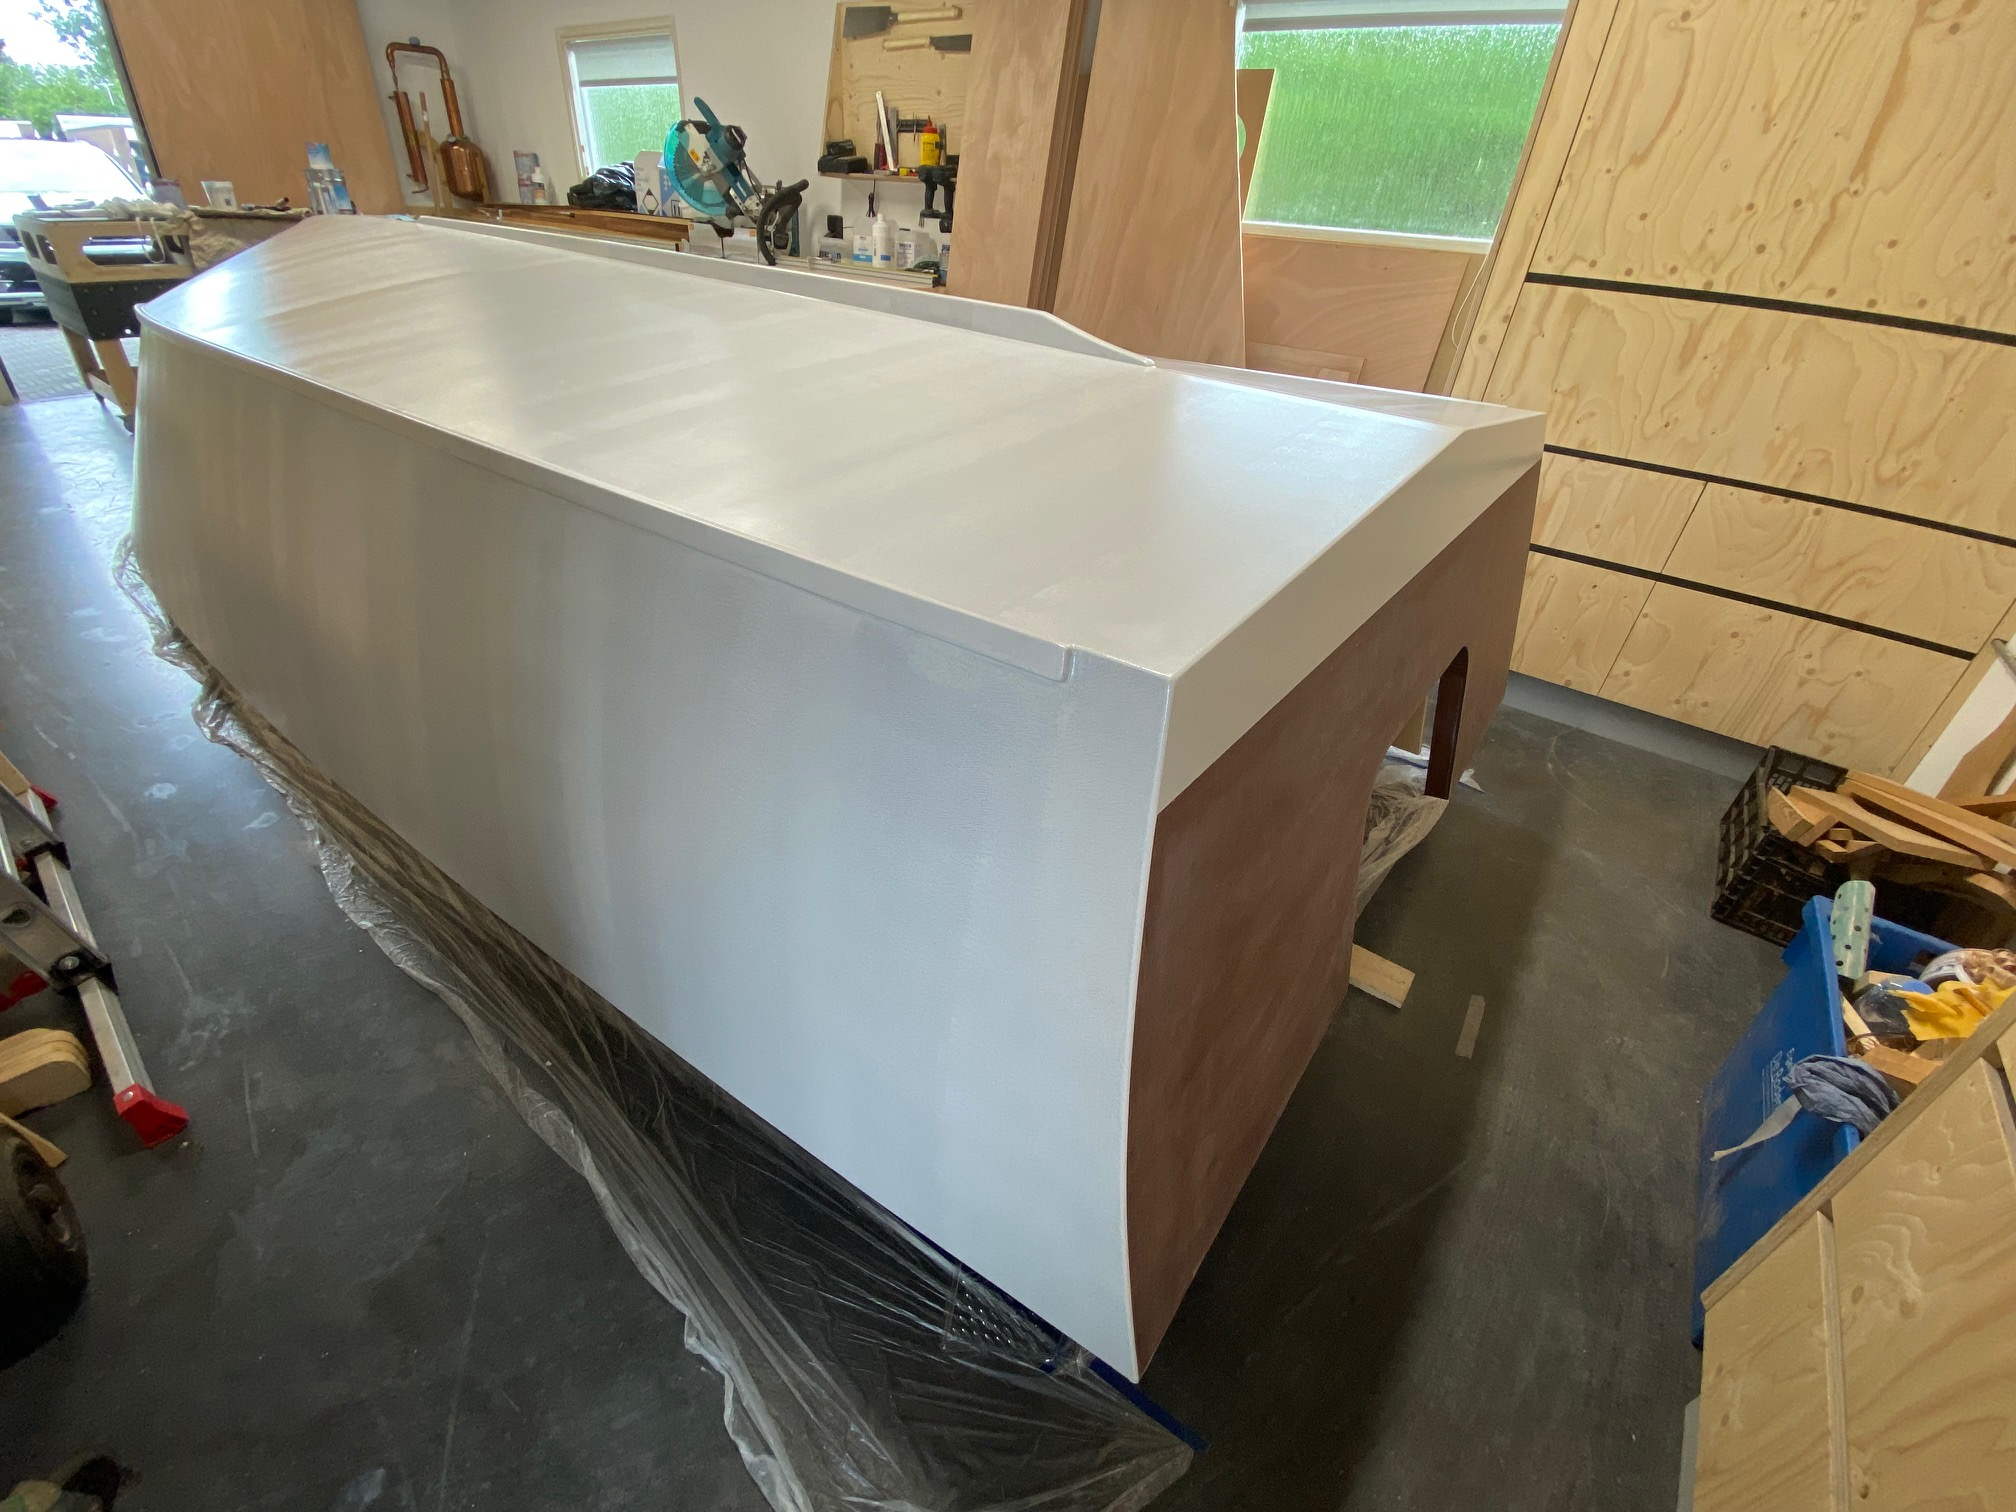
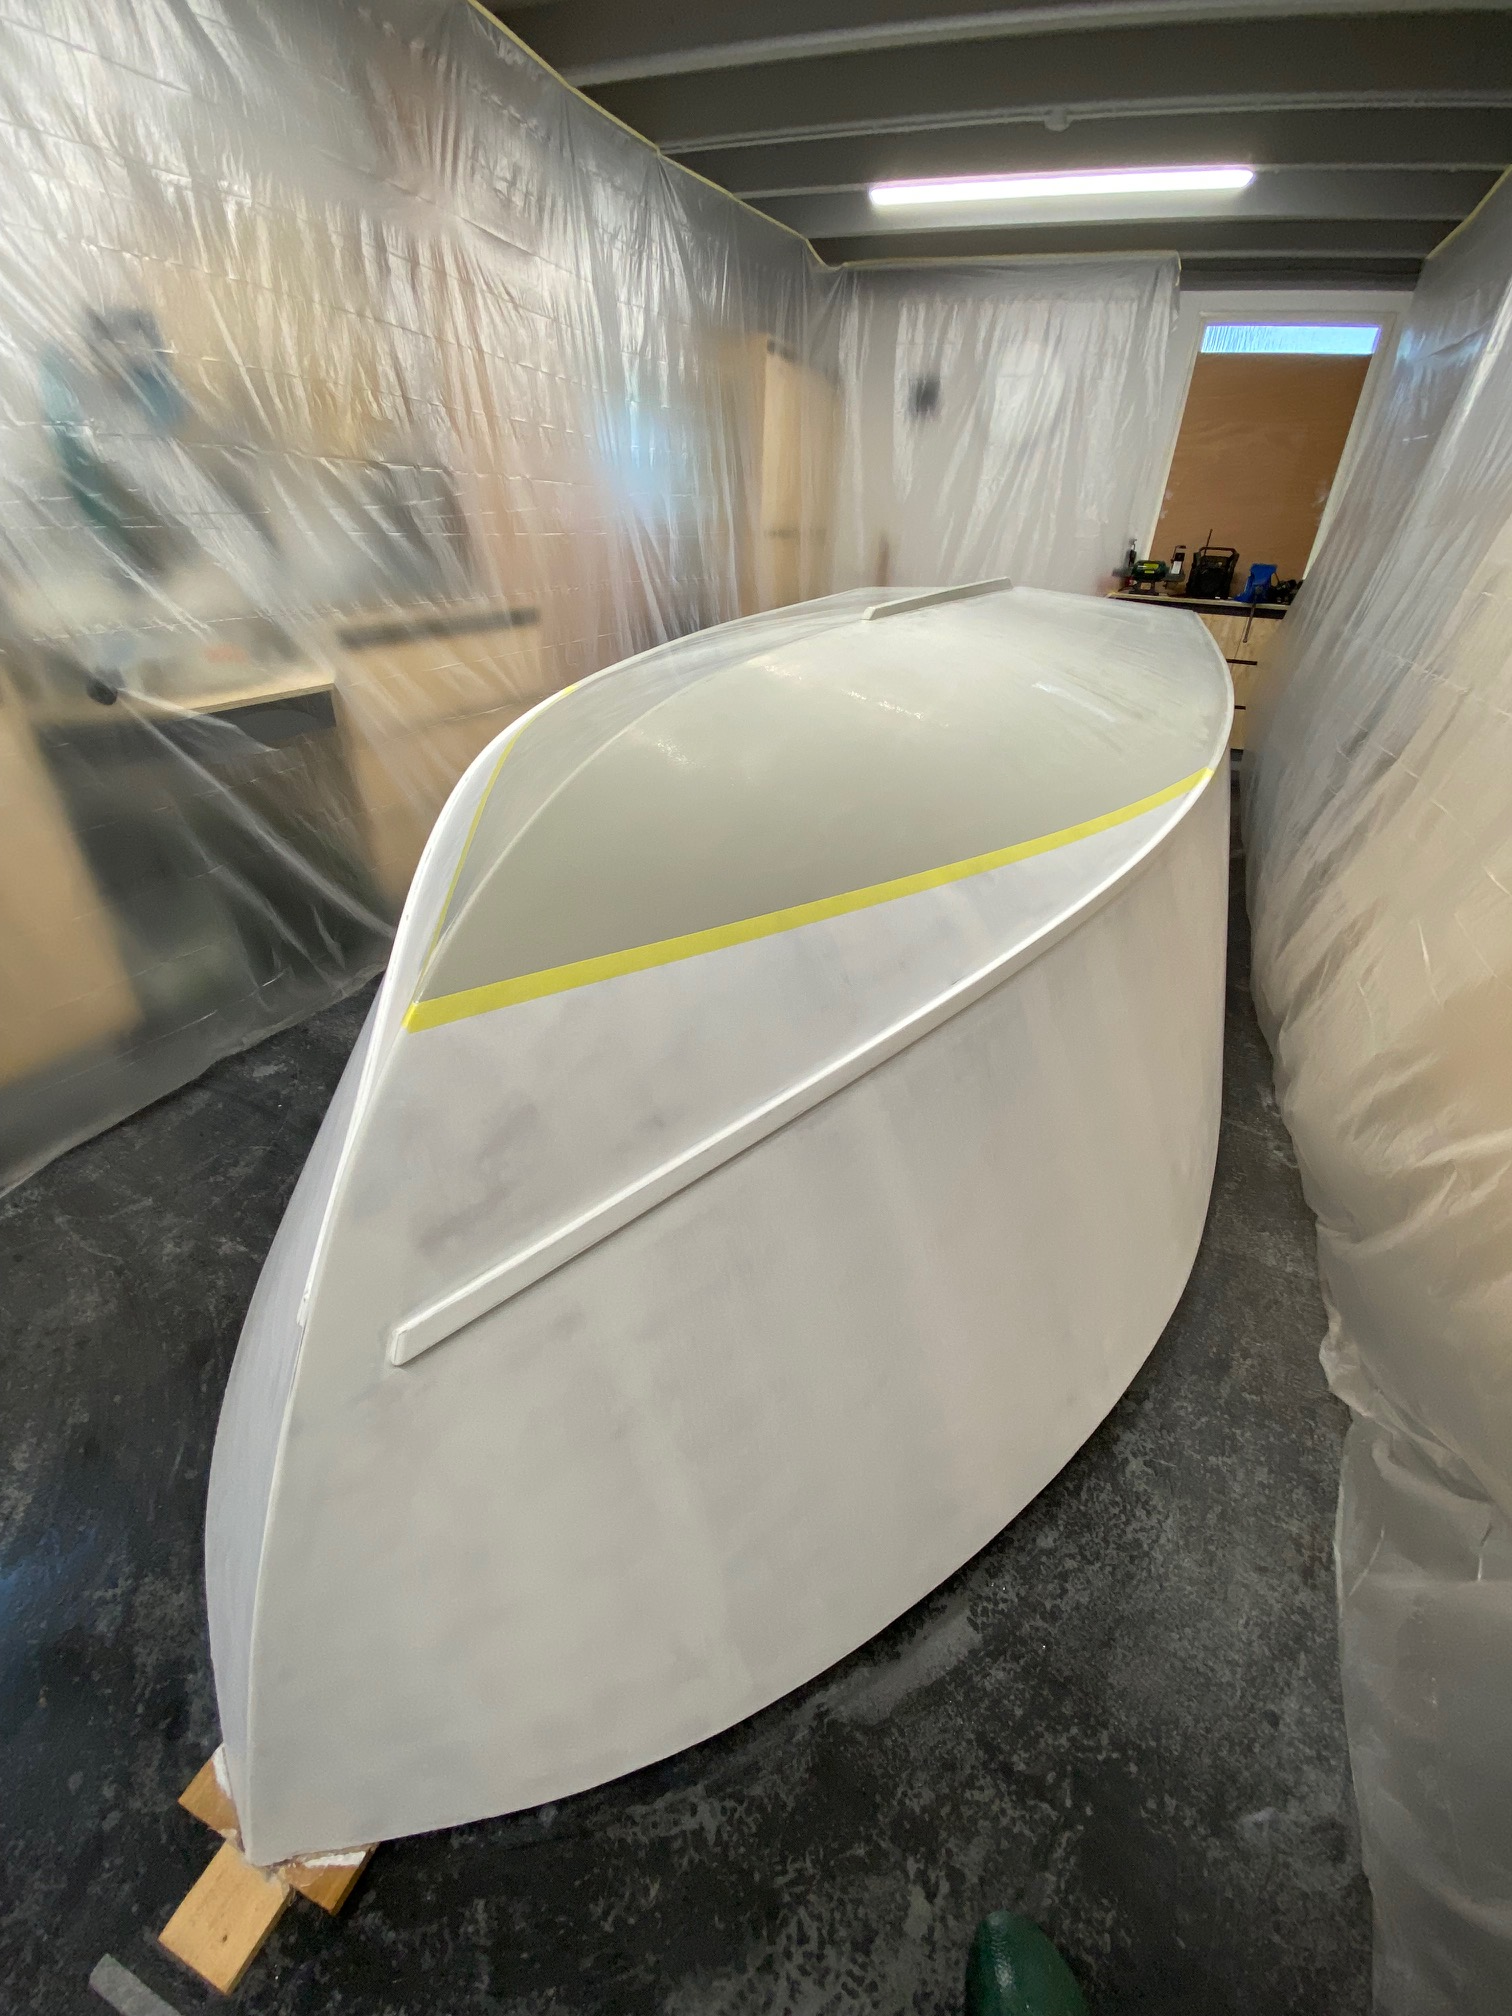
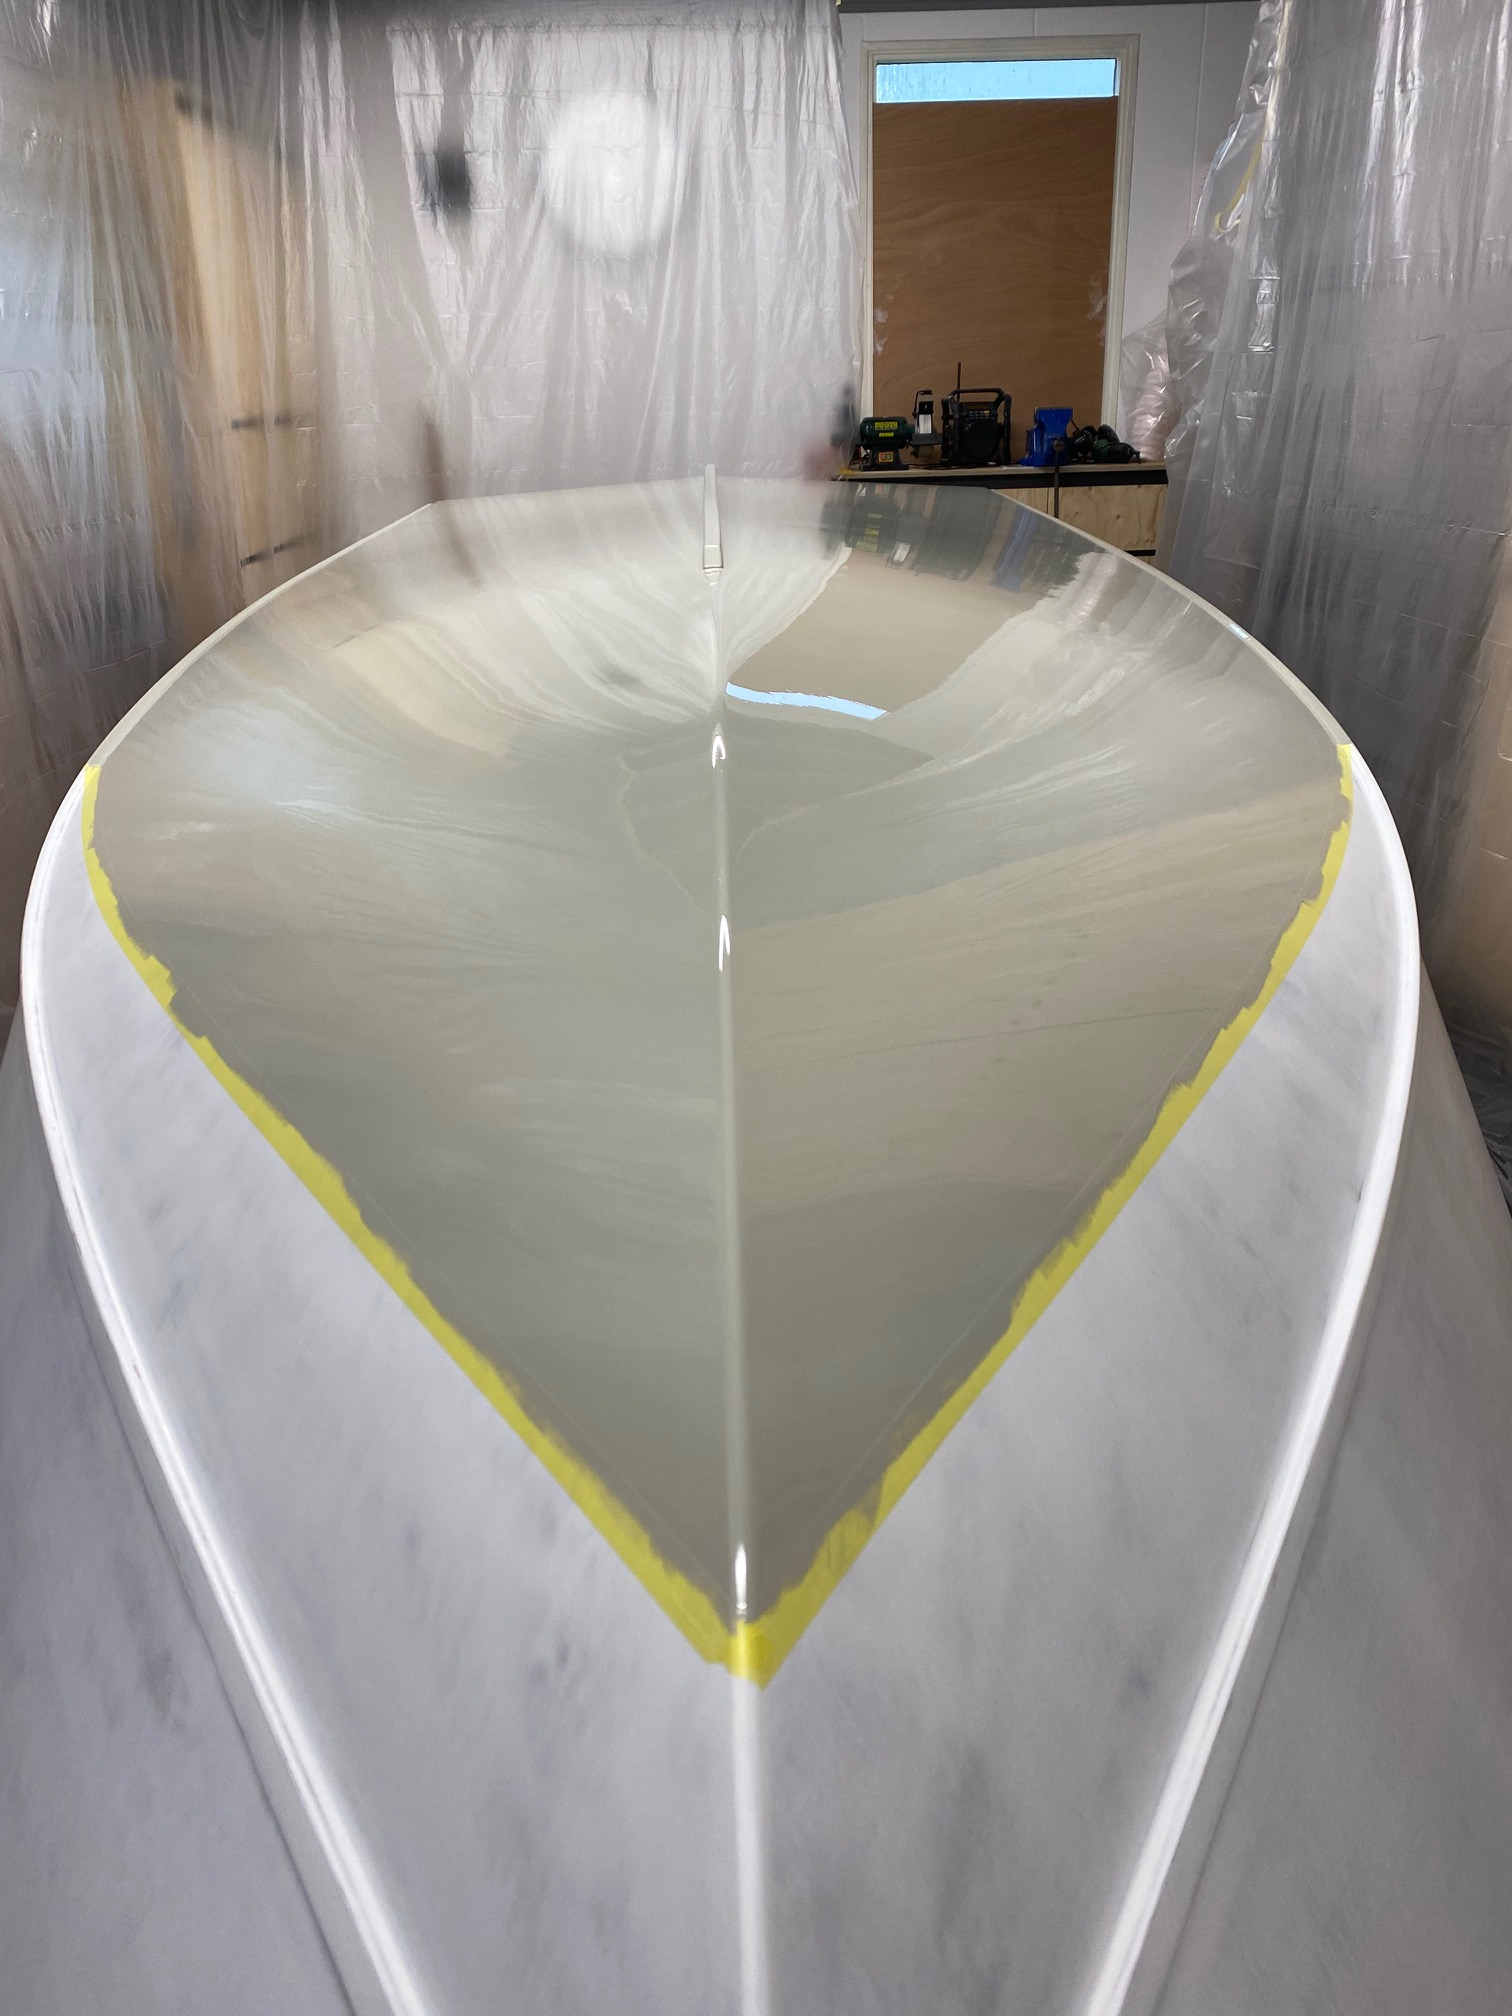
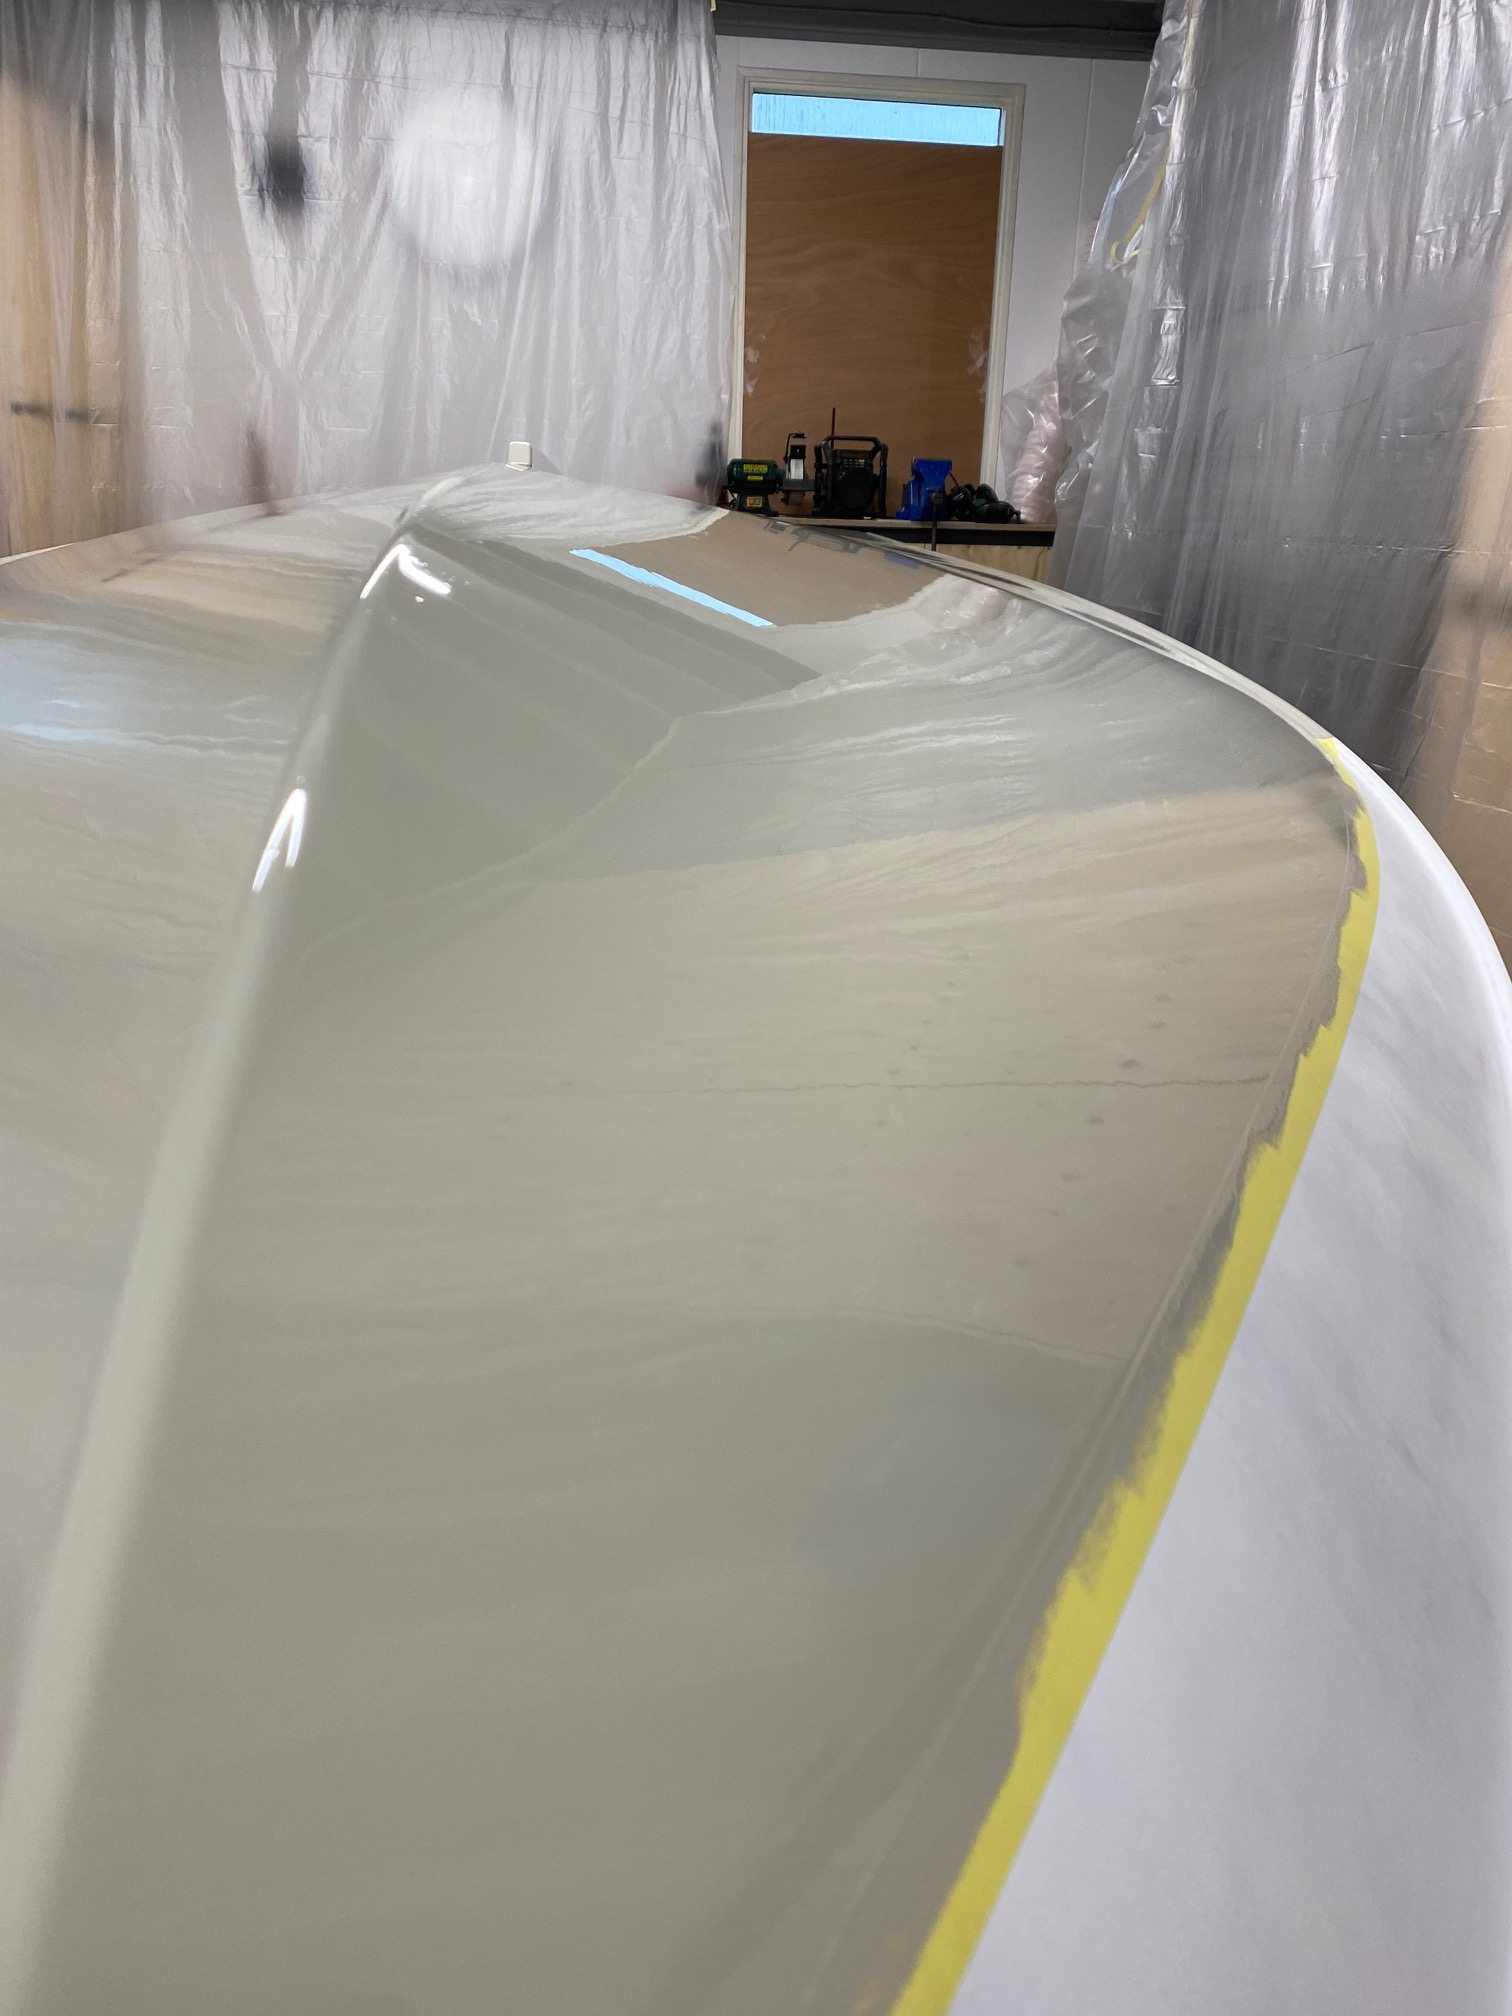
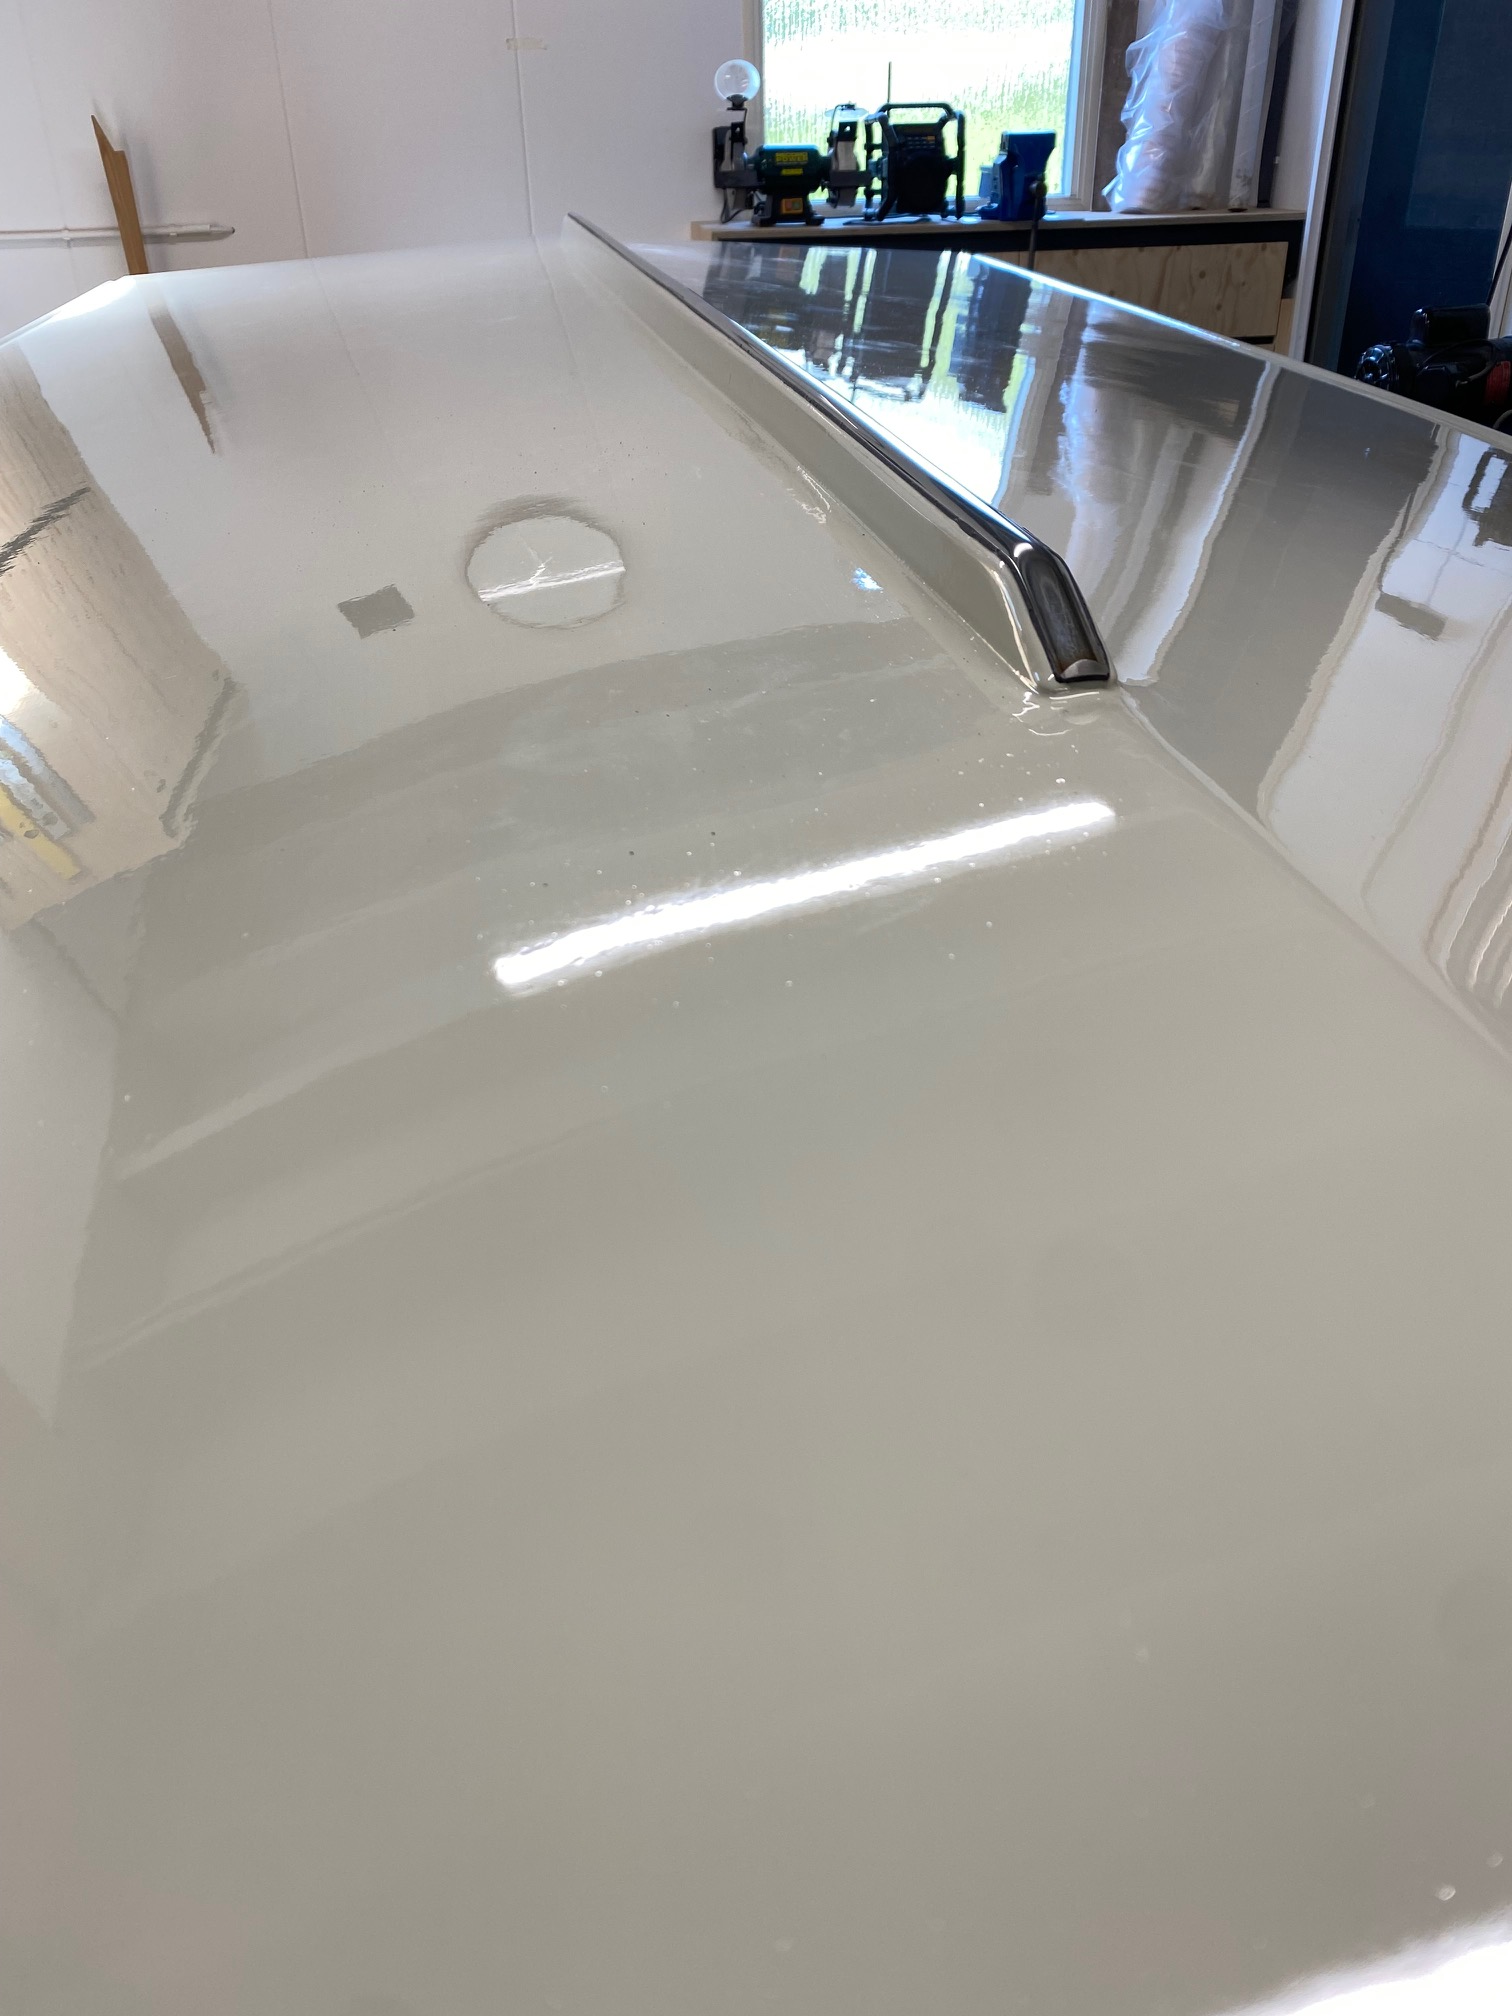
Decided what the final color should be, honestly there are so many colors what I could like, but I eventually just picked one, The whole hull is going to be painted in RAL 7032 (pebblegrey) with a cream white waterline mark.
I painted the bottom (under waterline) 3 times the roller and tipped it. looks quite clean, still some dust even after wetting the floor etc, but it is acceptable, especially for under the waterline. As I will keep the boat on the trailer I figured I wouldn't need a anti fouling coat or somesort.
So after this stage It was time to flip the hull, as it didn't make much sense to paint the rest of the hull at this stage as the deck still needed to be mounted and the potential of damages etc during the next fase.
Silly me decided to flip this thing on my own, I wouldn't necessarily advice to do this on your own but it is part of this personal challenge for me, I want to do as much as I can by myself, total control and when the boat is finished I need to have peace with all my own actions. Not sure if this makes any sense but it does for me anyway.
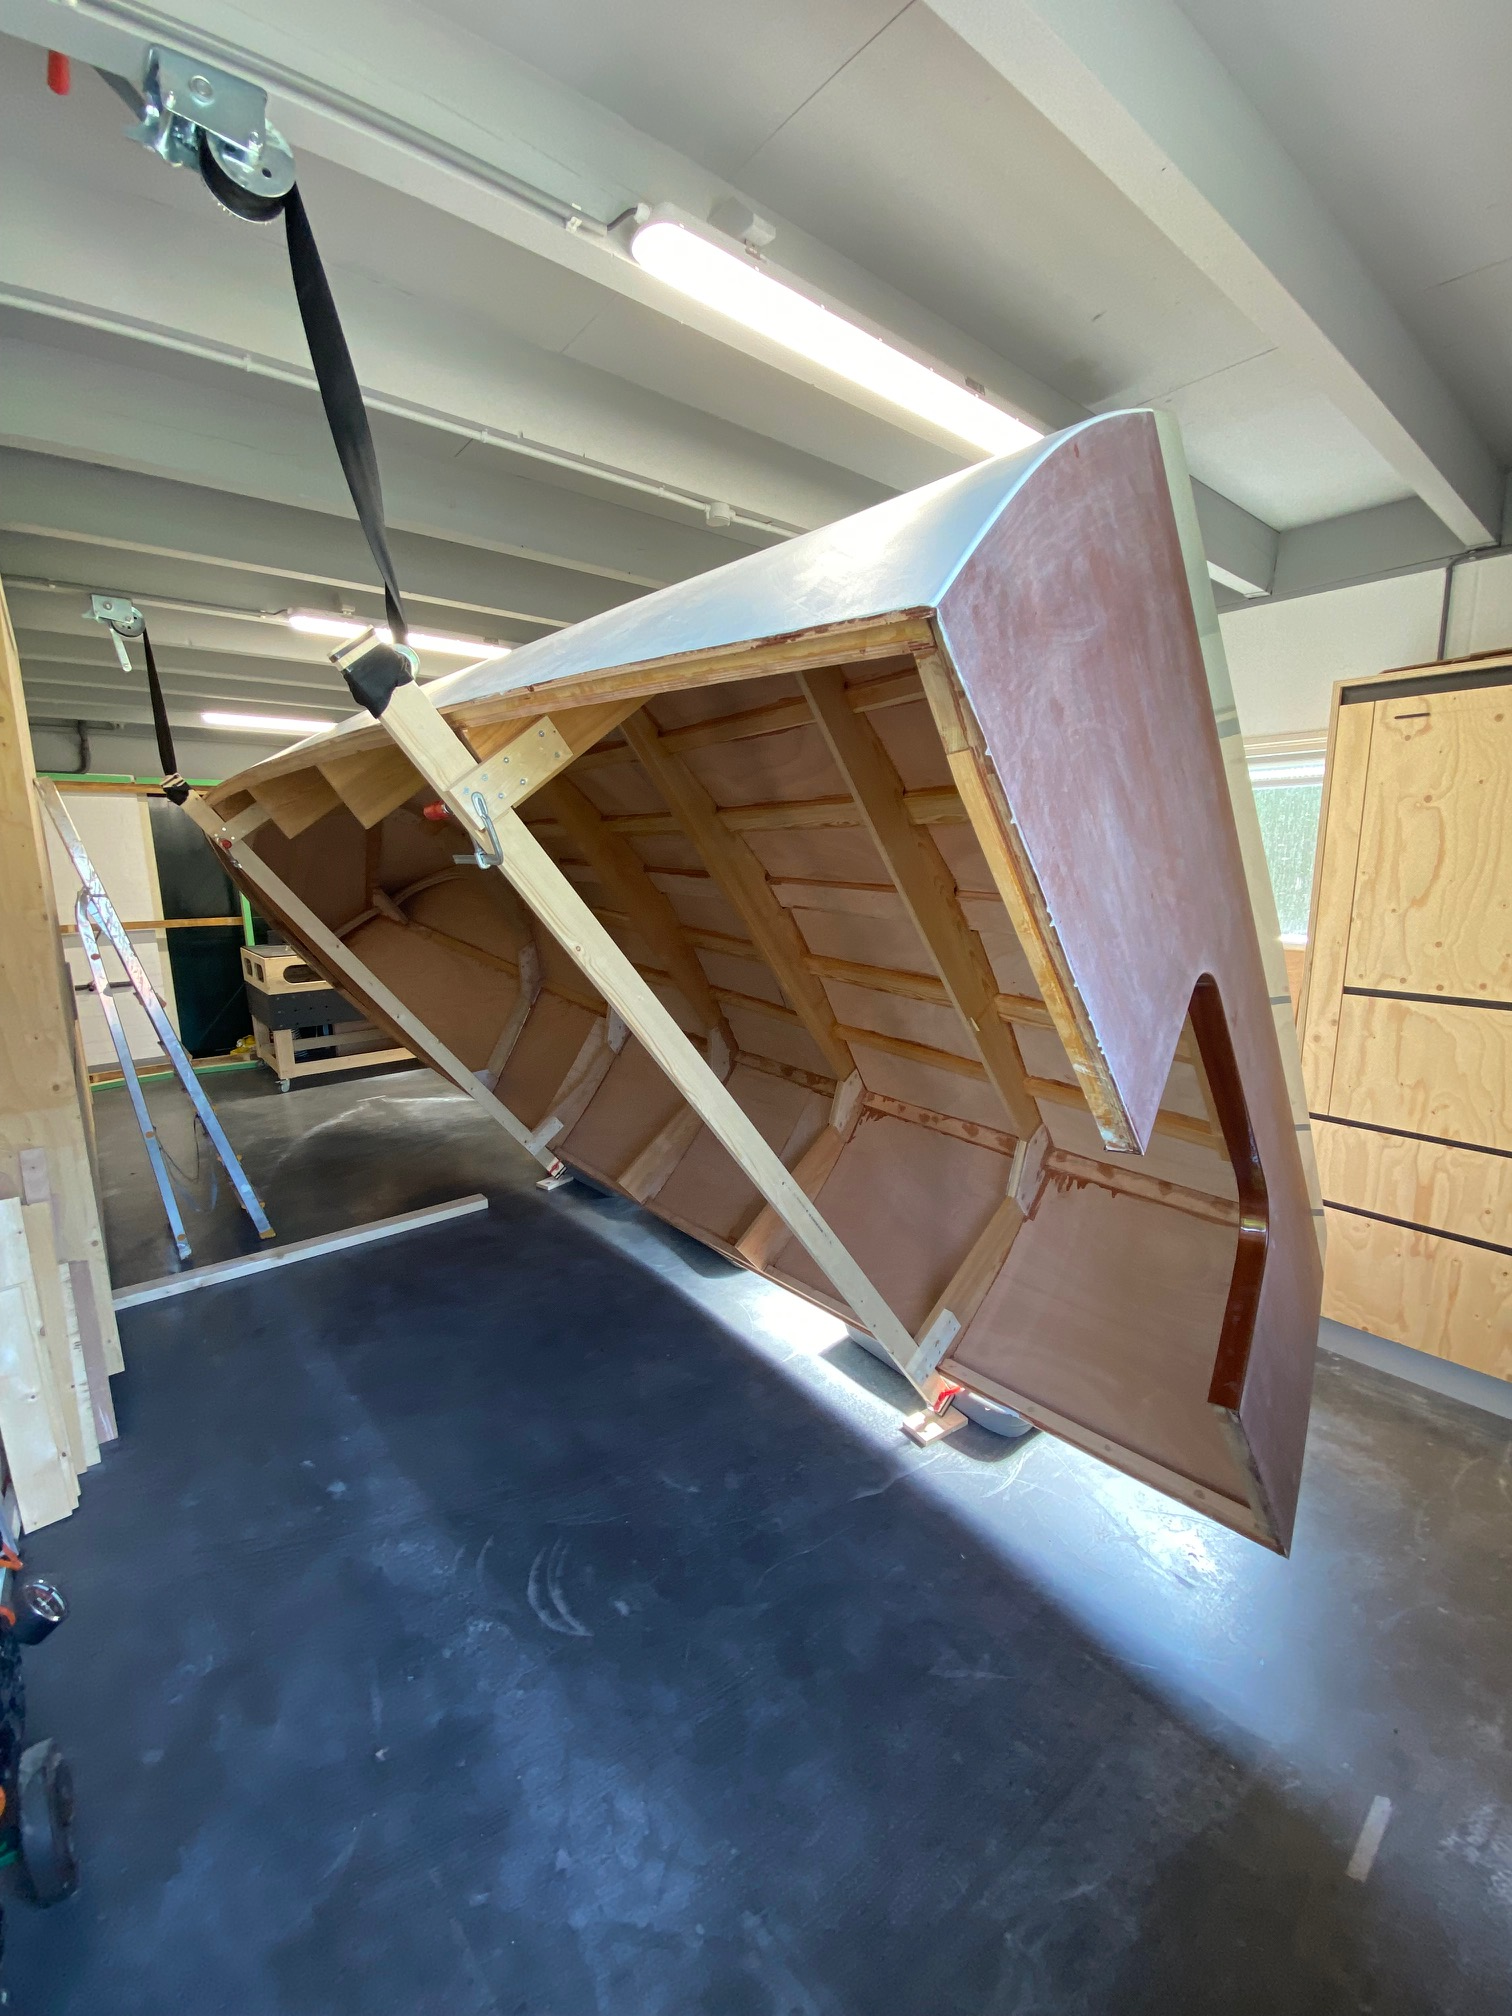
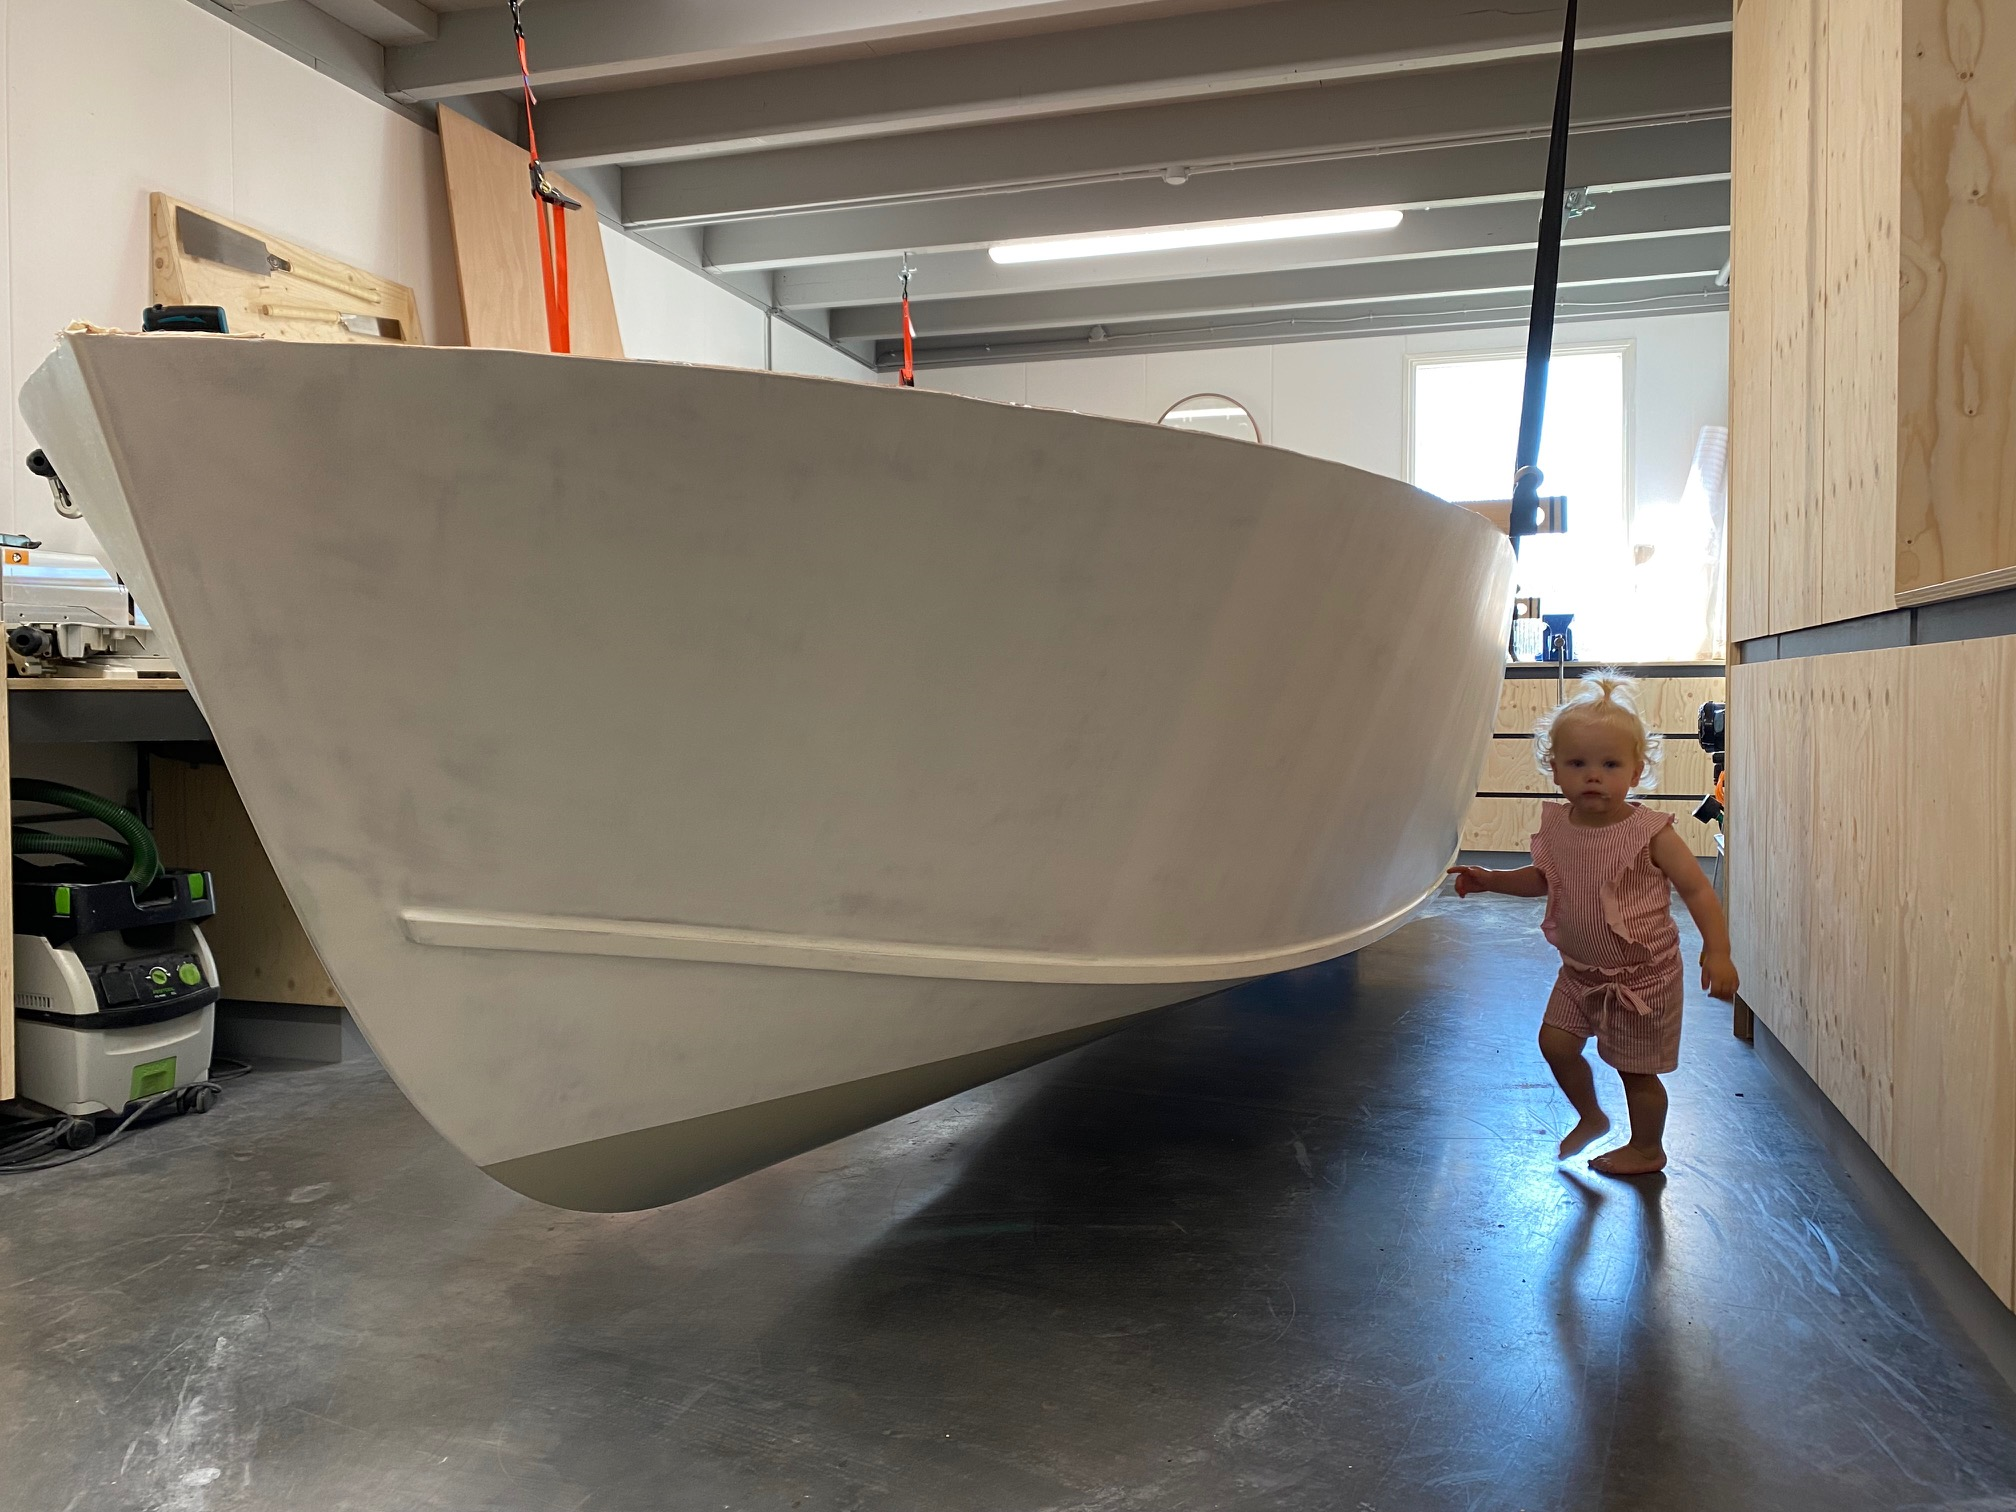

It goes without saying that this is such a great moment during this built, I feel great, the feeling of accomplishment and realisation that you have built an actual boat, (unfinished but still) is amazing.
Next up cleaning up the insides of excess epoxy, making fillets and preparation and investigations of the equipment which will have to be integrated, exciting stuff!
I'll be back!